
A dead keyboard on a Dell laptop is one of those problems that feels bigger than it is. One minute you’re typing an email, the next minute half the letters on the screen stop showing up, or nothing happens at all when you press a key.
Most Dell laptop keyboard problems trace back to a software glitch, a stuck key, or a loose connection rather than a dead keyboard, and a restart combined with a quick settings check fixes the issue in the first few minutes for most people. A small number of cases do point to real hardware damage, usually after a spill or a drop, and those need a different kind of fix. Working through the checks in order helps you figure out which situation you’re in before you spend money or time on the wrong solution.
What Should You Try First?
A dell laptop keyboard not working usually responds to a handful of quick steps before anything more involved. Restarting the machine, freeing up an on-screen keyboard or usb keyboard as a backup, and figuring out exactly which keys have stopped responding will tell you a lot about what’s actually wrong.
Restart the Laptop and Disconnect External Devices
Turn off the laptop completely and unplug everything that isn’t the power cable. That means external keyboards, mice, USB drives, printers, and docking stations.
Power it back on and test the keyboard again. A conflicting USB device or a stuck driver process causes more keyboard not working complaints than people expect, and a clean restart clears both.
If the laptop is docked, undock it fully before testing. Once the keyboard works again, reconnect devices one at a time so you can spot which one, if any, was causing trouble.
Use the On-Screen Keyboard or a USB Keyboard to Keep Working
Keep working while you troubleshoot by opening the on-screen keyboard. On Windows 11, go to Settings, then Accessibility, then Keyboard, and turn on the On-Screen Keyboard toggle. On Windows 10, the same toggle lives under Ease of Access instead of Accessibility.
You can also open it from the sign-in screen by selecting the accessibility icon in the lower corner.
A plugged-in usb keyboard works as a faster backup, especially if you need to type a password or finish something urgent right away.
Check Which Keys Have Stopped Responding
Notice the pattern before you do anything else. A single dead key points to debris or a sticky switch. A whole row or column failing points to a connector or driver issue. Every key failing at once usually means Windows itself isn’t reading the keyboard, which is a different fix than a physical problem.
Jot down which keys are affected. That list becomes useful later if you need to run a diagnostic or talk to support.
Is the Problem in Windows or the Keyboard Hardware?
Figuring out whether Windows or the keyboard itself is at fault decides which fix actually works. Testing the keyboard before Windows loads, comparing it to an external keyboard, and looking closely at the keys themselves will point you toward hardware or software pretty quickly.
Test the Built-In Keyboard Before Windows Loads
Restart the laptop and press F12 repeatedly as soon as the Dell logo appears, until the One Time Boot Menu shows up. Select Diagnostics to run the preboot test.
This test checks hardware before the operating system loads, so if the dell keyboard works here, Windows or a driver is the real problem. If it fails here too, the hardware itself needs attention. Note that the mouse and touch screen don’t work during this test, so you’ll need the keyboard to navigate it.
Compare Its Behavior with an External Keyboard
Plug in a USB or Bluetooth keyboard and see if it types normally. If the external keyboard works fine while the built-in one doesn’t, the issue sits with the laptop’s keyboard hardware or its connection, not with Windows.
If both keyboards show the same dell keyboard problems, like missing letters in every app, the cause is more likely a Windows setting, a driver conflict, or even unwanted software changing how keystrokes get read.
Look for Damage, Debris, and Patterns of Failed Keys
Turn off the laptop and look closely at the keys that aren’t working. Crumbs, dust, and the keyboard backlight working unevenly around certain keys are all signs of physical debris rather than a software issue.
A can of compressed air, used in short bursts around the edges of the affected keys, clears a lot of this without opening anything up. Avoid tilting the can, since that can push liquid propellant onto the keyboard instead of air.
How Do You Fix Keyboard Settings and Software?
Software settings cause a surprising share of dell keyboard problems, and most are fixed inside Windows without any tools. Checking accessibility features, reinstalling the keyboard driver, installing pending updates, and trying a couple of deeper Windows fixes covers almost every software-side cause.
Check Filter Keys, Sticky Keys, Layout, and Num Lock
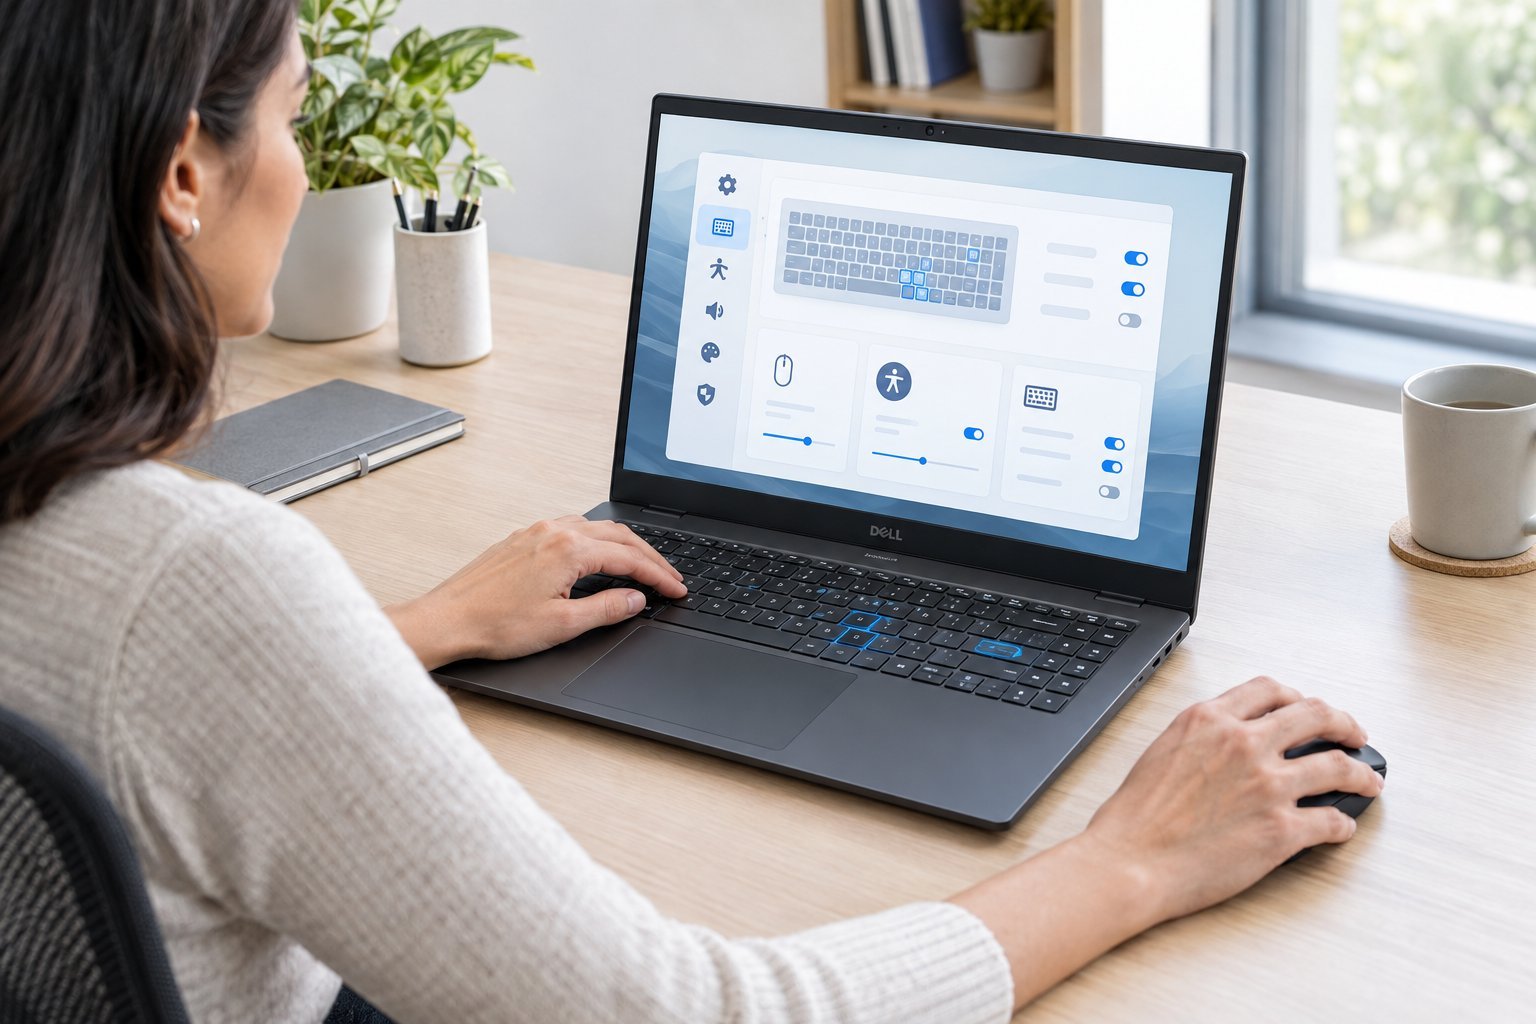
Filter keys and sticky keys are accessibility features that change how key presses register, and either one turned on by accident can make typing feel broken. Open Settings, then Accessibility (or Ease of Access on Windows 10), then Keyboard, and turn both off if you didn’t mean to enable them.
Check your keyboard layout too. Holding the Windows key and tapping the spacebar cycles through installed layouts, and landing on the wrong one scrambles which keys produce which characters.
If number keys aren’t working as expected, check num lock. On laptops with a built-in numeric keypad, the key toggles between letters and numbers, and it’s easy to bump by accident.
Reinstall the Keyboard Driver in Device Manager
Right-click the Start button and open Device Manager, then expand “Keyboards.” Right-click your keyboard entry and select “Uninstall device,” then restart the laptop.
Windows reinstalls the keyboard driver automatically on startup. This clears up corrupted keyboard drivers without needing to track down an installer file yourself.
Install Windows and Dell Driver Updates
Go to Settings, then Windows Update, then “Check for updates,” and install anything pending. Outdated keyboard drivers and system files cause input problems that updates quietly fix.
Visit the dell support website and enter your service tag to download the latest keyboard and chipset drivers made specifically for your model. Generic Windows drivers work most of the time, but Dell’s own versions are built around your exact hardware.
Try Further Windows Fixes If the Problem Started Recently
If the keyboard stopped working right after an update or a new program install, a system restore can roll Windows back to a point when it worked, without touching your personal files. Search “Create a restore point” in Windows search, open System Properties, and select “System Restore.”
Restart the Human Interface Device service too: open Services from the Start menu, find “Human Interface Device Service,” right-click, and select Restart. This service manages keyboard and other input communication with Windows.
Older Windows versions still include a keyboard troubleshooter under Settings, then System, then Troubleshoot, though Microsoft is phasing this tool out on newer Windows 11 builds. It’s worth running if it’s still available on your machine. If you suspect malware is interfering with input devices, a quick scan through Windows Defender rules that out.
When Does the Keyboard Need Cleaning or Repair?
A keyboard that still misbehaves after the software fixes usually needs physical attention, whether that’s cleaning, a diagnostic test, or professional repair. Knowing how to clean sticking keys safely, how to run Dell’s own keyboard test, and when a spill means it’s time to call in help keeps you from making things worse.
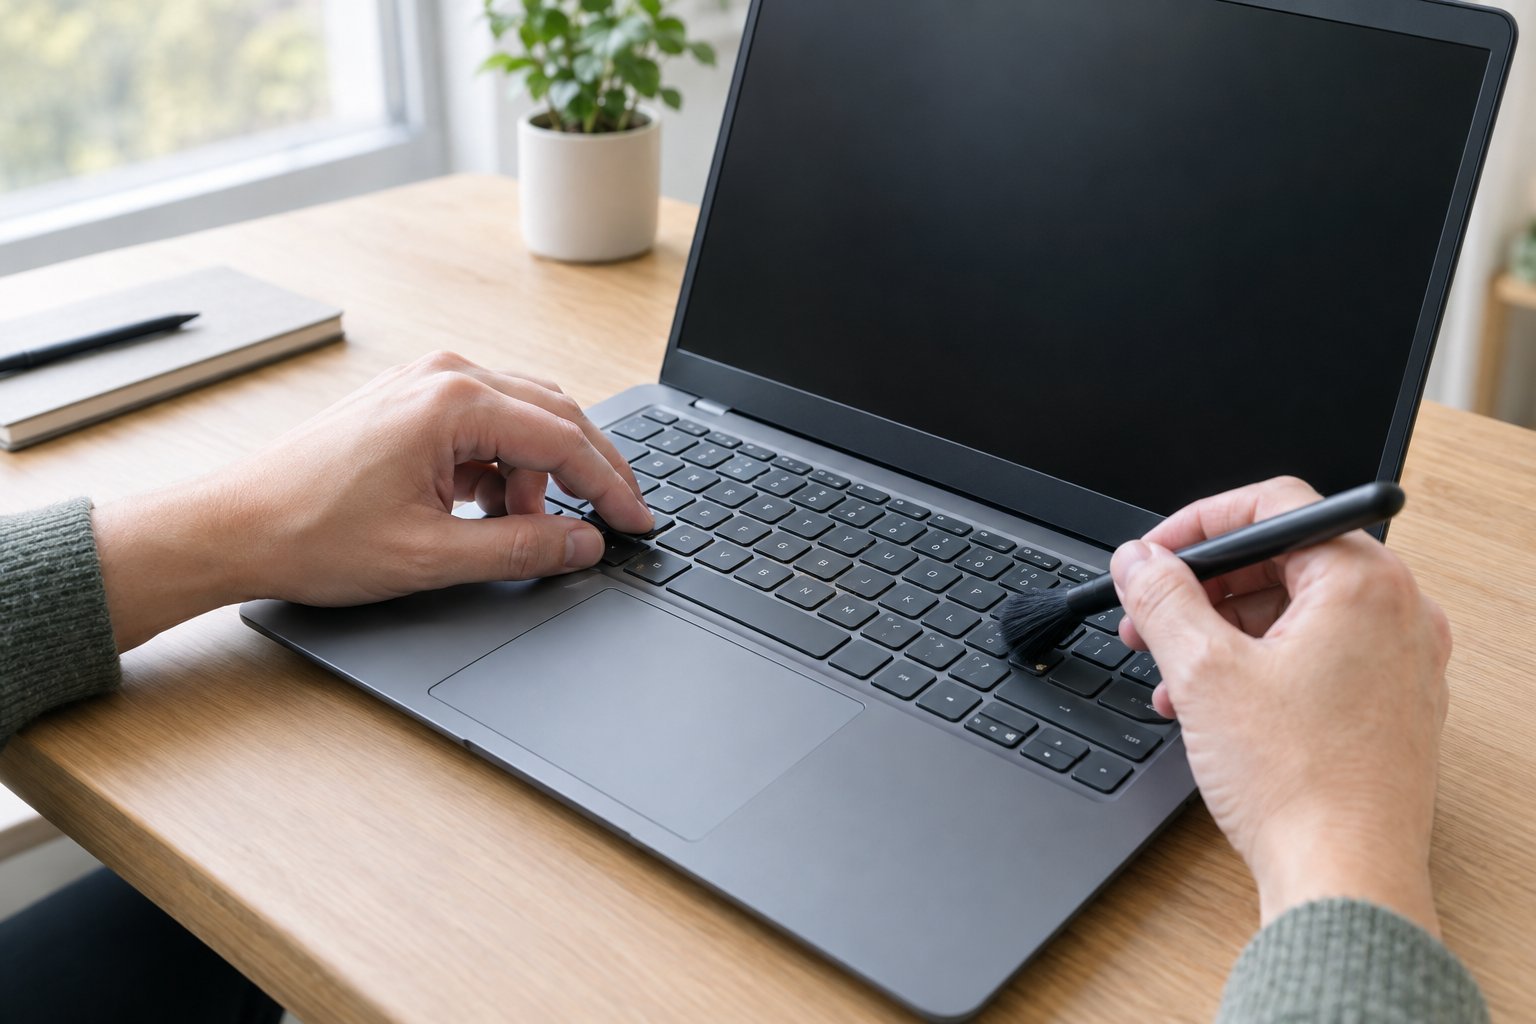
Clean Sticking Keys Without Damaging the Laptop
Power off the laptop completely before cleaning anything. Hold the laptop at a slight angle and use compressed air to push debris out from between the keys, working across the keyboard in one direction.
For a key that feels sticky rather than dirty, lightly dampen a cotton swab with isopropyl alcohol and wipe gently around its edges. Let it air dry fully before turning the laptop back on.
Don’t try to pop laptop keycaps off the way you might on a mechanical keyboard. Laptop key mechanisms are fragile, and forcing a keycap off can snap the clip underneath permanently.
Run a Dell Keyboard Diagnostic
Open SupportAssist from the Start menu, go to the Troubleshooting tab, and select “I want to check a specific piece of hardware.” Choose Keyboard from the list and follow the prompts, tapping every key as instructed.
Mark “Pass” if every key you press shows up correctly, or “Fail” if any don’t. This test tells you definitively whether the keyboard is being detected and read correctly at the hardware level, which settles the hardware-versus-software question for good.
Consider Repair or Replacement After a Spill or Failed Test
A liquid spill that reaches the keyboard deck is the clearest sign you need professional help rather than a DIY fix. Moisture under the keys can corrode the circuitry over time even if typing seems fine at first.
A failed SupportAssist or preboot diagnostic test also points to keyboard replacement rather than more troubleshooting. At that point, contacting dell technical support with your service tag and the error code from the test gets you toward a repair or replacement quote. If your laptop is out of warranty and you decide a new keyboard makes more sense than a repair bill, browsing external keyboard options buys you time while parts or service get sorted out.
Choosing the Next Step Based on What Your Tests Found
The fix that actually works depends on what you found while testing, not on trying every step in order again. Use the table below to match your symptom to the right next move.
| What You Found | Likely Cause | Next Step |
|---|---|---|
| Keyboard works at the F12 preboot screen but not in Windows | Software or driver issue | Reinstall driver, check for updates, run system restore |
| Keyboard fails the preboot test too | Hardware fault | Run SupportAssist diagnostic, contact Dell support |
| Only one or two keys are unresponsive | Debris or sticky switch | Clean with compressed air and isopropyl alcohol |
| Every key types the wrong character | Layout or language setting | Check keyboard layout in Settings |
| Keyboard stopped working after a spill | Liquid damage | Stop using it, contact Dell technical support |
| External keyboard works, built-in doesn’t | Internal keyboard or connector fault | Treat as hardware issue, run diagnostics |
Work from the top row down, and stop as soon as one matches what you’re seeing. Most people land on a fix within the first two or three rows. If you’ve gone through this whole list and the keyboard still isn’t cooperating, reaching out to TechBullish or Dell’s own support team with your test results saves you from guessing any further.
Frequently Asked Questions
How do I unlock the keyboard on a Dell laptop?
Check whether sticky keys or filter keys got turned on by accident, since both can make the keyboard feel locked even though it’s working. Go to Settings, then Accessibility, then Keyboard, and switch both off. A restart afterward clears up most remaining lockup issues.
Why does my Dell laptop keyboard not work when the mouse does?
This usually points to a keyboard-specific driver problem or a hardware fault rather than a system-wide issue, since the mouse relies on different drivers. Reinstalling the keyboard driver in Device Manager is the fastest first fix. If that doesn’t help, a SupportAssist keyboard diagnostic will confirm whether it’s a hardware problem.
How can I enter my password if my Dell keyboard is not working?
Open the on-screen keyboard from the sign-in screen by selecting the accessibility icon in the lower corner, then choosing On-Screen Keyboard. You can click each letter with your mouse or trackpad to type your password. A plugged-in USB keyboard works as a faster alternative if one is available.
Why are only some keys on my Dell laptop keyboard not working?
A handful of dead keys almost always points to debris, a spill residue, or a worn-out switch under those specific keys. Compressed air and a cotton swab with isopropyl alcohol clear up most cases. If the same keys keep failing after cleaning, run the SupportAssist keyboard test to check for a hardware fault.
Do these fixes work on Windows 10 and Windows 11?
Yes, nearly every fix here works on both versions, though menu names shift slightly between them. Accessibility settings sit under “Ease of Access” on Windows 10 and “Accessibility” on Windows 11. Windows 10 reached its end of support on October 14, 2025, so moving to Windows 11 is worth considering if your laptop qualifies for the free upgrade.

I’m Anirban Saha, Founder & Editor of TechBullish. With a B.Tech in Electronics and Communication Engineering, and 8+ years of experience as a software developer, I have expertise in electronics, software development, gadgets, and computer peripherals. I love sharing my knowledge through informational articles, how-to guides, and troubleshooting tips for Peripherals, Smart TVs, Streaming Solutions, and more here. Check Anirban’s LinkedIn Profile here.