
A jammed printer feels like it picks the worst possible moment to act up. You’re rushing to print a boarding pass or a report, and suddenly the machine freezes with a flashing light and a paper jam error on the screen.
The fastest fix is to unplug the printer, open every access door, and gently pull out stuck paper in the direction it normally feeds, rather than yanking it sideways or backward. That one habit prevents most of the damage people accidentally cause when they panic and pull too hard. The rest of this guide walks through exactly how to fix printer jam problems, where to look, why your printer might show a jam error with no paper in sight, and how to stop the problem from coming back.
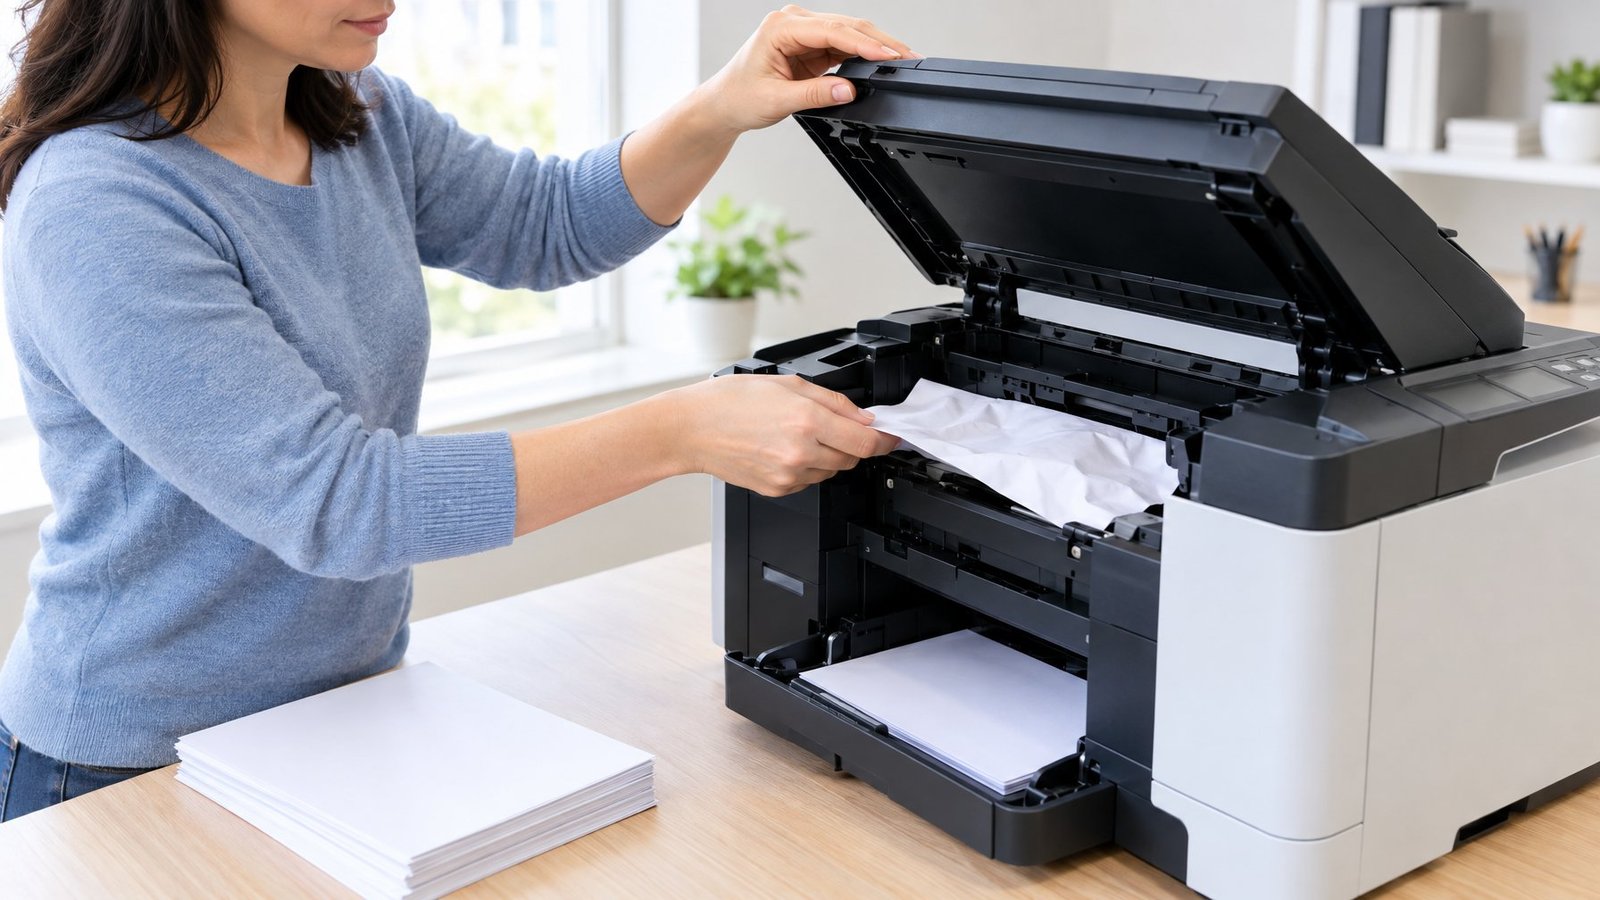
Clear Stuck Paper
Clearing a printer jam comes down to cutting the power first, checking every paper path in order, and pulling paper slowly so it doesn’t tear. Rushing this process is what tears paper, bends rollers, or cracks plastic guides inside the machine.
Turn Off and Unplug the Printer
Switch off the printer and pull the power cord before you touch anything inside. This protects you from moving parts and keeps the rollers from grabbing your fingers along with the paper.
On laser printers, this step also gives the fuser time to cool. The fuser sits near the rear door and gets hot enough to burn skin during normal use.
Check the Paper Tray, Rear Door, and Output Path
Work through the printer’s jam locations one at a time: the paper tray, the rear door, and the output slot where finished pages come out. Most printers display a message showing roughly where the jam sits, which saves time hunting through the wrong area.
Open the rear door first if your printer’s screen mentions a jam there. Many jams form right where paper transitions from the rollers into the output path.
Remove Jammed Paper and Look for Torn Scraps
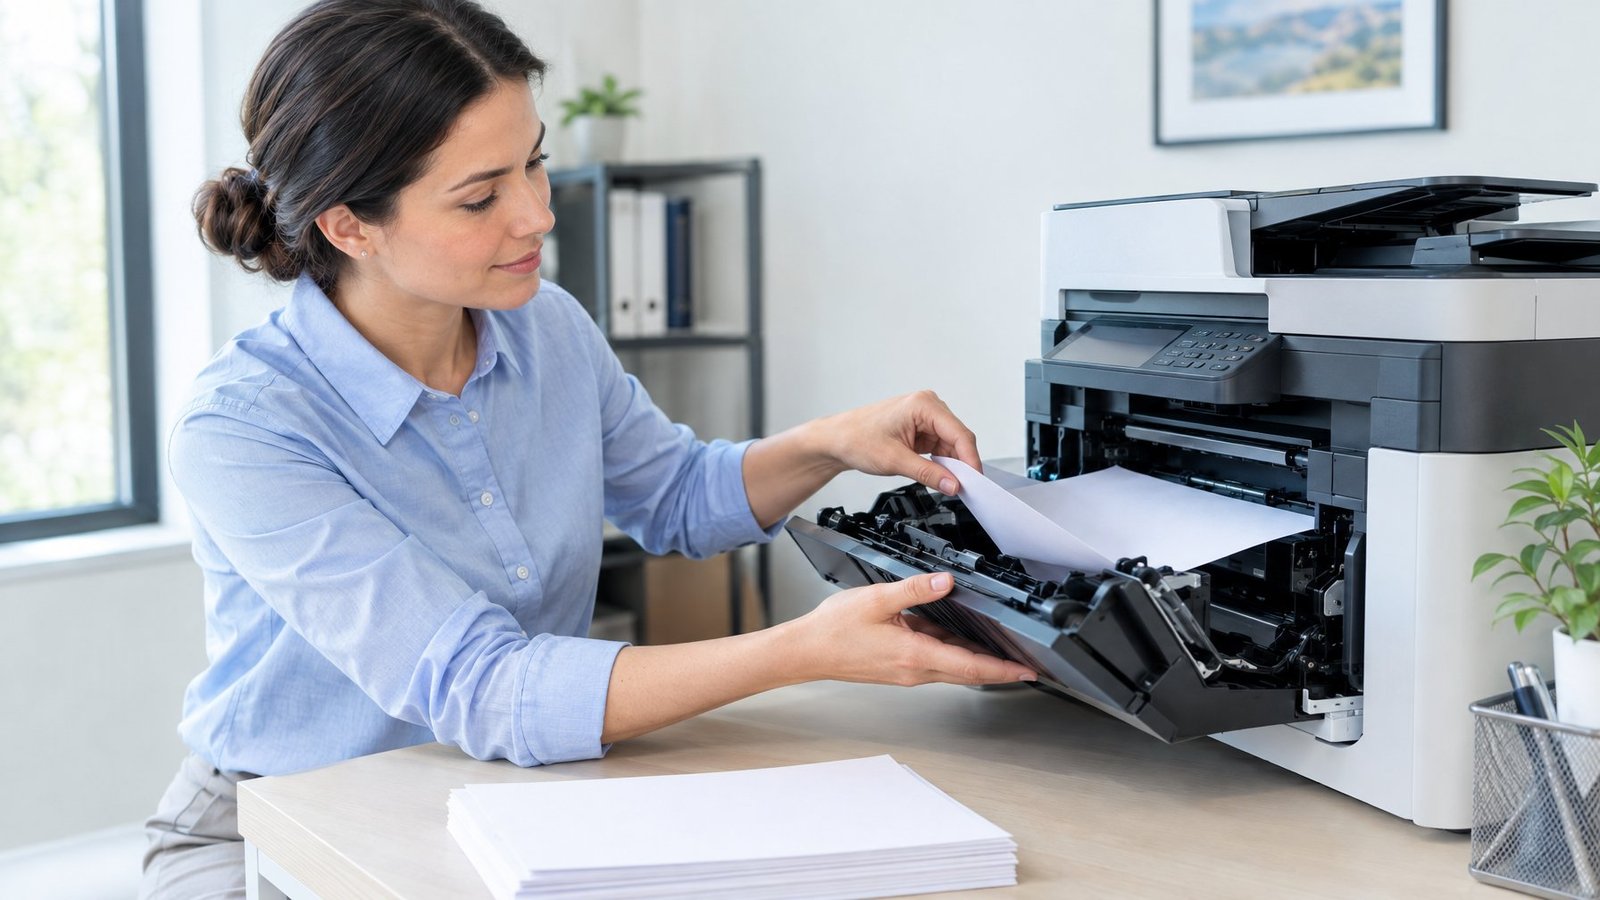
Always use both hands when you remove jammed paper to maintain even tension across the sheet. Pull slowly and in the same direction it was feeding, never backward against the rollers. Yanking paper sideways is the single most common way people tear it and leave paper scraps behind.
Once the visible sheet is out, check for small paper scraps hiding under cartridge holders or tucked into side gaps. A left-behind scrap is the top reason a paper jam error reappears even after you’ve cleared what looked like the whole jam.
Take Extra Care Around Laser and Office Printer Parts
Laser printers and busy office printers have more delicate parts packed into a tighter space than basic inkjets. Avoid touching the clear scanner film on some models, since fingerprints or scratches there can cause lasting print quality problems.
On office printers running through daily high-volume jobs, the toner cartridge and transfer roller sit close to the paper path. Move cartridges gently and only as far as needed to reach stuck paper underneath.
Why Does the Printer Say Paper Jam When Nothing Is Stuck?
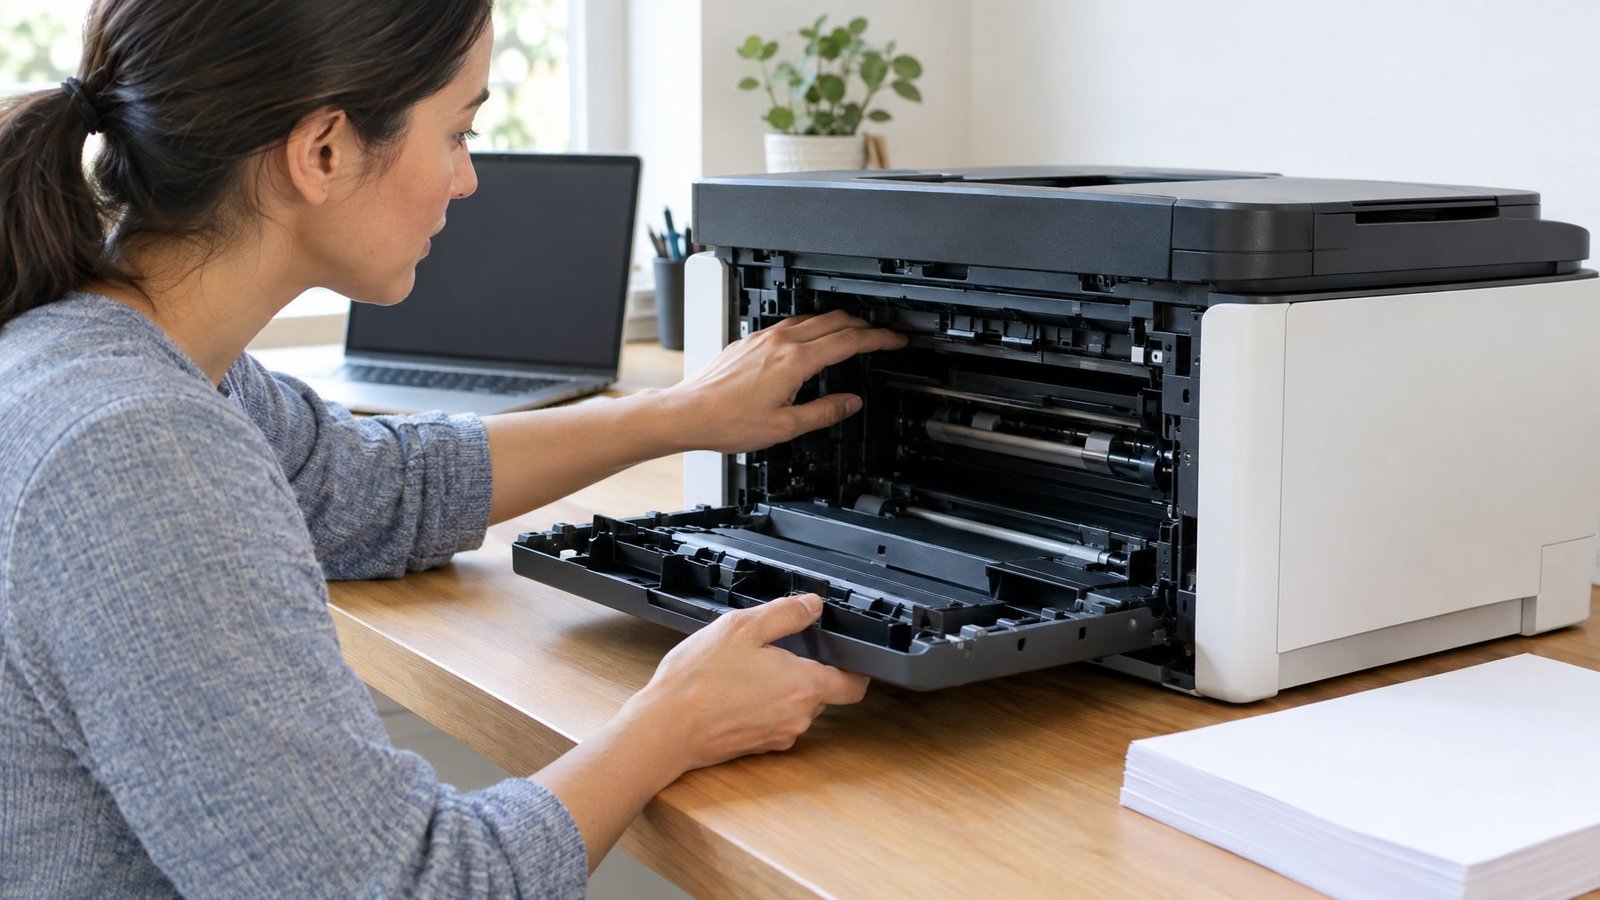
A printer paper jam message can appear even when every tray and door looks completely clear. This happens because the sensors that detect paper movement can misfire, or because dirty rollers slip instead of gripping the page the way they’re supposed to.
Small jam sensors sit along the paper path and flip a flag or beam every time a sheet passes. If a tiny torn scrap, dust clump, or bent sensor flag gets in the way, the printer reads that as a jam even with no paper stuck anywhere obvious.
Open every access point again, including spots you may have skipped the first time, like the space to the left or right of the cartridge holder. A sliver of paper no bigger than a fingernail can trip a sensor and trigger a false paper jam error repeatedly.
Inspect and Clean the Feed Rollers
Dirty or worn feed rollers lose grip and cause the paper to slip, which the printer often reports as a jam. Wipe the rollers with a lint-free cloth lightly dampened with isopropyl alcohol, then let them dry fully before printing again.
Spin the rollers by hand while you clean so you reach the entire surface, not just the part facing up. If the printer still reports a jam after a thorough cleaning and a full sensor check, resetting the printer by unplugging it for 60 seconds often clears a stuck error state.
Get Printing Again After Clearing the Jam
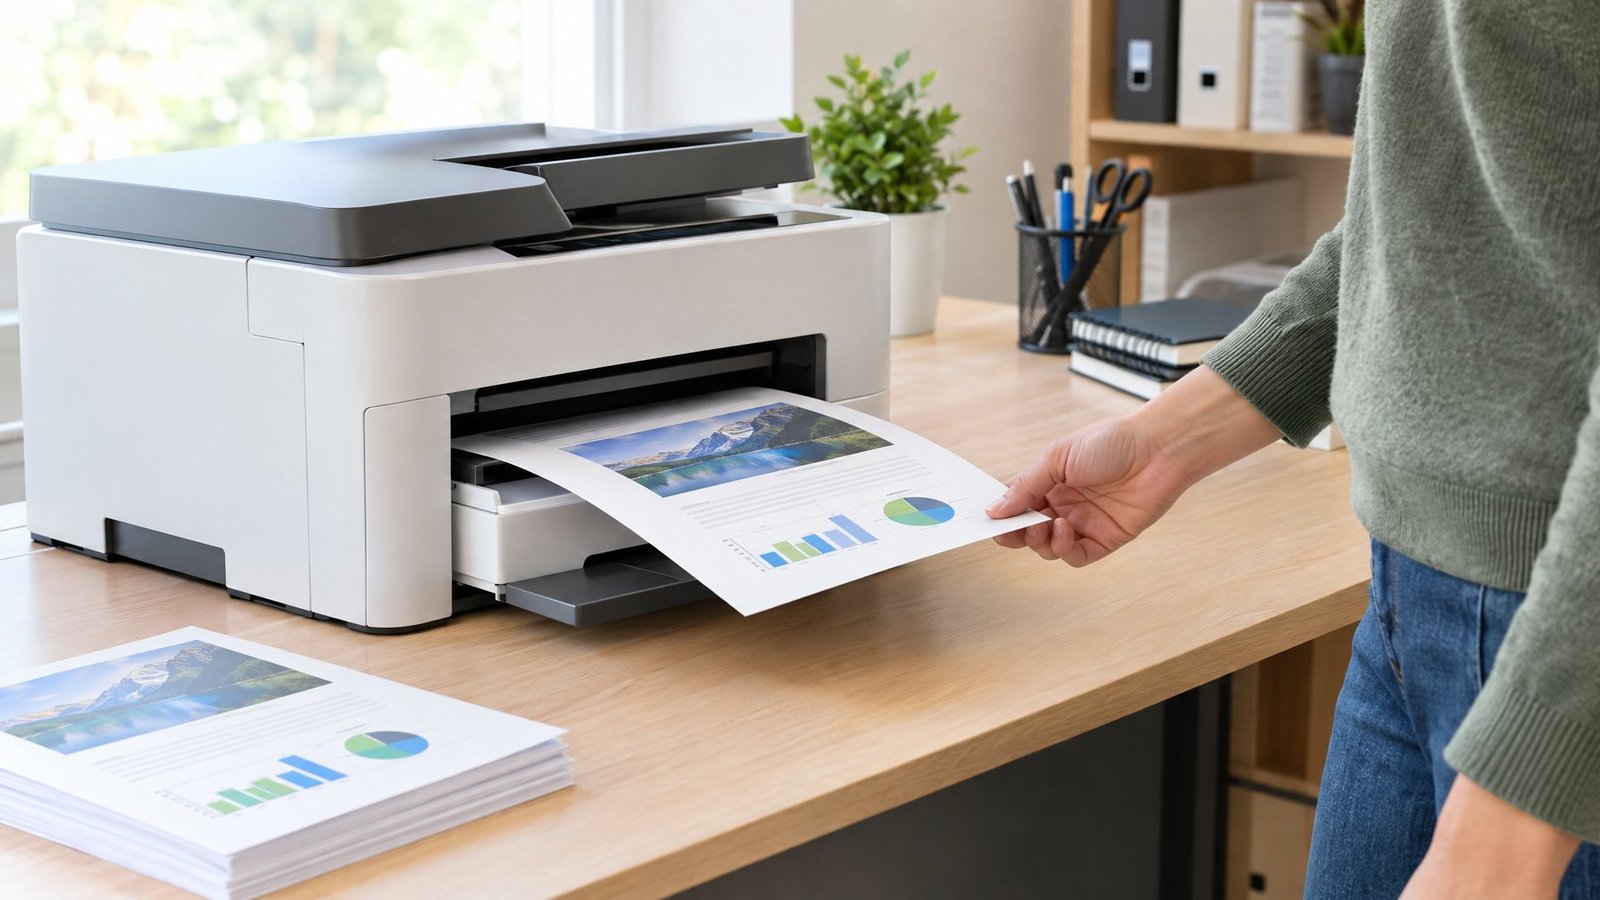
Getting back to normal printing after you fix paper jams usually takes three quick steps: reload the tray correctly, restart the printer, and send a test page. If Windows still shows an error after that, the fix usually lives in the print queue or spooler rather than inside the printer itself.
Reload Paper, Restart, and Print a Test Page
Square up the paper stack before sliding it back into the tray, since crooked sheets are a common cause of repeat jams. Close every door and panel fully, since a door left slightly open can trigger its own error message separate from the jam.
Turn the printer off, wait about a minute, then power it back on. Send a simple test page once it’s ready; this confirms the paper path is clear and the printer is communicating properly before you trust it with anything important.
What to Check if Windows Still Shows a Jam Error
If the physical jam is gone but you face printer connection and printing problems in Windows, the print queue is the likely culprit. Open Settings > Bluetooth & Devices > Printers & Scanners, select your printer, open the print queue, and cancel any stuck jobs.
Restarting the Print Spooler service often clears leftover errors tied to old jobs. Press Windows key + R, type services.msc, find Print Spooler, and select Restart. If the problem continues, restarting both the printer and your PC usually resolves what’s left.
How Can You Prevent Another Paper Jam?
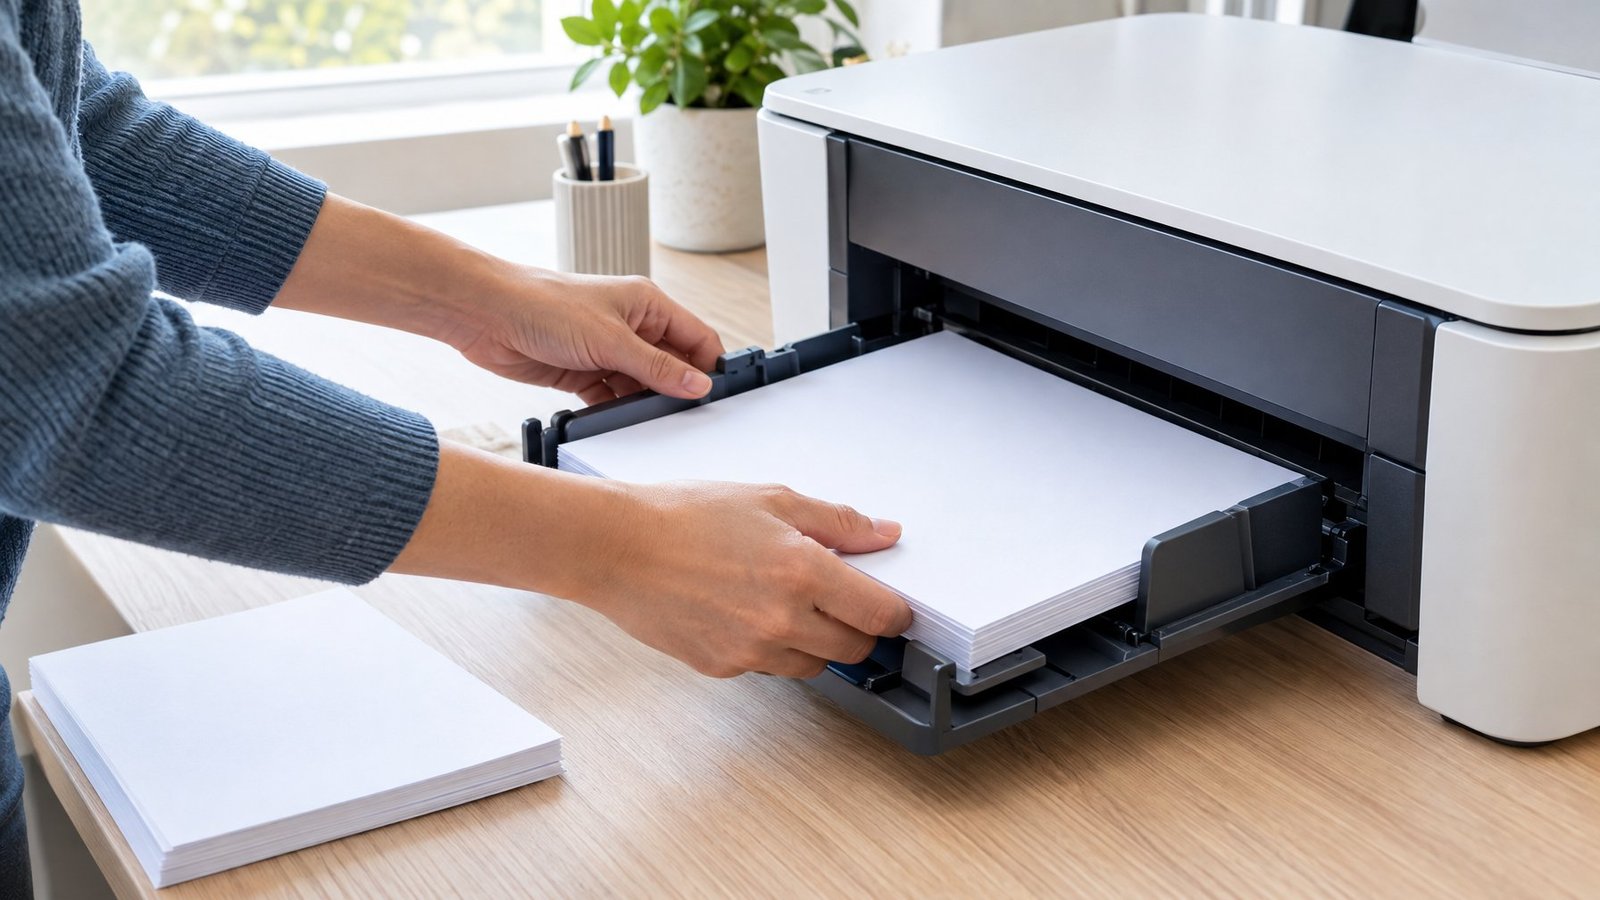
The best way to prevent paper jams comes down to using the right paper, loading it correctly, and keeping an eye on the printer’s condition over time. Most printer paper jams trace back to one of these three habits rather than a hardware defect.
Use the Right Paper and Avoid Overfilling the Tray
Stick to paper weight and type listed in your printer’s specifications, since paper that’s too thick, too thin, or damp tends to jam far more often. Overfilling the tray is just as common a cause, since a stack packed too tight stops the rollers from grabbing a single clean sheet.
Keep the tray filled below its marked line and fan the stack slightly before loading it. This simple step separates sheets that have stuck together from humidity or static.
Adjust Paper Guides and Store Sheets Properly
Slide the paper guides snug against the stack edges without pinching the paper, since loose guides let sheets shift and feed in crooked. A crooked sheet is one of the most common setups for a jam a few seconds later.
Store paper flat in its original wrapper away from humidity. Curled or damp sheets feed unevenly no matter how well the guides are adjusted.
Know When Repeated Jams Need Professional Service
Jams that keep returning after you’ve checked paper, guides, and rollers point to a worn part inside the printer, like a roller that’s lost its grip texture. At that point, contacting the manufacturer’s support line or an authorized repair provider makes more sense than repeated troubleshooting.
Check your printer’s warranty status before paying for a repair, since many manufacturers cover roller and fuser issues during the warranty period.
A Careful Paper-Path Check Gets You Printing Again
Most printer jams clear up with the same short routine: power down, check every access point, remove jammed paper slowly, and look for torn scraps before closing anything up. False jam errors usually trace back to a dirty sensor or slick rollers rather than an actual sheet stuck inside.
A quick reload, restart, and test print confirms the fix worked, and checking the Windows print queue catches anything the printer itself isn’t causing. Paying attention to paper quality, tray loading, and guide alignment going forward keeps most printers from jamming again for months at a time.
Frequently Asked Questions
How do I unjam a printer without tearing the paper?
Turn off and unplug the printer first, then grasp the sheet with both hands to remove jammed paper cleanly. Pull slowly in the direction it was already feeding, as tugging sideways or backward is what usually tears paper and leaves scraps behind inside the machine.
Why does my printer say paper jam when there is no paper?
This usually means a jam sensor is misreading a dirty or worn roller, or a tiny torn scrap is blocking a sensor flag you can’t easily see. Cleaning the feed rollers with a lint-free cloth and isopropyl alcohol, then unplugging the printer for 60 seconds, clears most false jam errors.
How do I reset my printer after a jam?
With the printer powered on, unplug the power cord, wait about 60 seconds, then plug it back into a wall outlet directly rather than a power strip. This reset often clears a stuck error message even after the actual paper jam is gone.
What should I do if paper is stuck in an HP or Canon printer?
Open the rear door or top cover, and gently pull any visible jammed paper out of the rollers. On Canon models, check carefully under the cartridge holder for paper scraps, since a leftover piece there is the most common reason the jam error returns after reloading paper.
What causes paper to keep jamming in a printer?
Repeat jams usually come from overfilled trays, paper that’s too thin or thick for the printer, loose paper guides, or rollers that have worn smooth over time. If jams continue after fixing all three, the rollers or another internal part likely need professional service.

I’m Anirban Saha, Founder & Editor of TechBullish. With a B.Tech in Electronics and Communication Engineering, and 8+ years of experience as a software developer, I have expertise in electronics, software development, gadgets, and computer peripherals. I love sharing my knowledge through informational articles, how-to guides, and troubleshooting tips for Peripherals, Smart TVs, Streaming Solutions, and more here. Check Anirban’s LinkedIn Profile here.