
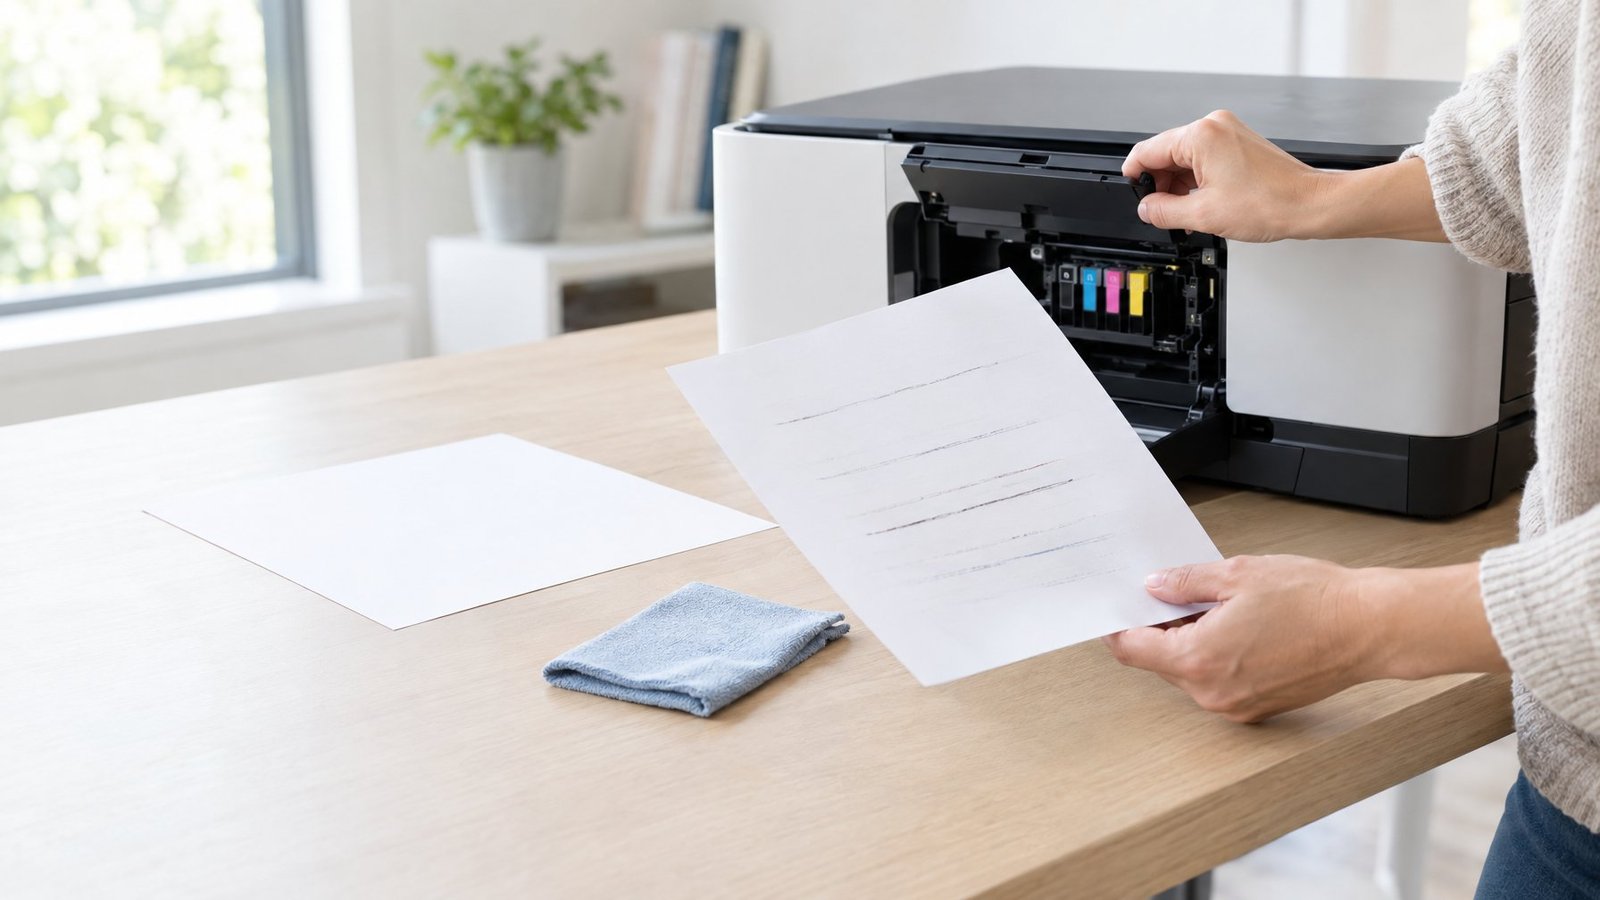
Streaky pages usually come down to one of a handful of causes: a clogged printhead, a low cartridge, a dirty corona wire, or a smudge on the scanner glass. You can fix most printer streaks at home by running a nozzle check or test page, cleaning the print head or corona wire, and checking ink or toner levels before replacing any parts.
If you are dealing with printer streaking or your printer printing lines across important documents, learning how to fix printer streaks will resolve the issue quickly through targeted printer troubleshooting.
We’ve chased down plenty of these streaks ourselves, and the pattern on the page almost always points to the fix. A thin white line running down a photo usually means a clogged nozzle. A smeared horizontal band near the bottom of the sheet often means a dirty roller. Knowing which is which saves you from buying a new cartridge when a five-minute cleaning cycle would have done the job.
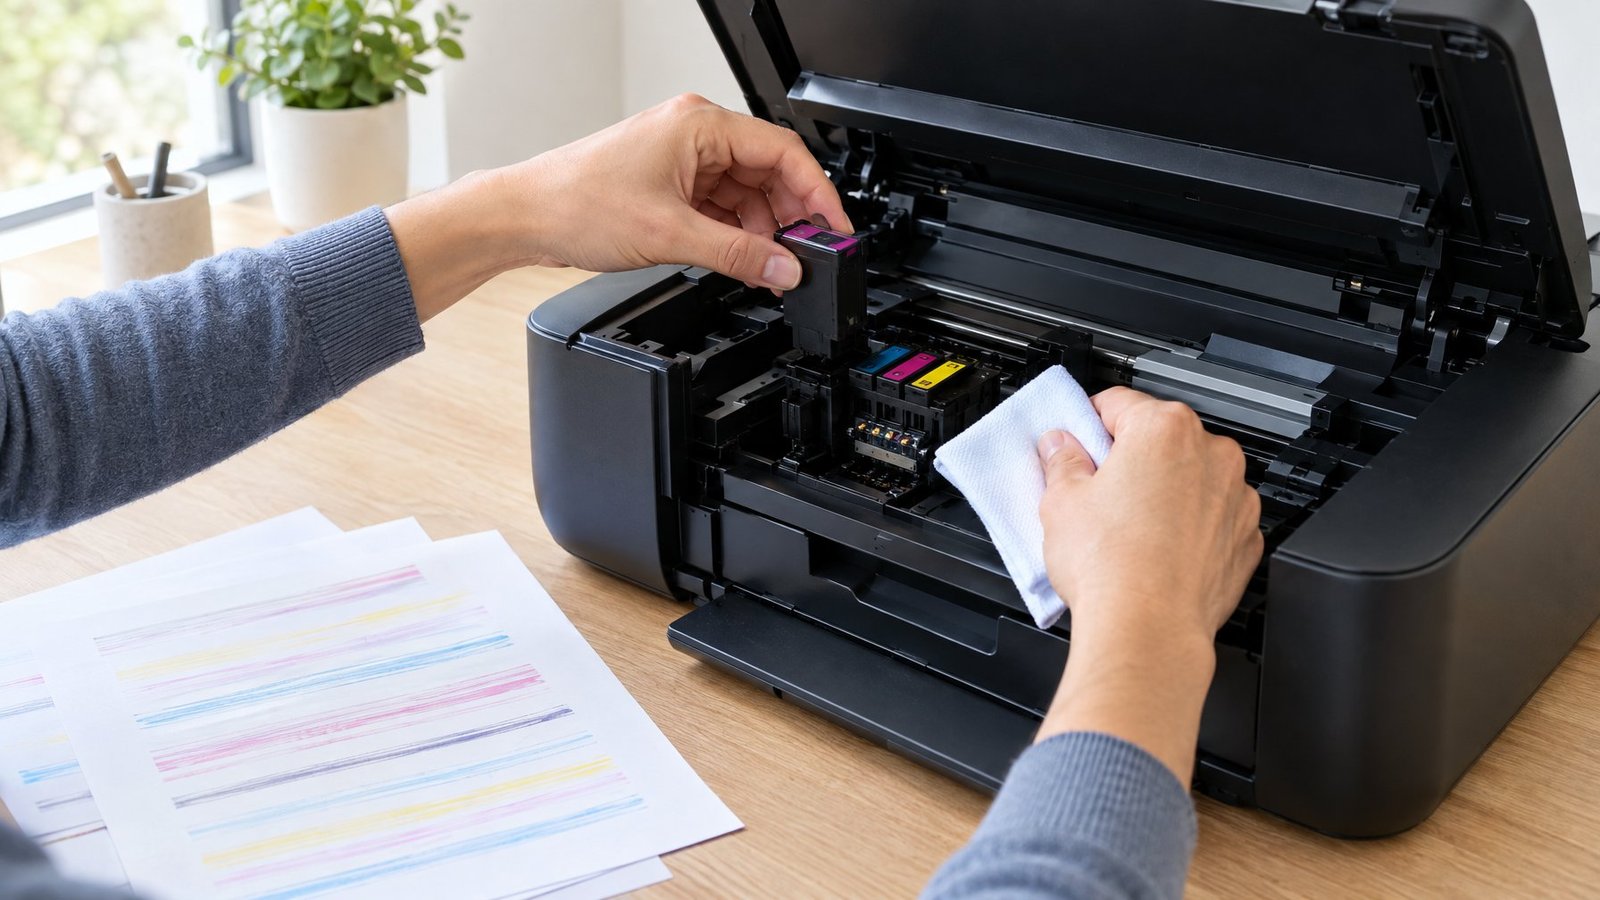
This guide covers inkjet printers and laser printers separately, since the causes and fixes are different for each. It also covers the paper and roller issues that get mistaken for printer problems when the real culprit is a scanner or copier glass.
Start with a Test Page and the Streak Pattern
A built-in printer test page is the fastest way to tell what’s actually wrong with your printer. It isolates the problem to the printhead, the toner, or something mechanical, so you don’t waste ink or money guessing.
Pinpointing the root of printer streaking early also prevents minor clogs or roller debris from causing permanent hardware wear.
How Do You Print a Test Page to Find the Cause?
Every printer has a test page or nozzle check built into its menu or software. On most machines, you’ll find it under maintenance or utility settings, either on the printer’s screen or in the printer software on your computer.
Print it on plain paper and compare it against a clean reference image if your printer provides one. This printout reveals whether a clogged print head or misaligned colors are behind the defect. If the test page looks fine, the issue is likely your paper or settings.
| Streak Pattern | Printer Type | Likely Cause | Primary Fix |
|---|---|---|---|
| Vertical white lines | Inkjet | Clogged printhead nozzles | Run nozzle check and printhead cleaning |
| Vertical black or colored streaks | Laser | Dirty corona wire or scratched drum | Slide corona wire tab or replace drum |
| Horizontal lines or banding | Inkjet / Laser | Misaligned printhead or uneven toner | Align printhead or redistribute toner powder |
| Evenly spaced repeating marks | Laser | Dirty or damaged roller or drum | Clean roller surface or replace drum unit |
| Smudges or toner rubbing off | Laser | Faulty fuser assembly | Inspect and replace fuser heating unit |
| Lines only on scans/copies | All-in-One | Dirty ADF scanner glass | Clean glass strip with a microfiber cloth |
What Do Horizontal Lines and Vertical White Lines Mean?
Horizontal lines usually point to a toner or ink delivery problem, while vertical white lines through text or images usually mean clogged printhead nozzles. On laser printers, horizontal colored lines often trace back to a specific toner cartridge or the drum unit.
Vertical white streaks or bands, a common form of laser printer streaks, can also mean something is blocking the light path inside the machine, like dust or a torn paper scrap near the toner cartridge.
Could Low Ink or Toner Be the Problem?
Low ink or toner is one of the most common causes of streaky prints, and it’s the easiest to check. A flashing ink light or a low toner warning on the display is usually a direct explanation for faint or streaky output.
Before cleaning anything, check your ink or toner levels through the printer’s screen or driver software. It’s a two-minute check that can save you a full cleaning cycle.
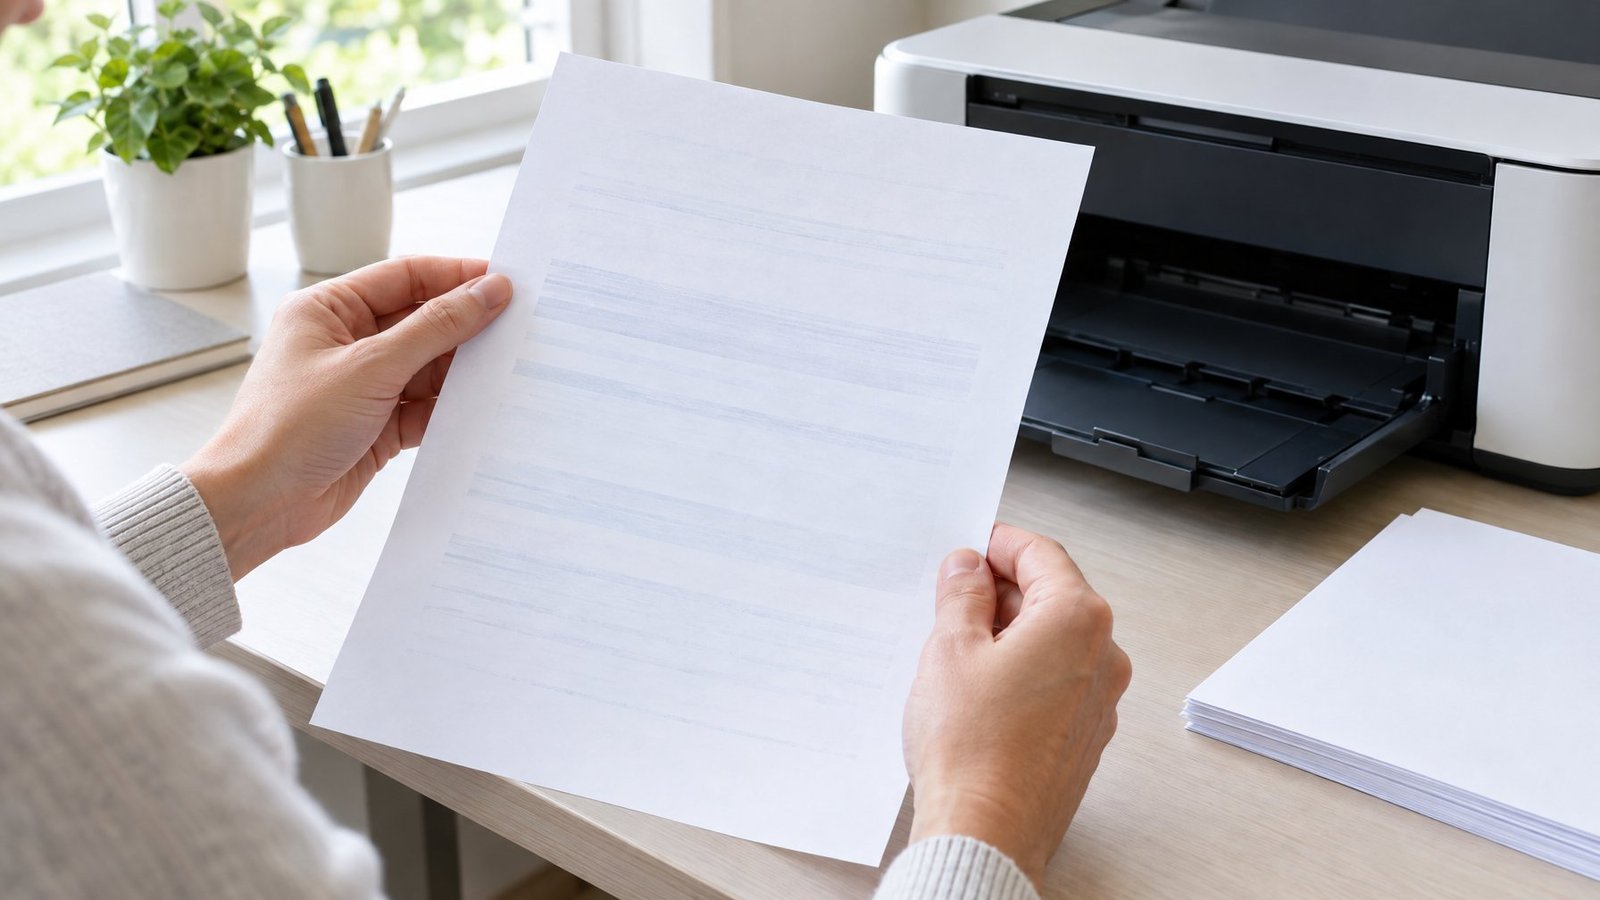
Clear Streaks on an Inkjet Printer
Dried ink in the printhead nozzles causes most inkjet printer streaks, and a nozzle check combined with a cleaning cycle resolves the majority of cases. The fix gets more involved if ink cartridges are old or poor printhead alignment shifts ink placement across the page.
Run a Nozzle Check, Then Clean the Printhead
Follow these step-by-step instructions to clear inkjet nozzle clogs:
- Print a nozzle check: Open your printer utility software and print a test pattern. Look for missing segments or faded color bars.
- Run an automated cleaning cycle: Run one cleaning cycle through your control panel, then reprint the nozzle check to review changes.
- Rest the printer if clogs persist: If gaps remain after three cycles, turn the machine off for 12 hours so dried ink can dissolve.
- Perform a deep clean: Run a power clean utility or gently wipe the exterior nozzles with a lint-free cloth moistened with warm distilled water.
Check and Replace Problem Ink Cartridges
When maintaining an inkjet printer, an ink cartridge that’s old, low, or faulty won’t respond to cleaning cycles no matter how many times you run them. If the nozzle check pattern still shows a missing color after repeated cleanings, that color’s cartridge is the likely cause.
Remove the cartridge and check the print date or fill level. Cartridges used past their expiration or left idle for months are common causes of streaky prints that cleaning cycles can’t solve.
Align the Printhead if Lines Look Jagged or Doubled
Jagged edges, doubled text, or vertical misalignment usually mean the printhead needs realignment rather than cleaning. Run the printhead alignment utility from your printer software and print the alignment test sheet it generates.
A proper printhead alignment synchronizes the cartridges so ink lands accurately on the sheet. Performing a regular print head alignment ensures sharp edges across every document.
Finishing this print head alignment process eliminates gaps between print passes.
Wipe any dried ink around the cartridge area with a cloth lightly dampened with distilled water. Tap water can leave mineral deposits that make streaking worse over time.
Remove Streaks on a Laser Printer
Laser printer streaks usually trace back to the toner cartridge, the corona wire, or the drum unit rather than anything resembling an ink clog. Each part produces a distinct streak pattern, which makes diagnosis fairly direct once you know what to look for.
Reseat the Toner Cartridge and Check for Fading
A loose cartridge or uneven toner distribution causes faded patches or light streaks across the page. Remove the cartridge, gently rock it side to side to redistribute the toner, and reinstall it firmly.
Low toner levels frequently cause uneven toner distribution as internal hoppers empty out. Shaking the cartridge redistributes the remaining powder and temporarily confirms whether uneven toner distribution caused the fading.
If the page is faint everywhere, check whether toner save mode is turned on in the printer driver. Turning it off often restores full density immediately.
Clean the Corona Wire and Inspect the Drum
Vertical lines on laser prints usually point to the corona wire or drum assembly. Follow these steps to clean and inspect them:
- Slide the corona wire cleaner: Open the printer, remove the drum unit, and slide the built-in tab (usually green) back and forth several times. Always return it to the home position.
- Inspect the drum cylinder: Rotate the drum gear by hand in good lighting. Check for scratches, toner buildup, or adhesive residue.
- Clean surface debris: Gently wipe loose dust or debris with a dry cotton swab. If the surface is scratched or gouged, replace the drum unit.
Identify Roller Marks and Toner That Rubs Off
Toner that smears or rubs off the page after printing usually points to the fuser, not the toner cartridge itself. A failing fuser can’t properly melt and bond toner to the paper, leaving a dusty residue you can wipe off with a finger.
Repeating marks at regular intervals down the page, instead of a continuous streak, usually point to a mark on the transfer roller or drum rather than a wire or fuser issue. In many offices, repetitive laser printer streaks clear up once the affected roller surface is cleaned or replaced.
A worn transfer roller can also cause faint vertical voids or background toner scatter. Check the transfer roller directly beneath the cartridge for stray powder, nicks, or surface wear.
Check Paper, Rollers, and Copy-Only Lines
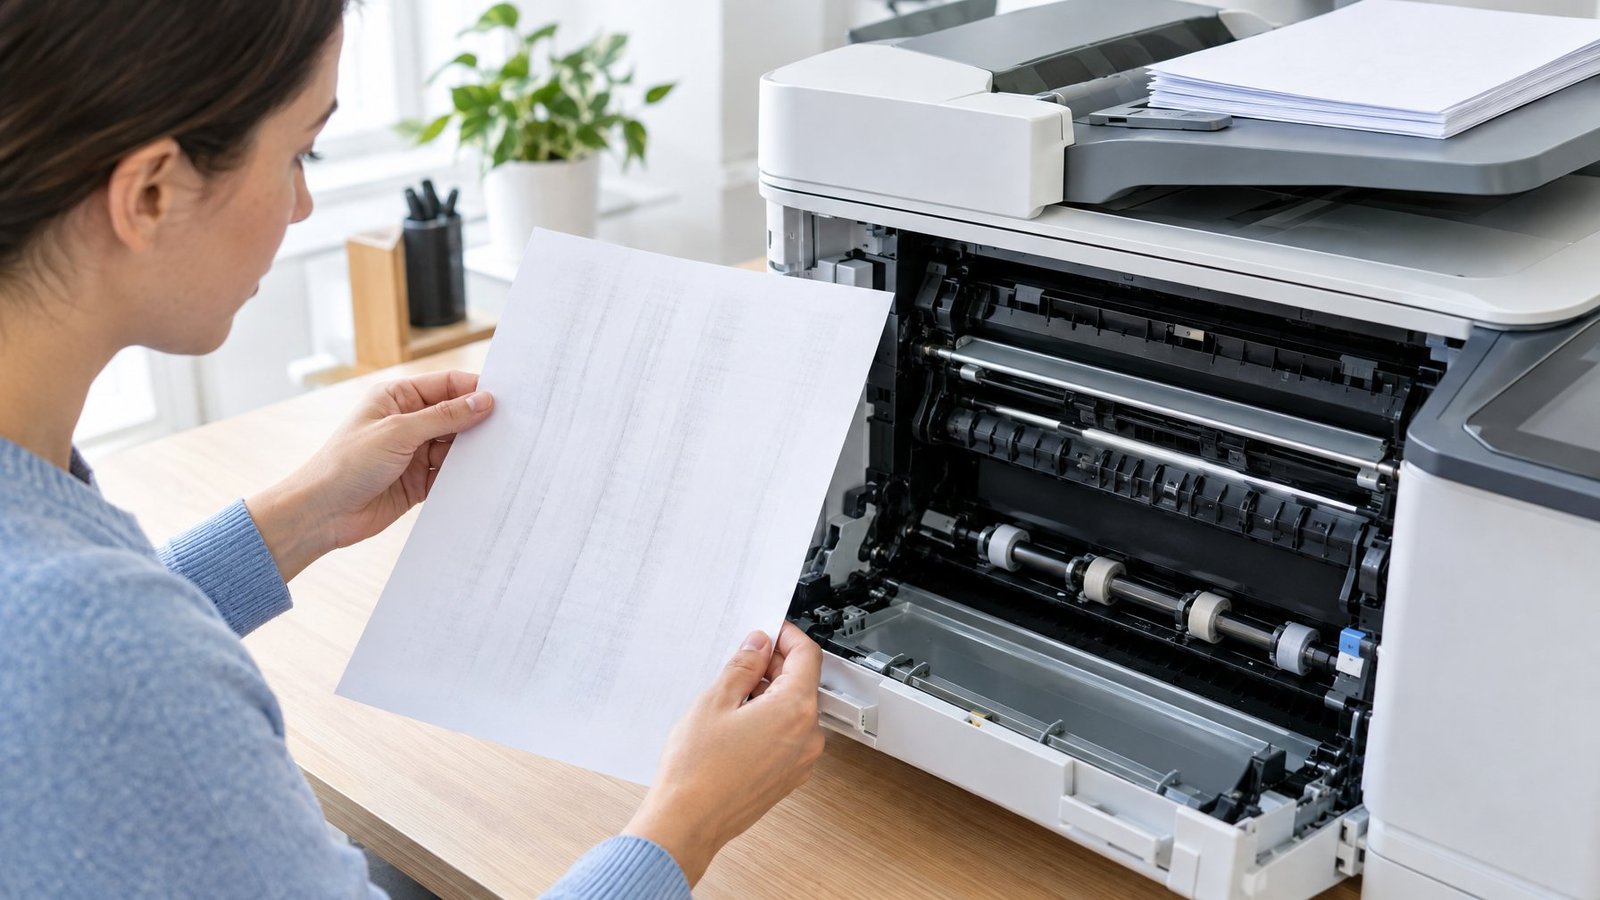
Not every streak comes from ink or toner. Paper choice, print settings, and dirty glass on a scanner or copier can all produce marks that look exactly like a hardware failure.
Could Paper or Print Settings Be Causing the Marks?
Wrinkled, damp, or the wrong type of paper can cause dark horizontal defects and smearing even on a perfectly healthy printer. Check that the paper type selected in your print settings matches what’s loaded in the tray, since a mismatch affects how much ink or toner gets applied.
Rough paper absorbs ink unevenly, while glossy photo paper in a laser printer can blister from heat and damage the machine. Stick to paper rated for your printer type.
Are the Marks Coming from Rollers or the Scanner Glass?
If streaks only show up on copies or scans, not on fresh prints sent from your computer, the scanner glass is usually to blame. Printer rollers can also leave marks when paper isn’t distributed by the printer manufacturer, since ink takes longer to dry on it and transfers onto rollers.
Printing a test page first tells you whether the problem lives in the print engine or the scan path. A test page with no streaks but a streaky copy points straight to a dirty glass strip on the document feeder. Cleaning this glass area with distilled water and a microfiber cloth typically eliminates the line.
Match the Streak to the Fix Before Replacing Parts
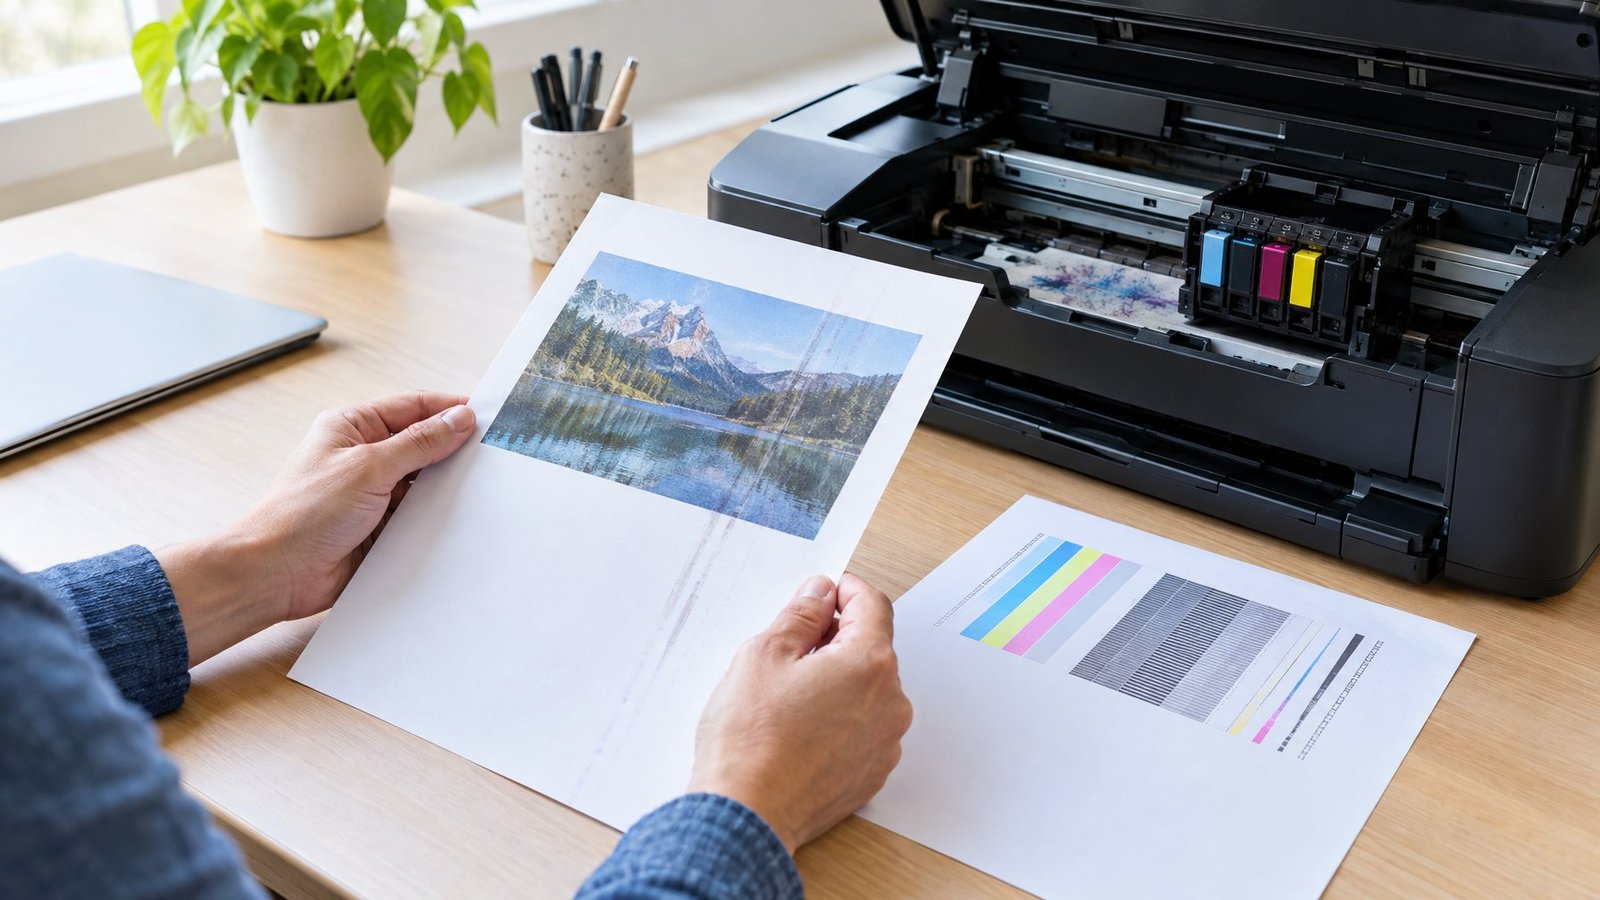
The fastest way to fix printer streaks without unnecessary spending is matching the exact pattern you see to its known cause before buying parts. A vertical white line points to a clogged nozzle or a dirty corona wire, not a dying printhead, and a horizontal colored band usually names a specific toner cartridge rather than the whole machine.
Work through the cheap fixes first: nozzle checks, cleaning cycles, reseating cartridges, and wiping the corona wire. These solve the overwhelming majority of streak complaints without spending a dollar.
Save printer repair or parts replacement for cases where printer streaking persists after cleaning, or where you’ve spotted actual damage, like a scratched drum or a cracked roller. At that point, replacing the specific part identified by the test page is more reliable than replacing the whole unit.
Frequently Asked Questions
How do I stop my printer from printing streaks?
Understanding how to fix printer streaks starts with running a nozzle check or test page to identify the pattern, then cleaning the printhead on an inkjet or the corona wire on a laser printer. Keeping genuine ink or toner cartridges installed and printing a page occasionally, even when you don’t need to, helps prevent nozzles from drying out between uses.
Why does my Epson printer print horizontal lines on pictures?
Horizontal lines or banding on Epson printers usually mean a clogged print head is restricting ink flow. Run a nozzle check through the printer utility, initiate a printhead cleaning cycle if needed, and verify your paper settings.
If banding continues after cleaning, completing a print head alignment will correct uneven spacing.
Why does my printer still print lines after I clean the printhead?
If lines persist after a printhead cleaning cycle, dried ink may have hardened inside the microscopic nozzles. An ink cartridge could also be old, defective, or low rather than a clogged print head being the only issue.
Try leaving the printer off overnight and running the nozzle check again. If the test pattern still shows gaps, replace the cartridge matching the missing color.
Why are there yellow streaks on my paper?
Yellow streaks on a laser printer point to the yellow toner cartridge or the corona wire for that color inside the drum unit. Clean the corresponding corona wire first, and replace the yellow toner cartridge if the streak remains after cleaning.
Why is my printer leaving ink smudges on the paper?
Smudges often come from paper that’s too thick, too glossy, or not fully dry before handling, especially right after printing. On laser printers, smearing that rubs off with a finger points to a failing fuser that isn’t melting toner into the page properly.

I’m Anirban Saha, Founder & Editor of TechBullish. With a B.Tech in Electronics and Communication Engineering, and 8+ years of experience as a software developer, I have expertise in electronics, software development, gadgets, and computer peripherals. I love sharing my knowledge through informational articles, how-to guides, and troubleshooting tips for Peripherals, Smart TVs, Streaming Solutions, and more here. Check Anirban’s LinkedIn Profile here.