
A slow computer often has a simple fix sitting in a static-free bag on a shelf. Installing RAM yourself takes about 15 minutes, costs far less than a full computer upgrade, and gives most laptops and desktops a noticeable speed boost for multitasking, gaming, or creative work. You don’t need technical training. You need the right module, a clean workspace, and a steady hand.
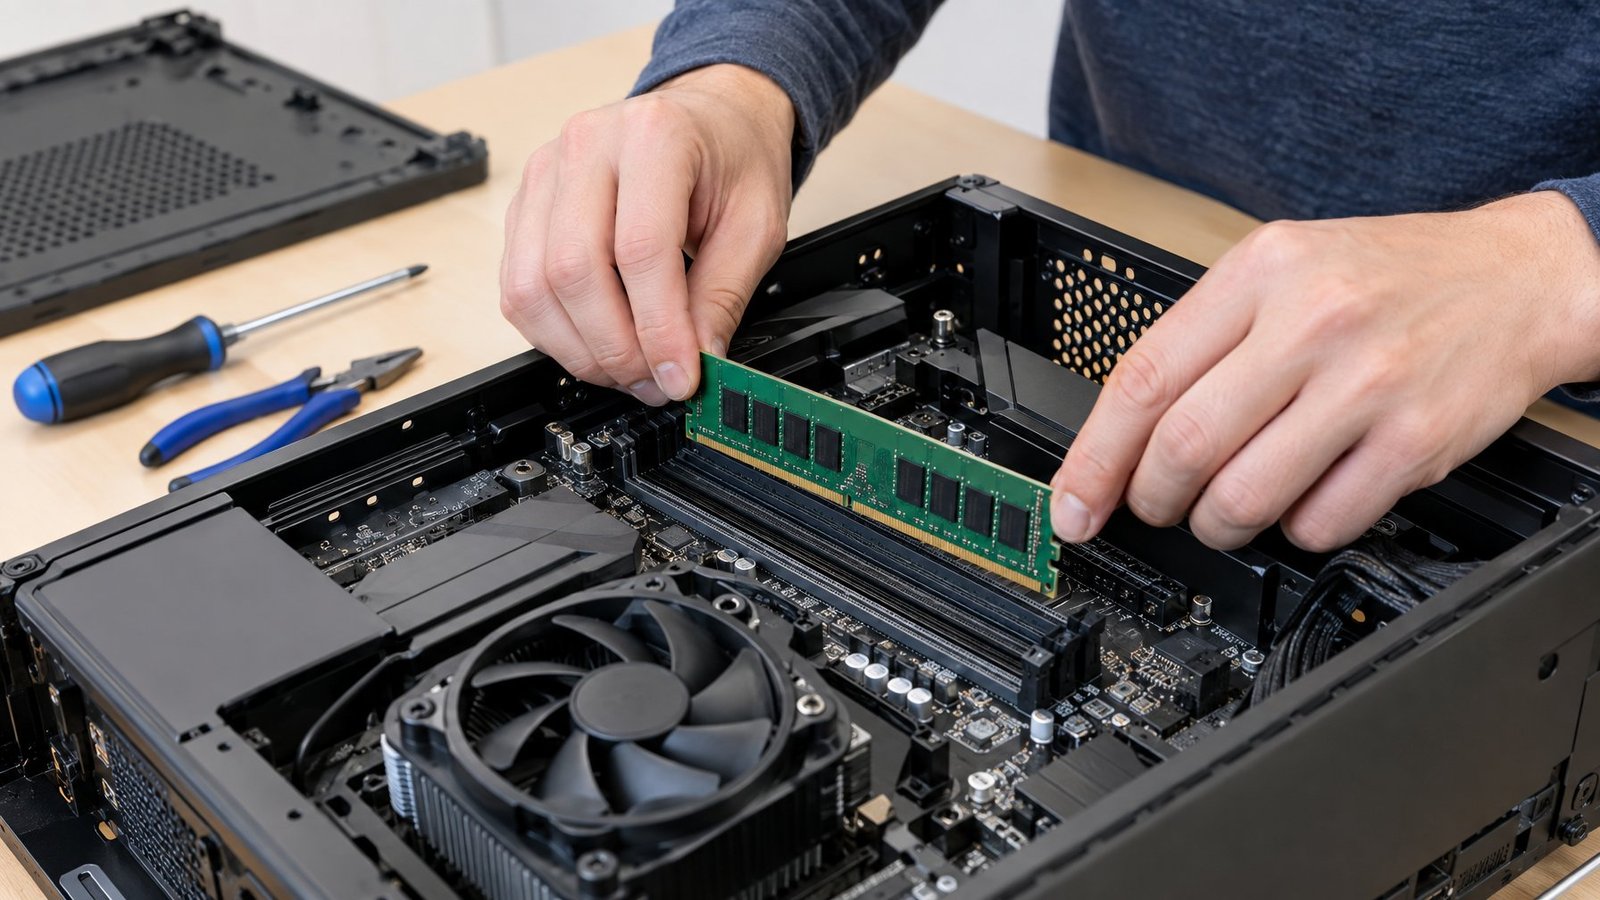
This guide walks through how to install RAM in both desktop PCs and upgradeable laptops, from checking compatibility to confirming the new memory actually works. We’ll cover ram installation step by step, plus what to do if your ram upgrade doesn’t show up the way you expected after you close the case.
What Should You Check Before Buying RAM?
Before you buy a single memory module, confirm your computer can accept new RAM and figure out exactly which type it needs. Skipping this step is the most common reason people end up returning memory or, worse, damaging a slot by forcing in the wrong module.https://www.youtube.com/embed/NtCzunl0AQA
Is Your Computer’s Memory Upgradeable?
Not every computer lets you add or swap RAM. Some laptops use soldered memory that’s built directly onto the motherboard, which means no amount of disassembly will let you upgrade it.
Check your computer maker’s documentation or the motherboard manual for your specific model before buying anything. Desktops almost always use removable DIMM modules, while laptops may use SO-DIMM slots, soldered memory, or a mix of both depending on the model.
A quick way to check is opening Task Manager, clicking the Performance tab, and looking at the Memory section. It won’t tell you if the memory is soldered, but it shows your current capacity and speed, which is a useful starting point.
Which RAM Type, Capacity, and Speed Will Work?
Your motherboard and processor determine which RAM type you can use, so check both before shopping. DDR4 and DDR5 are physically different, with different notch positions on the module, so DDR4 RAM will not fit into a DDR5 slot and vice versa.
Processor generation matters here too. Many 12th, 13th, and 14th Gen Intel Core desktop processors support both DDR4 and DDR5 depending on the motherboard, while newer Intel Core Ultra (Series 2) processors support DDR5 speeds up to 6400 MT/s.
For capacity, Microsoft’s general guidance is a helpful baseline:
- 4GB covers basic browsing, documents, and video streaming
- 8GB is recommended for long-term day-to-day reliability
- 16GB or more suits photo editing, video editing, and demanding creative projects
Tools like CPU-Z can show your current RAM speed, capacity, and slot usage in detail. Popular upgrade kits include Corsair Vengeance DDR5, Kingston FURY Beast DDR5, and Crucial DDR5, all available in a range of capacities and speeds to match different motherboards.
Installing RAM in a Desktop PC
Installing RAM in a desktop PC means powering down safely, opening the case, and seating each module firmly into the correct DIMM slot. The whole process typically takes less time than unboxing the memory itself.https://www.youtube.com/embed/tv2ZWRePx5U
Power Down, Open the Case, and Prevent Static Damage
Shut down the computer completely and unplug the power cable, along with any connected accessories. Hold the power button for about five seconds to release any leftover electricity in the system.
Open the case following your motherboard manual’s instructions, since panel latches and screws vary by model. Static electricity can damage memory modules and other components, so either wear an anti-static wrist strap or touch an unpainted metal part of the case frame before handling anything inside.
Handle new memory modules by their edges. Avoid touching the gold pins or the chips on the module’s surface, since oils and static from your fingers can affect the contacts.
Which DIMM Slots Should You Use?
Your motherboard manual tells you exactly which ram slots to fill first for the best performance. Most boards support dual-channel memory, and the manual will specify a pairing like slots A2 and B2 for two modules, or all four slots for a full set.
Installing modules in the wrong order won’t damage anything, but it can mean the system runs in single-channel mode instead of the faster dual-channel mode. This is the kind of detail that’s easy to miss and tends to be the reason a new RAM kit doesn’t feel as fast as expected.
Align, Seat, and Secure Each Module
Press open the retention clips on the sides of the slot before inserting a module. Line up the notch on the bottom edge of the RAM stick with the matching ridge in the slot, since the module only fits one way.
Push down firmly and evenly on both ends of the module. It takes noticeable pressure, and you’ll feel and hear the clips snap into place automatically when it’s fully seated.
Check that both side clips sit flush against the module. A stick that’s only partially seated is the most common reason a new upgrade fails to show up after you power the system back on.
Installing RAM in an Upgradeable Laptop
Installing RAM in a laptop follows the same core idea as a desktop but works through a smaller access panel on the bottom of the case. The slots use SO-DIMM modules, which are shorter and narrower than the DIMM sticks used in desktop towers.https://www.youtube.com/embed/pcBwnb8rENQ
Open the Laptop and Disconnect Power Safely
Shut the laptop down fully, unplug the charger, and remove the battery if it’s a removable type. For laptops with internal batteries, unplugging the charger and shutting down completely is enough, though some manufacturers recommend holding the power button briefly afterward to drain residual power.
Flip the laptop over and remove the screws holding the bottom panel or memory access cover in place. Some laptops have a small dedicated memory door, while others require removing the entire bottom panel to reach the SO-DIMM slots.
Ground yourself before touching anything inside. Electrostatic discharge is just as damaging to a laptop’s memory slots as it is to a desktop’s, so touch an unpainted metal surface or wear a wrist strap first.
Check your laptop’s documentation first, since some models use soldered memory that cannot be upgraded regardless of how the case opens.
Insert and Lock the SO-DIMM
Insert the SO-DIMM module at an angle, lining up the notch with the key in the slot. SO-DIMM slots typically sit at roughly a 30-degree angle rather than straight up and down like desktop DIMM slots.
Push the module in until it’s fully seated in the slot, then press it down flat. The side clips should close automatically and hold the module in place with a light click.
If the clips don’t catch, the module probably isn’t pushed in far enough. Pull it back out and reseat it rather than forcing the clips closed manually.
How Do You Confirm the New RAM Works?
The fastest way to confirm new RAM works is checking the reported capacity in Windows and in BIOS right after reassembly. A quick check here catches seating problems before you’ve closed everything up and walked away.
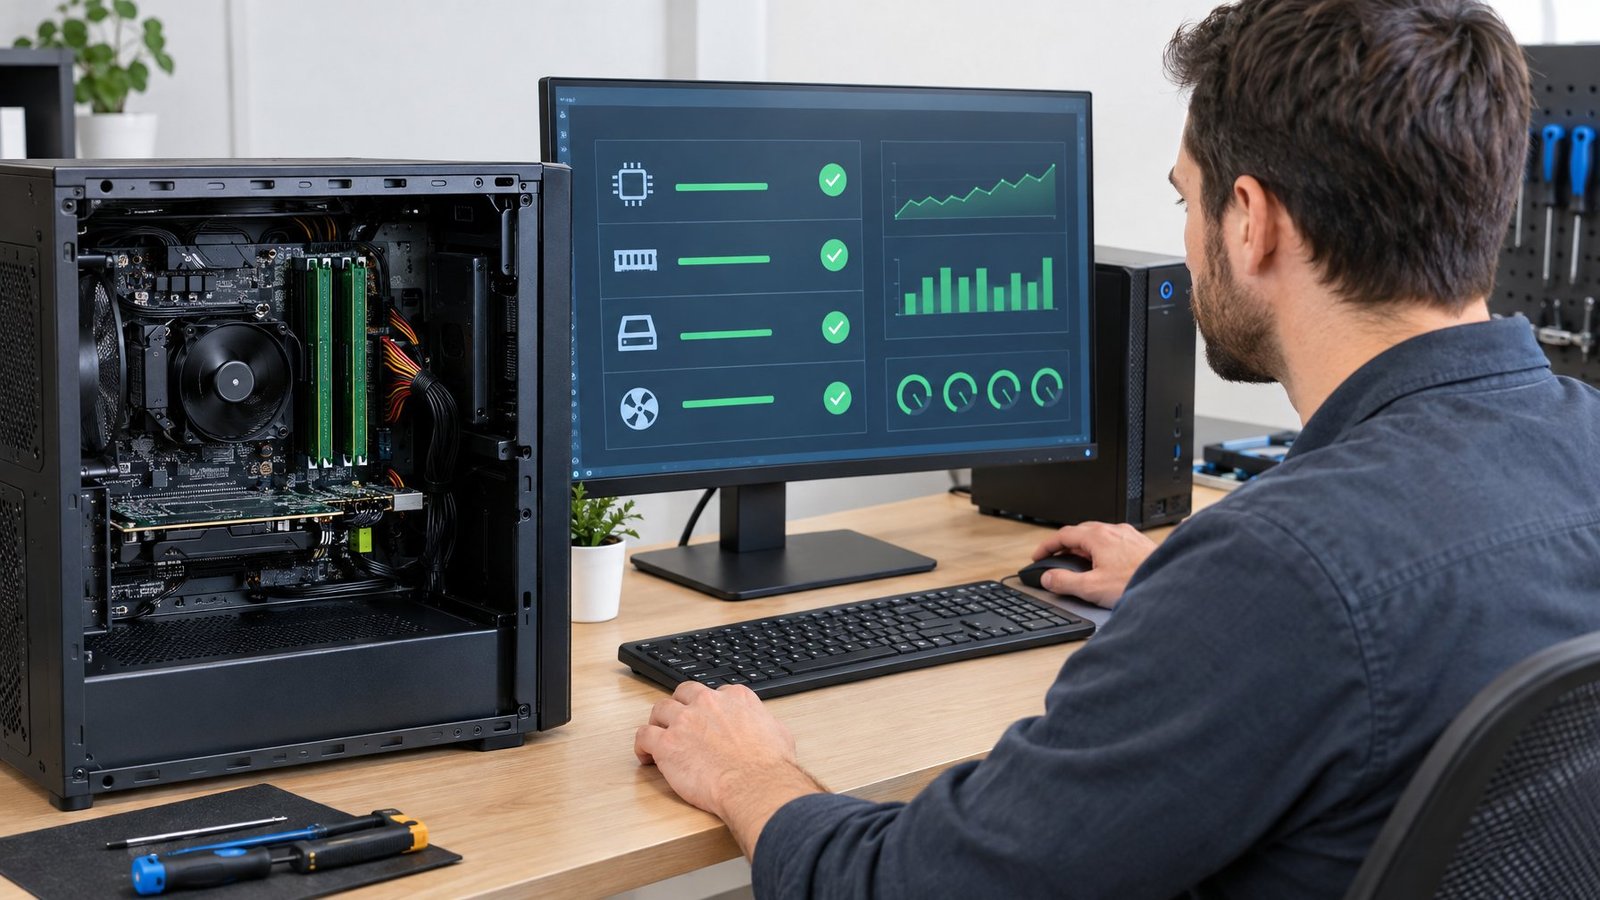
Check Capacity and Speed in BIOS and Windows
Boot the computer and enter BIOS by pressing the key shown on the startup screen, often Delete or F2 depending on the motherboard. Look for a memory or DRAM status section showing total installed capacity, which should match what you installed.
In Windows, right-click the Start menu, open Task Manager, and select the Performance tab to see total memory and current speed. For more detail, including individual stick information and timings, a free tool like CPU-Z breaks down capacity, speed, and slot layout clearly.
Enable XMP or EXPO if Supported
New RAM often runs at a slower default speed until you turn on its rated profile in BIOS. Intel systems use XMP (Extreme Memory Profile) and AMD systems use EXPO, both of which apply the manufacturer’s tested speed and timing settings with a single toggle.
Enter BIOS, find the memory or overclocking section, and switch the XMP or EXPO setting to enabled. Save changes and restart, then recheck the speed in CPU-Z or BIOS to confirm it now matches the number printed on the module’s packaging.
Troubleshoot Boot Failures or Missing Memory
A computer that won’t boot after a RAM installation almost always points to a seating issue. Power down, reopen the case, remove each module, and reinstall it firmly until the clips lock fully into place.
If the system boots but shows less memory than expected, test one stick at a time in a single slot to find a faulty module. Running the Windows Memory Diagnostic tool (search “Windows Memory Diagnostic” in the Start menu) can confirm whether a stick has errors.
If the system becomes unstable after enabling XMP or EXPO, clearing CMOS through the motherboard’s reset button or jumper restores default BIOS settings and resolves most conflicts.
A Successful Upgrade Starts with the Right Fit
Getting ram compatibility right before you buy saves far more time than troubleshooting afterward. A module that matches your motherboard’s supported type, speed, and capacity will almost always install smoothly and work the first time.
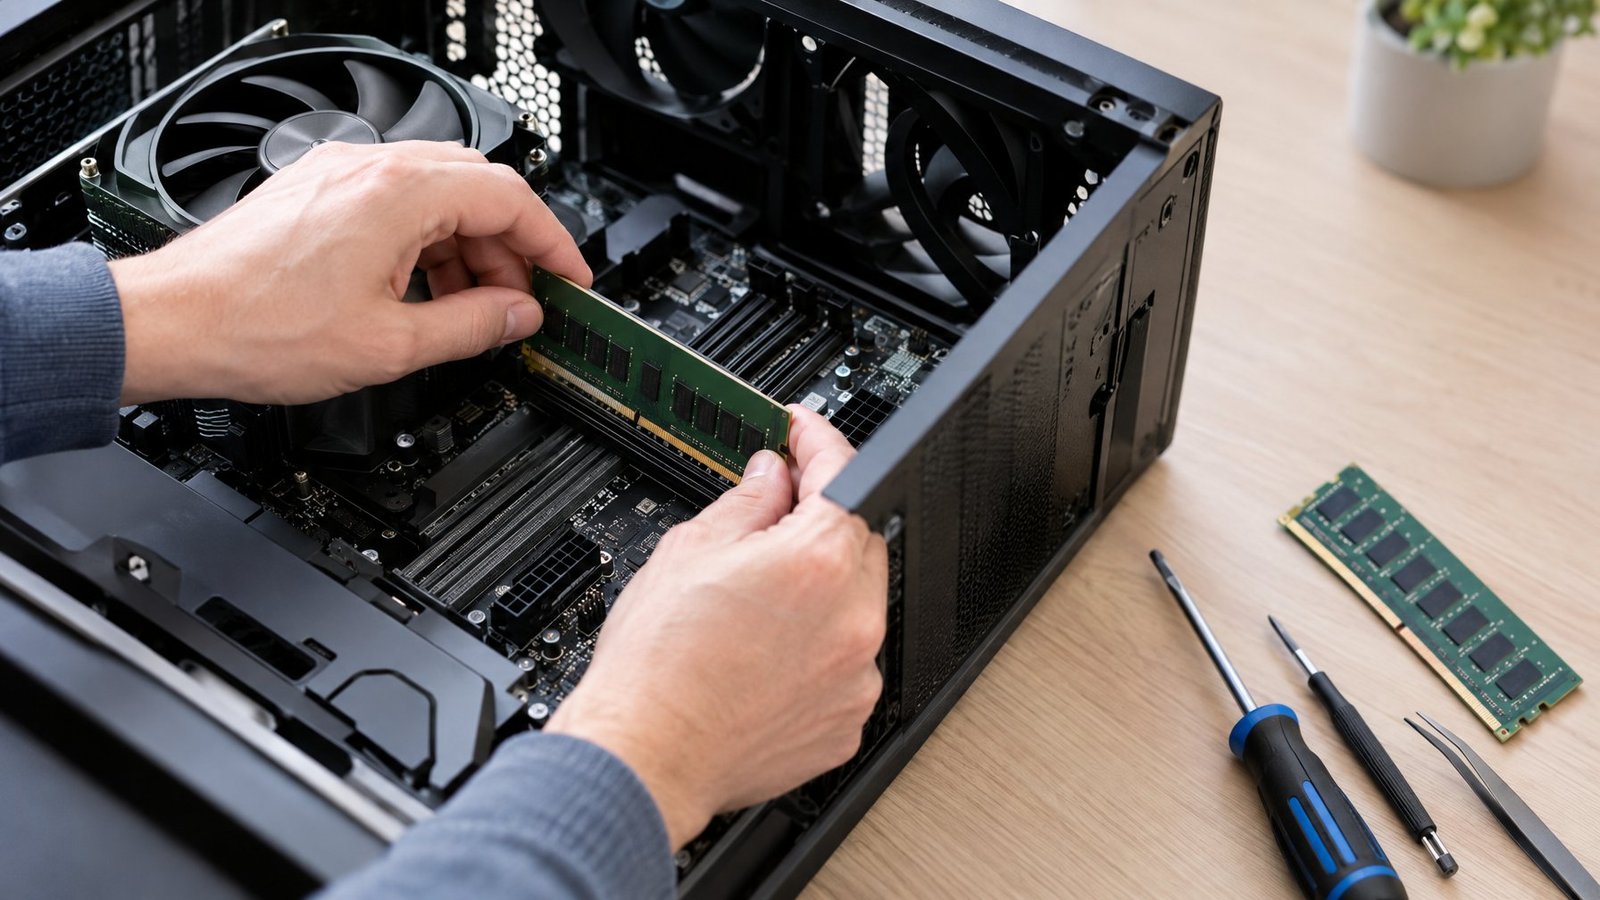
The physical ram installation itself is mechanical and forgiving once you’ve confirmed compatibility. Align the notch, apply firm even pressure, and listen for the click. The harder part is always the research that happens before you place an order, not the few minutes spent with the case open.
Frequently Asked Questions
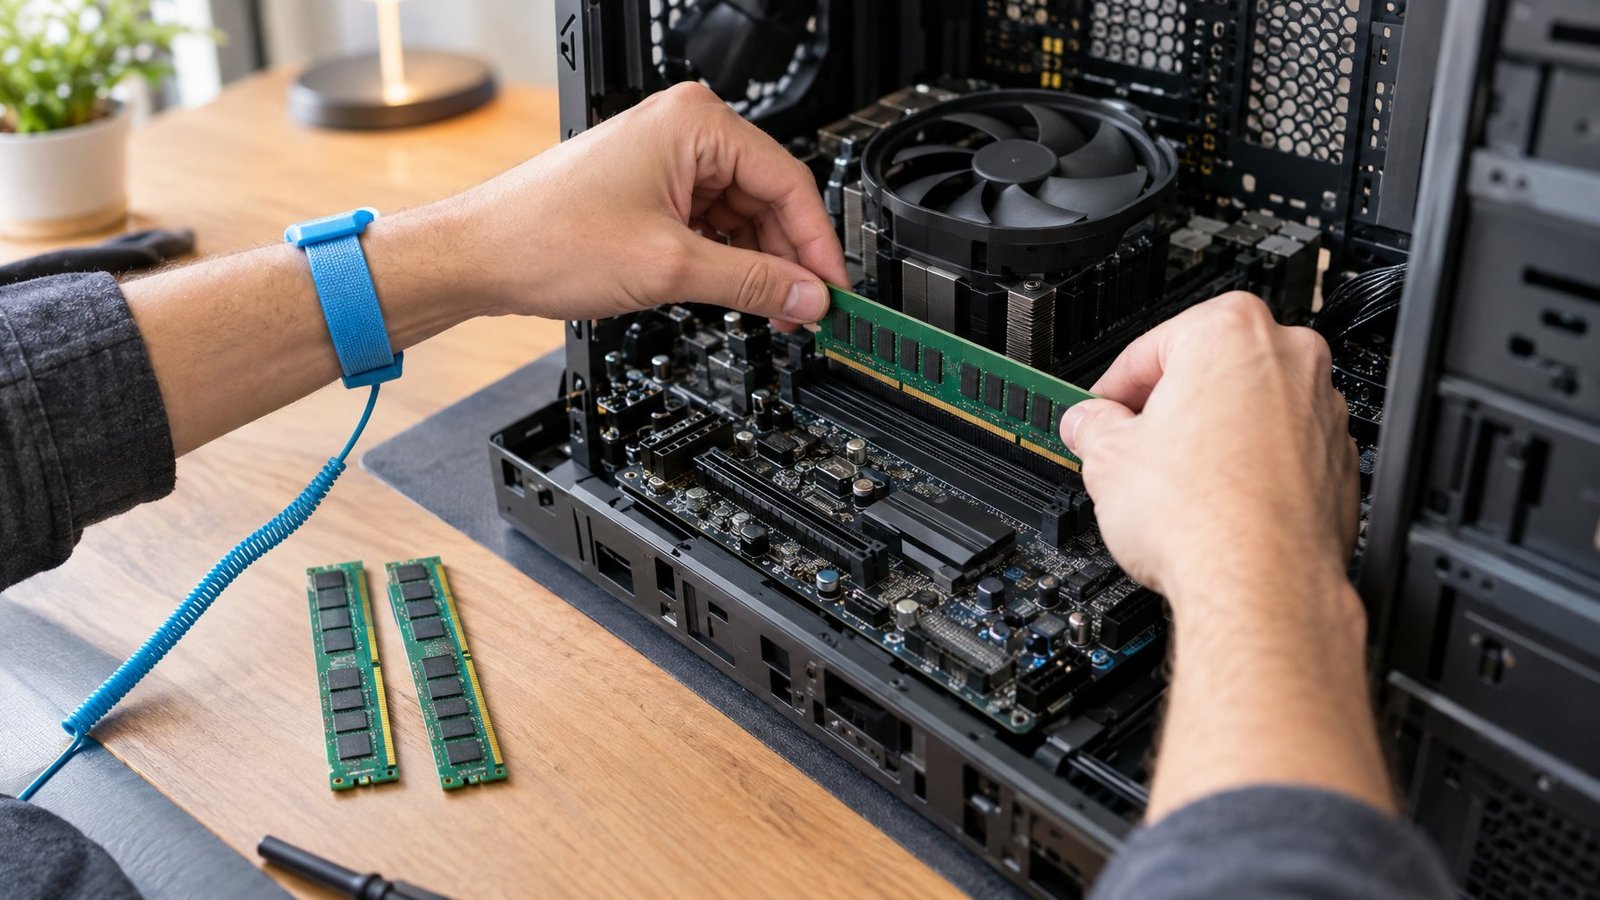
Should I install two RAM sticks in slots 1 and 3 or 2 and 4?
Check your motherboard manual for the exact recommended pairing, since labeling varies between manufacturers. Many boards label slots as A1/A2 and B1/B2, and installing two sticks typically means using the second slot in each channel, such as A2 and B2, for proper dual-channel performance.
Can I use an 8GB and a 16GB RAM stick together?
Mixing capacities usually works, but it is not ideal for performance or stability. Different brands, speeds, or timings between sticks can cause the system to run at the slower module’s speed or create occasional instability, so matched identical sticks are the safer choice.
How do I upgrade from 16GB to 32GB of RAM?
Check how many DIMM or SO-DIMM slots your system has and whether they’re all filled. If you have open slots, add matching modules; if all slots are full, you’ll need to replace the existing sticks with higher-capacity ones that total 32GB.
Do I need to change BIOS settings after installing RAM?
In most cases the system boots fine with default settings. To get the module’s full rated speed, enter BIOS and enable XMP (Intel systems) or EXPO (AMD systems), since RAM otherwise runs at a slower baseline speed by default.
Can I install DDR4 RAM in a DDR5 slot?
No, DDR4 and DDR5 modules are not interchangeable. They have different notch positions, pin layouts, and voltage requirements, so a DDR4 stick will physically not fit into a DDR5 slot, and a matching motherboard and processor are required for either type.

I’m Anirban Saha, Founder & Editor of TechBullish. With a B.Tech in Electronics and Communication Engineering, and 8+ years of experience as a software developer, I have expertise in electronics, software development, gadgets, and computer peripherals. I love sharing my knowledge through informational articles, how-to guides, and troubleshooting tips for Peripherals, Smart TVs, Streaming Solutions, and more here. Check Anirban’s LinkedIn Profile here.