
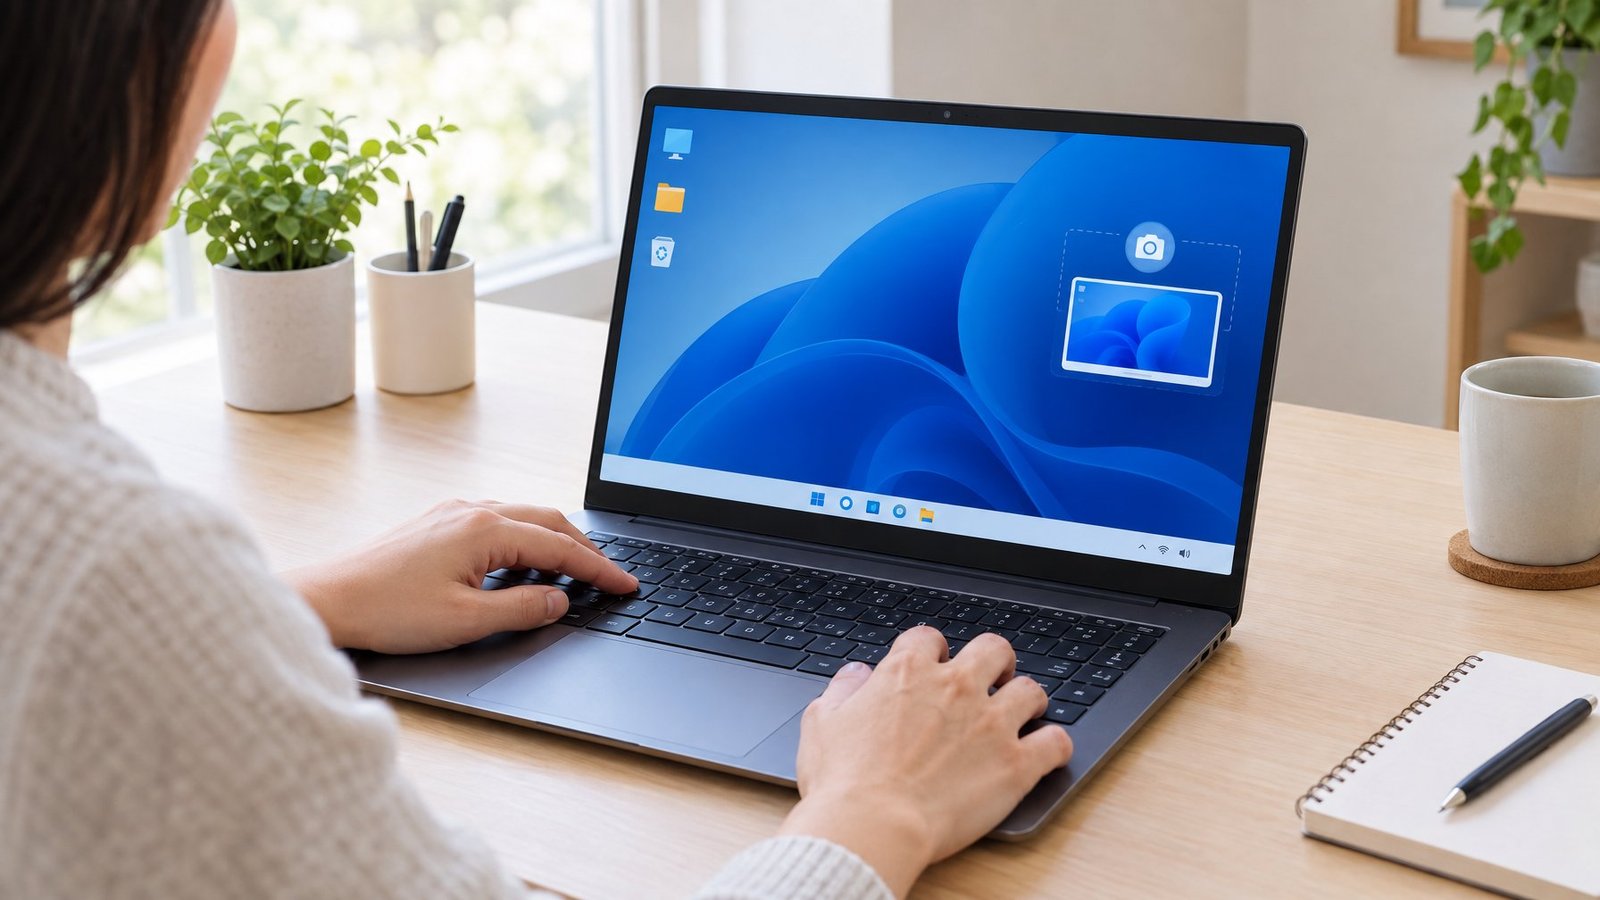
Learning how to screenshot on Windows takes just one keystroke once you know which one to press. The Print Screen key captures your whole display, Windows + Shift + S opens a flexible snipping overlay, and Windows + Print Screen saves a file automatically without any extra steps.
Both Windows 11 and Windows 10 share most of these shortcuts, though the Snipping Tool looks and behaves a bit differently between the two. We’ll walk through which key combo fits which situation, where your captured images actually land, and what to do when a game, a long webpage, or a video needs a different approach.
Which Keyboard Shortcut Captures What You Need?
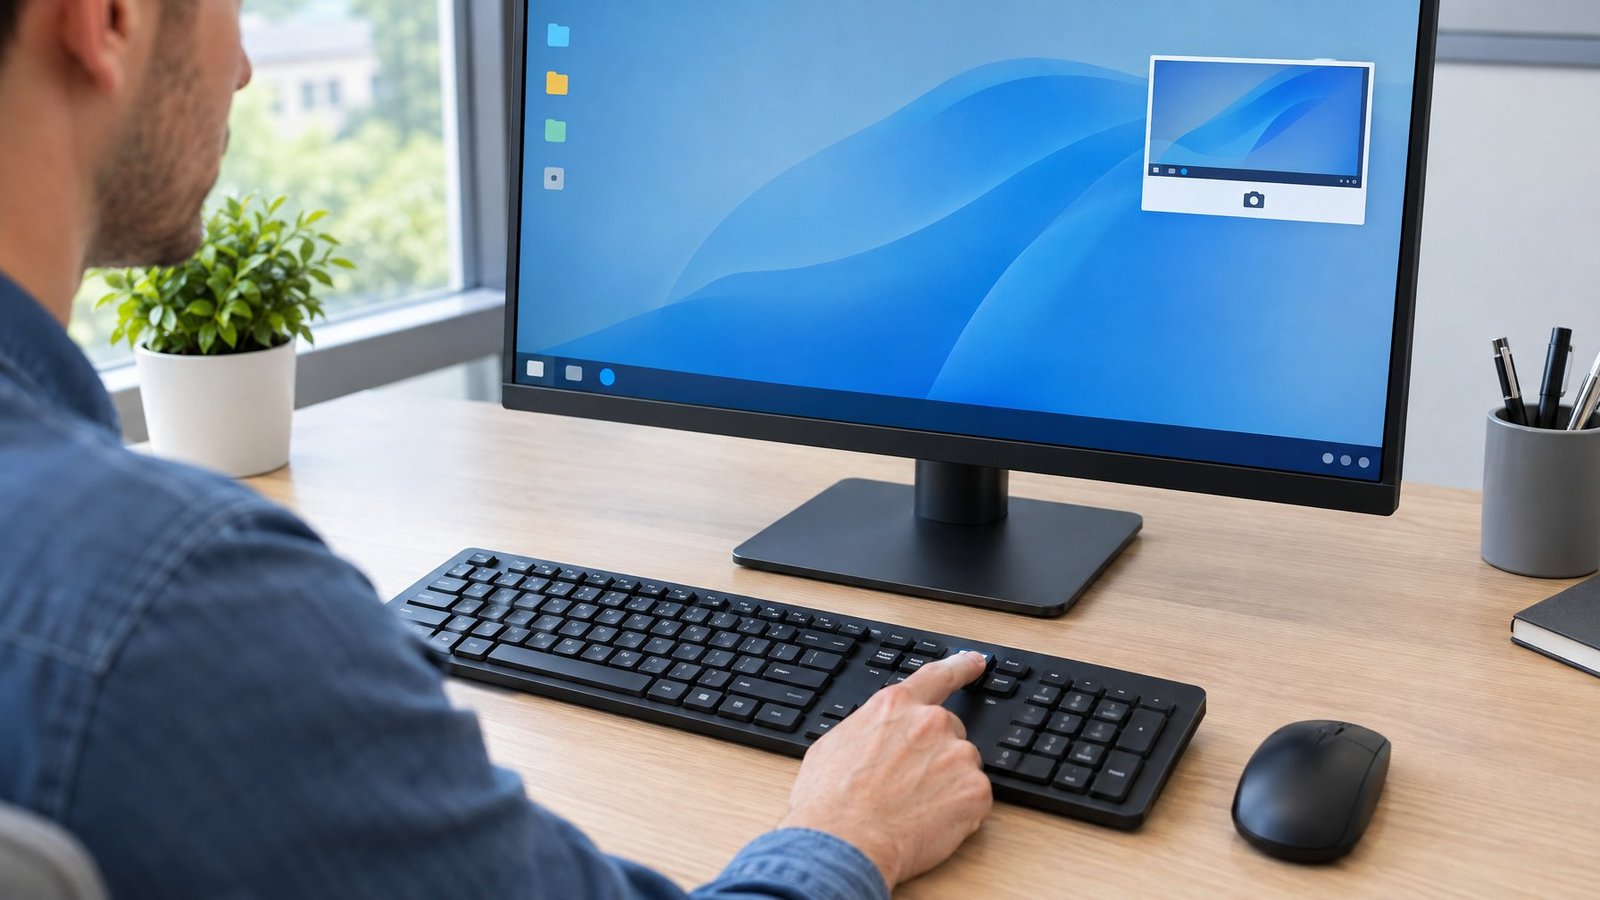
The shortcut you pick depends on whether you want the whole screen, just one window, or a file saved automatically. Print Screen copies an image to your clipboard, Windows + Print Screen saves a file right away, and Alt + Print Screen grabs only the window you’re currently using.
How Do You Copy the Entire Screen?
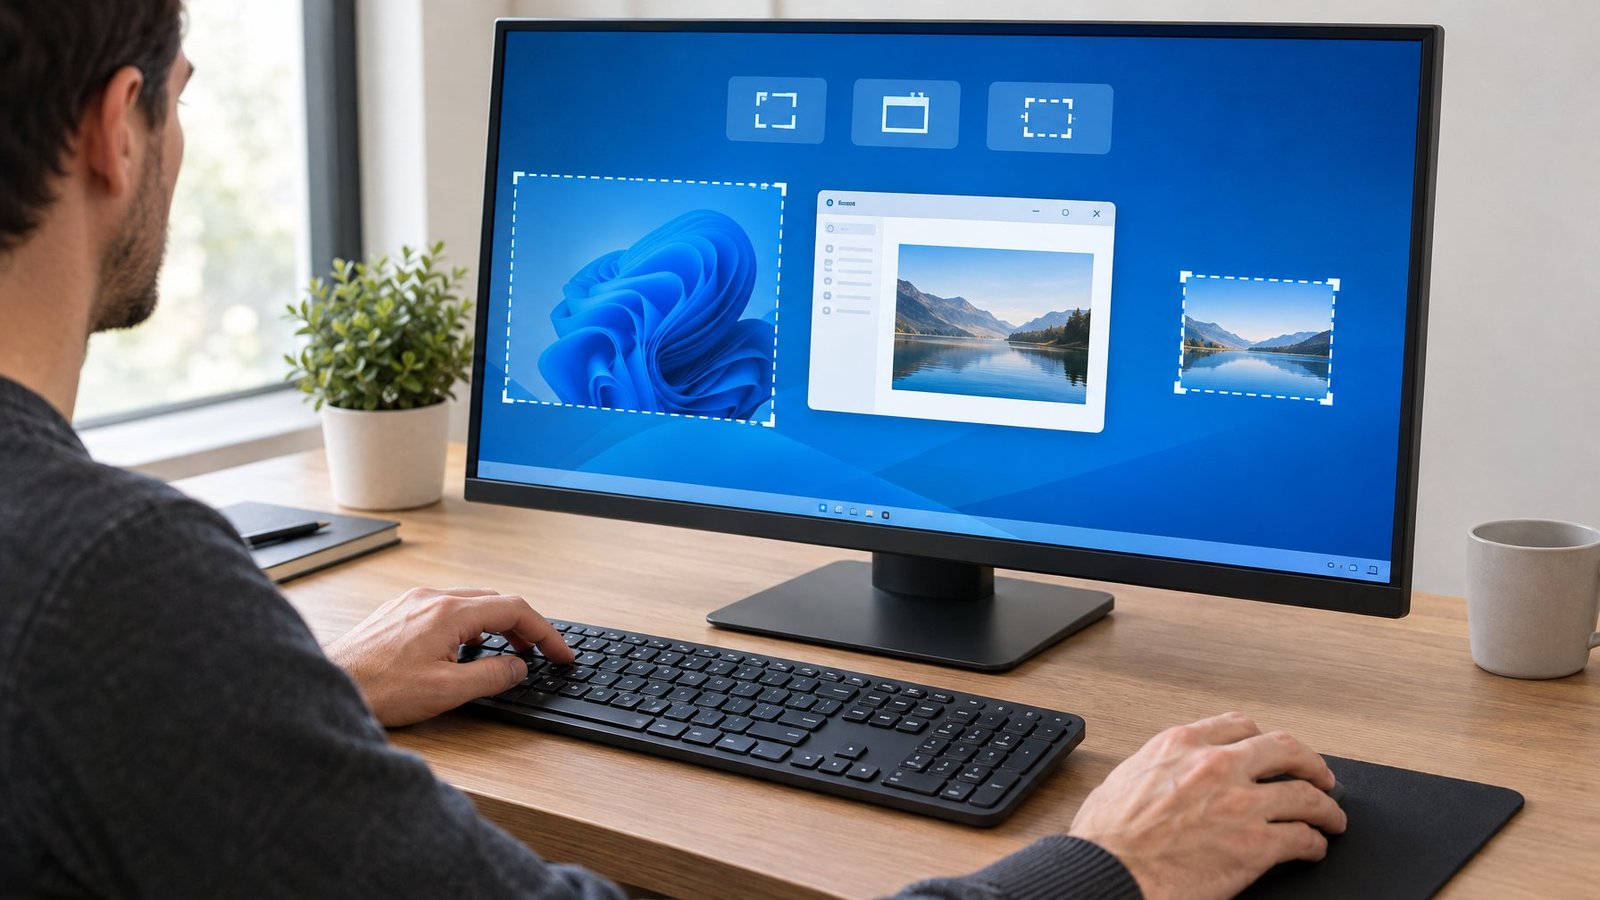
Press the Print Screen key (often labeled PrtScn) on its own. This copies a full screen screenshot of everything on your display to the clipboard, but it doesn’t save a file anywhere.
To use it, you’ll need to paste the image into an app like Paint, Word, or an email. Press Ctrl + V once you’re in the program where you want it to land.
How Do You Save a Full-Screen Screenshot Automatically?
Press Windows + Print Screen (sometimes written as Windows + PrtScn or Windows+Print Screen) to skip the paste step entirely. The screen dims for a moment, which confirms the capture worked, and a PNG file lands in your Screenshots folder automatically.
This is the fastest option when you want a saved file without opening any other app first. If your laptop lacks a dedicated PrtScn button, try Fn + Windows key + Space Bar instead.
How Do You Capture Only the Active Window?
Press Alt + Print Screen (or Alt + PrtScn on compact keyboards) to copy just the window you’re currently working in, leaving out the desktop and any other open apps. This Alt+Print Screen command works well when you only need a clean shot of one program, like a browser or a document.
Like the plain Print Screen shortcut, this copies the image to your clipboard rather than saving a file. Paste it into an editor or chat app to use it right away.
How Do You Capture Part of the Screen?
Snipping Tool (also known by its older name, Snip & Sketch) lets you draw a box around exactly the part of the screen you want, instead of capturing everything. It opens fastest with Windows + Shift + S, and it offers four capture shapes along with basic editing tools once you’ve grabbed your image.
How Do You Open the Snipping Tool?
Press Windows + Shift + S to bring up the snipping overlay instantly, without launching the full app window first. Memorizing this handy Snipping Tool shortcut saves time whenever you need a quick capture. You can also search for “Snipping Tool” from the Start menu, or press Print Screen on its own, which opens the Snipping Tool app directly on newer versions of Windows.
Once the overlay appears, the screen dims slightly and your cursor changes, letting you know you’re ready to select an area.
Which Snipping Mode Should You Choose?
Pick rectangular snip for a quick box-shaped selection, which covers most everyday screenshot needs. A freeform snip works better when you need to trace around an irregular shape, like a photo cutout or a chart.
Window snip grabs one open window cleanly, similar to Alt + Print Screen but through the Snipping Tool interface. Fullscreen snip captures everything at once, the same result as pressing Print Screen alone.
How Do You Edit and Save a Snip?
Once you capture an image, it opens automatically in the Snipping Tool window where you can mark it up. Use the pen or highlighter to draw on it, the eraser to remove marks, or the crop tool to trim the edges.
Press Ctrl + S to save the file, or Ctrl + C to copy it to your clipboard instead. Snips also save automatically to your Screenshots folder unless you’ve changed that setting.
Where Do Your Screenshots Go?
Some shortcuts save a file right away, while others only copy the image to your clipboard for pasting. Knowing which is which saves you from hunting for a screenshot that was never actually saved as a file.
Which Methods Copy an Image to the Clipboard?
Print Screen and Alt + Print Screen only place the image in your clipboard. Whether you use the standard combo or Alt+Print Screen, you need to paste that image into a program before it becomes a usable file.
Snipping Tool captures also land in the Snipping Tool window first, though you can copy from there with Ctrl + C just as easily.
Where Are Automatically Saved Screenshots Stored?
Windows + Print Screen captures save to Pictures > Screenshots as PNG files automatically. Whenever you trigger Windows+Print Screen, open File Explorer, select Pictures in the sidebar, then open the Screenshots folder to find them.
Screen recordings from Xbox Game Bar take a different path, landing in Videos > Captures instead. Screenshots taken through Game Bar also save there rather than in the Pictures folder.
What About Games, Long Pages, and Video?
Games, scrolling webpages, and moving video each need a different capture approach than a standard screenshot. Xbox Game Bar handles full-screen games smoothly, dedicated tools like ShareX or Snagit stitch together long pages, and Snipping Tool’s built-in recorder covers basic screen video.
How Do You Screenshot a Game with Xbox Game Bar?
Press Windows + Alt + Print Screen while playing to save a screenshot straight to your Captures folder as a PNG. First, make sure Game Bar is turned on by pressing Windows + G to open its overlay.
Game Bar works best with full-screen games, since standard screenshot shortcuts sometimes struggle to capture DirectX-rendered content properly.
How Do You Capture a Scrolling Page?
Microsoft Edge includes a built-in screenshot tool that captures full webpages, making it simple to grab a scrolling screenshot of long articles. Right-click any page and select the screenshot option, or press Ctrl + Shift + S inside Edge.
Third-party tools like ShareX and Snagit also offer scrolling screen capture for apps and documents beyond the browser. ShareX stitches multiple screenshots together automatically as you scroll, while Snagit offers both manual and automatic scrolling modes.
How Do You Record Your Screen Instead?
Open Snipping Tool and select the Record button, or press Windows + Shift + R, to capture video instead of a still image. Select an area, hit Start, and press Stop when you’re finished; the clip can then be edited in Clipchamp if you want to add captions or audio.
Xbox Game Bar also records video with Windows + Alt + R, saving clips to your Captures folder as MP4 files. Tools like Greenshot and ShareX add more advanced capture and annotation options for frequent screenshot work.
Choosing the Fastest Capture Method
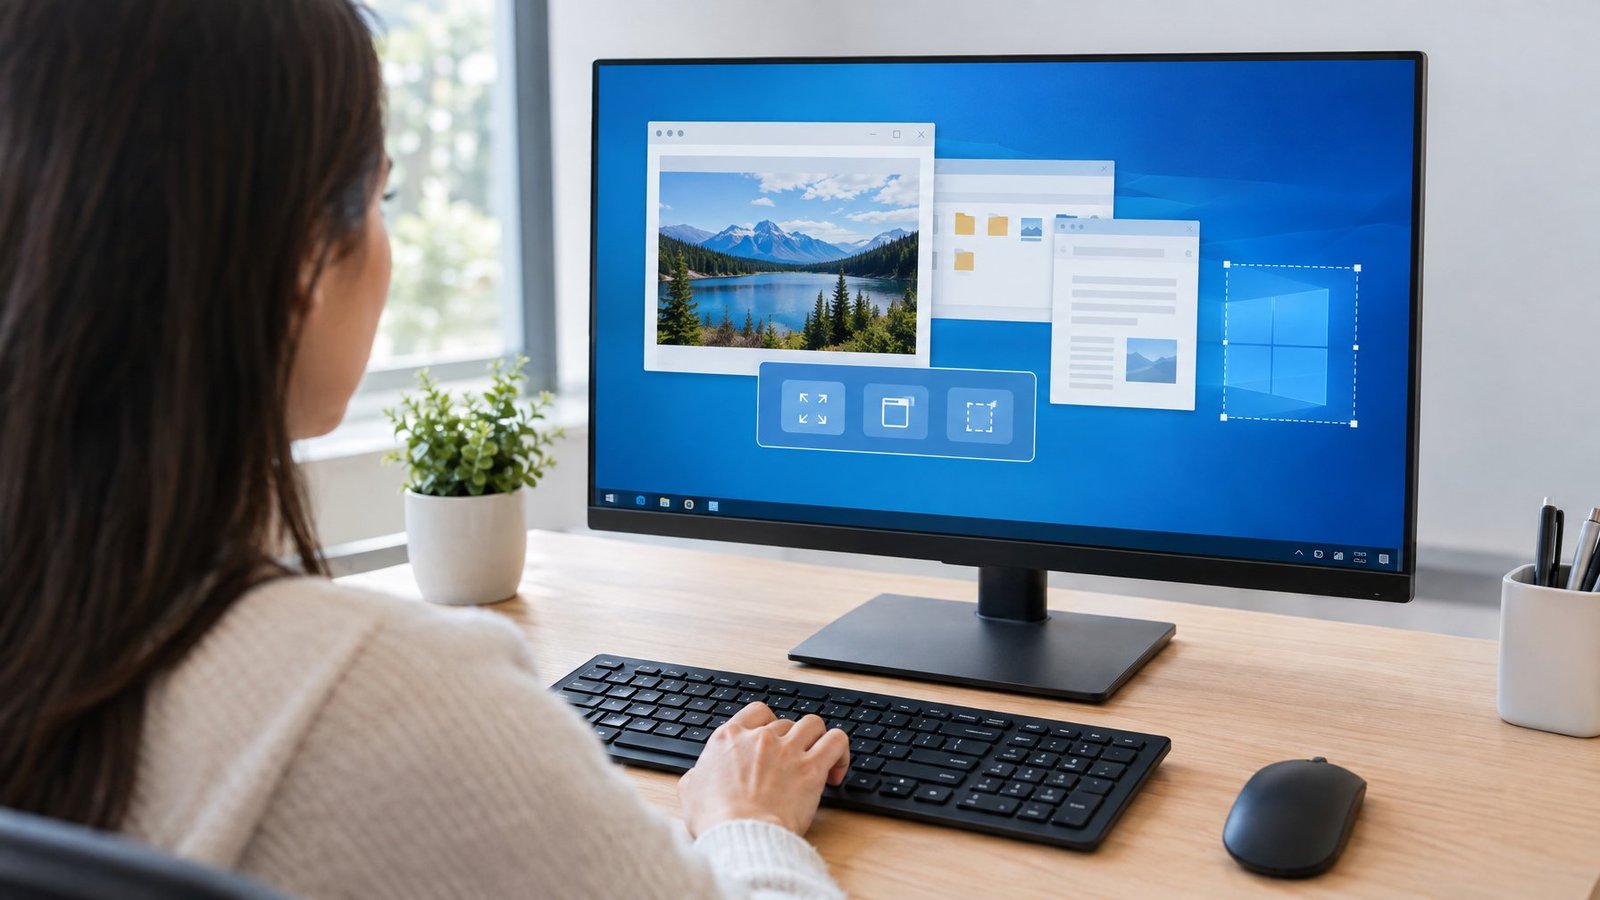
For most everyday screenshots, Windows + Shift S is the fastest reliable method, since it opens an overlay in under a second and lets you grab exactly the area you need. It beats fumbling with Print Screen and pasting into Paint every time.
Here’s how the main options stack up:
| Method | Saves File Automatically? | Lets You Select an Area? | Best For |
|---|---|---|---|
| Print Screen | No (clipboard only) | No, full screen only | Quick paste into another app |
| Windows + Print Screen | Yes | No, full screen only | Fast full-screen saves |
| Alt + Print Screen | No (clipboard only) | No, active window only | Capturing one window |
| Windows + Shift + S | No by default (clipboard) | Yes, all shapes | Custom area captures |
| Xbox Game Bar | Yes | No, full screen only | Games and full-screen apps |
Heavy users of screenshots for documentation or tutorials might prefer a dedicated tool like Snagit or Greenshot for the added annotation and scrolling screenshot features. For a one-off screenshot, the built-in shortcuts cover nearly every situation without installing anything extra.
If you’re setting up a workflow involving multiple monitors, it’s worth checking how your keyboard shortcuts interact with a vertical monitor setup. Active-window detection and window snaps can behave differently across display orientations.
Frequently Asked Questions
How do I screenshot on a Windows laptop?
Press Windows + Shift + S to open the snipping overlay and select the area you want. If your laptop doesn’t have a dedicated Print Screen key, use Fn + Windows key + Space Bar as an alternative to take a full screen screenshot.
Can I take a screenshot without the Windows key?
Yes, the Print Screen key alone copies the full screen to your clipboard without needing the Windows key. You can also open the Snipping Tool from the Start menu and capture from there using only the mouse.
Does Ctrl take a screenshot on Windows?
Ctrl + Print Screen can open Snipping Tool in some setups and turn the screen gray for a menu capture. On its own, Ctrl doesn’t trigger a screenshot; it needs to be paired with Print Screen or another key.
How do I take a screenshot on Windows 7?
Windows 7 includes the Problem Steps Recorder, an older tool that automatically captures screenshots while documenting each action you take. The plain Print Screen and Alt + Print Screen shortcuts also work the same way they do on newer versions of Windows.
Why isn’t my Print Screen key working?
Check that Fn Lock isn’t enabled, since some laptops require holding the Fn key alongside Print Screen to trigger the capture. If the key still doesn’t respond, use the Windows + Shift + S Snipping Tool shortcut instead, which opens the overlay independently of the Print Screen key.

I’m Anirban Saha, Founder & Editor of TechBullish. With a B.Tech in Electronics and Communication Engineering, and 8+ years of experience as a software developer, I have expertise in electronics, software development, gadgets, and computer peripherals. I love sharing my knowledge through informational articles, how-to guides, and troubleshooting tips for Peripherals, Smart TVs, Streaming Solutions, and more here. Check Anirban’s LinkedIn Profile here.