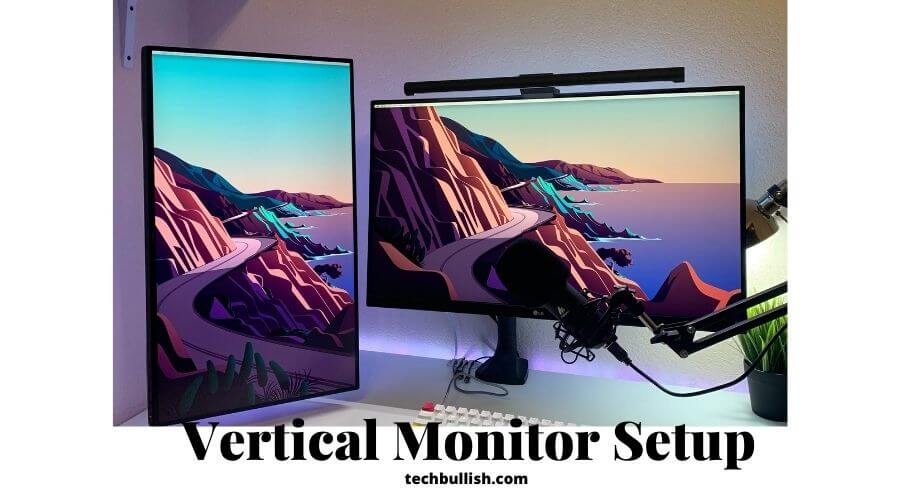
Vertical Monitor Setups not only look amazing, but they also are great for productivity.
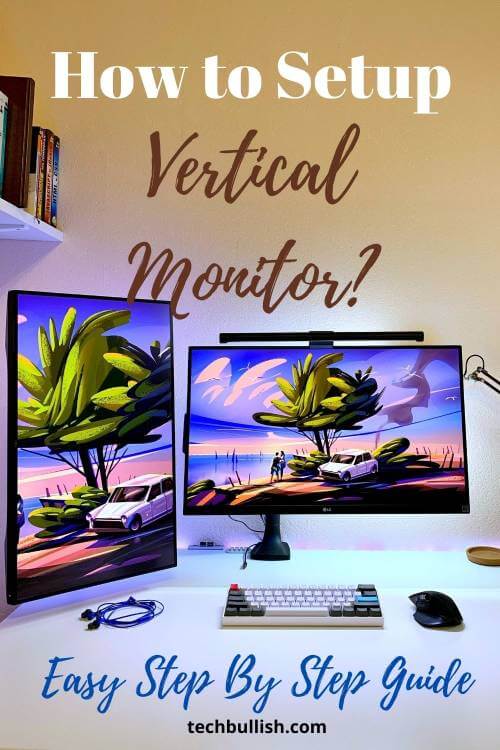
Vertical Monitors work great for majorly some kinds of work where you need vertical real estate on your computer monitor like in coding. In this guide, I have covered vertical monitor setups for both Windows 10 and Mac OS.
A vertical monitor is indeed like a normal monitor positioned horizontally, but it is rotated vertically by 90 degrees.
Vertical monitors are popular with dual monitor setups where you place one of the monitors in portrait mode by rotating the monitor arm.
If you have more than one monitor already, then you can set up a vertical monitor using one of them after reading this guide.
Let’s get started!
How to set up a Vertical monitor?
Here is the step-by-step starting from initial purchase to setting up using a monitor arm stand below.
The first step is to purchase the monitor. You want to make sure that you buy one with high-resolution (1080p or higher) and enough screen space for what you need it for because this will ensure better quality when multitasking on your computer.
If you are looking for a better viewing experience, purchase one with at least a 1080p(1920*1080) resolution.
Not sure about these resolutions? Check this guide on 720p vs 1080p to know more.
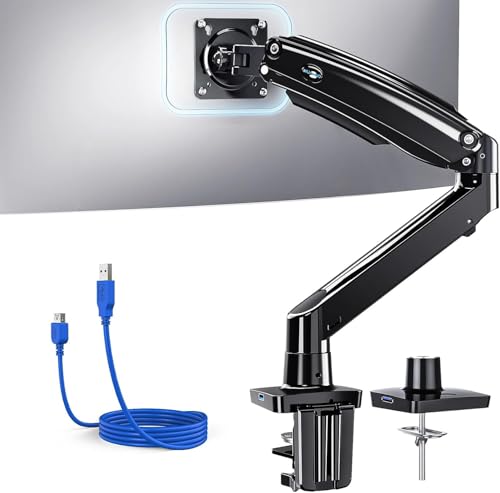
Next, you’ll need to find an arm stand or some monitor mount that will be able to hold your monitors and can either attach them to the desk (like this) or sit on top of it.
The arms stand allows you to place the two monitors side-by-side instead of putting them on the desk next to each other.
Once you have found your monitor stand or mount, you will need a few tools and some hardware for your setup.
You’ll be needing something that connects VESA mounts with monitors (like this), as well as screws and springs to attach the stand to the wall.
Once all of these things have been purchased, it’s time for installation! You’ll want to measure how far apart you want your monitors and how high they should be off the ground – usually around eye level or just below that on a standard desk.
Then drill some holes into the back of the monitor mount, and attach it to the wall.
Now, you’ll need a way of attaching your monitors to this arm stand or mount that’s been set up on the wall.
You can either screw them in with screws (like these), use some more VESA mounts that connect both screens, or purchase an articulating arm that allows you to adjust the monitors up and down, as well as side-to-side.
Once this is all done, it’s time for configuration!
Let’s now look into the Configuration below for Windows and Mac Os.
Vertical Monitor Setup for Windows 10
Let’s first discuss the case of Windows 10. You can follow the steps below.
Step #1: Checking Monitors Compatibility
First, you need to check if your monitor supports vertical rotation. Otherwise, you need to mount it separately to use it vertically.
If your monitor is wall-mounted, you need to check if your mounted clamp/arm supports rotation.
If it does not support, in that case, you need to change the mounting clamp/arm to a 360-degree rotatable one.
Step #2: Rotating the Monitor Physically
In this step, slowly rotate the monitor either clockwise or anti-clockwise to 90%, which would make the monitor vertical.
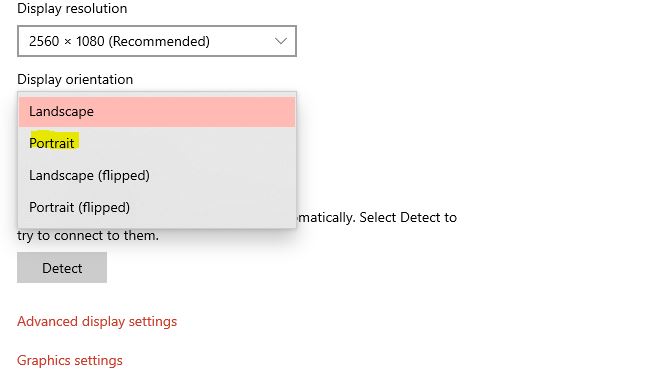
Step #3: Using Display Settings
Till now, you will be seeing the monitor is vertical but the texts and the screens
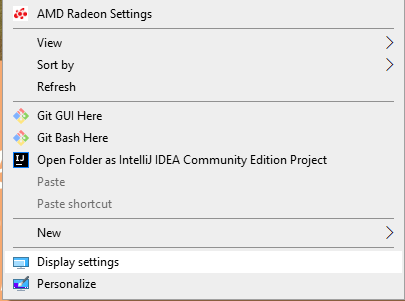
Once the monitor is rotated 90 degrees, move over to your desktop, PC, or laptop and then right-click and hit display settings.
Step #4: Moving to Portrait Mode
In the display settings, click on the Portrait mode to rotate the display Anticlockwise by 90 degrees.
If you need to rotate by 90degree clockwise, you can click on the Portrait flipped.
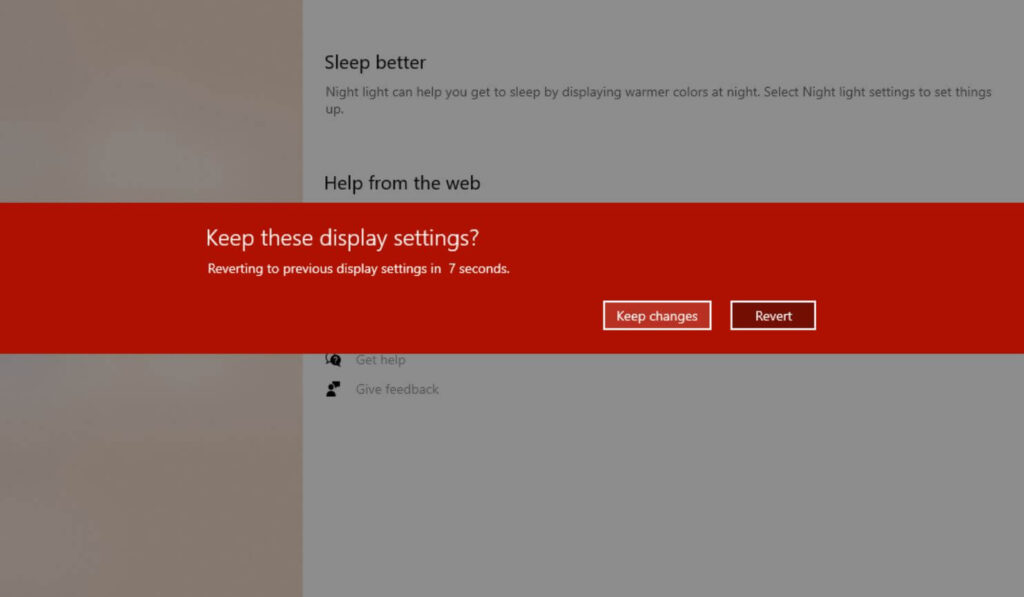
Step #5: Keeping the display Settings
After you click on the Portrait mode, there would be a popup asking you if you want to keep these display settings.
Click on keep Changes if you are good with the desired rotation.
Otherwise, you can click click revert and again start from #Step 4
Step #6: Testing the Vertical Monitor Setup
Now, you can check running applications on your monitor if the vertical monitor is working fine.
You will also find step by step to set up a vertical monitor in this video.
Vertical monitor Setup for Mac
If you are a macOS user then you need to follow the below-mentioned steps to get the portrait mode view of the monitor.
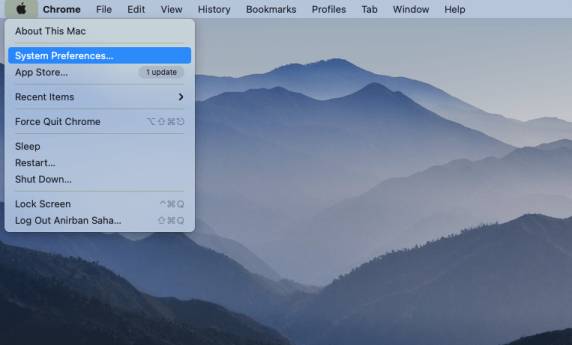
Step #1: Entering System Preferences
Open System Preferences by clicking on the Apple icon and then choosing System Preferences.
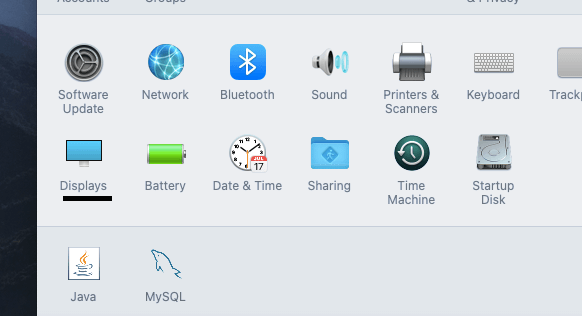
Step #2: Navigating to display option
From there, hold the command key and Option Key and Click on the display option.
Step #3: Display Menu with Rotation Dropdown
Select the rotation drop-down menu. You will only get to see the rotation dropdown if you have done Step 2 correctly.
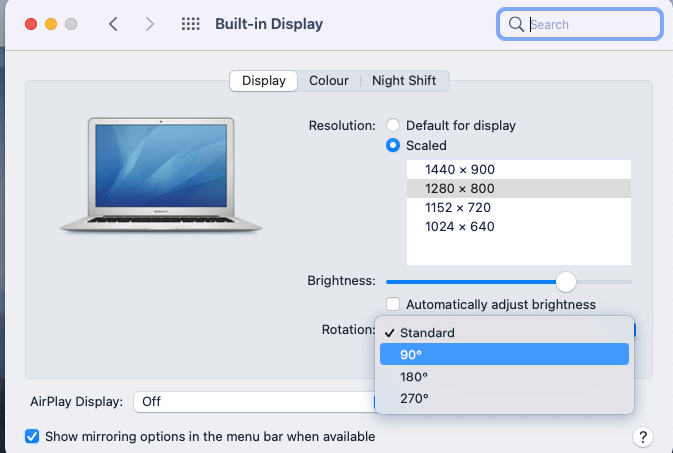
Step #4: Choose Desired Orientation and Confirm
Choose your desired orientation, which would be 90 degrees if you’re trying to achieve vertical orientation.
Click on Confirm to make the change or revert to revert to the previous orientation.
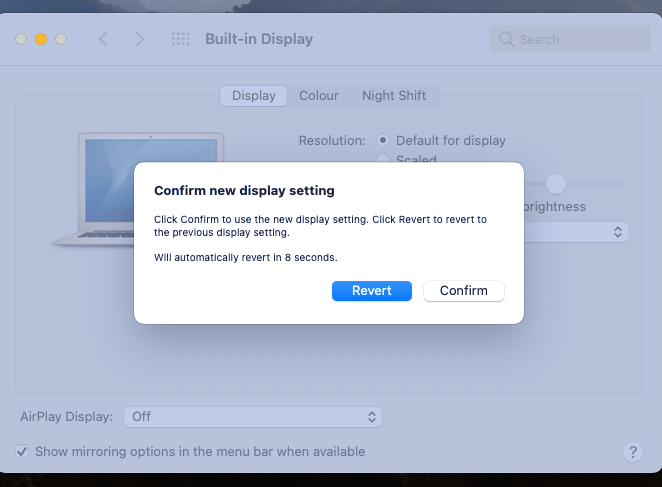
Step #5: Testing the final Set up
You’re all done and can exit the System Preferences window. You are now good to test if the desired changes are done.
Should you use a vertical monitor?
This depends on what your work looks like. For the most part, vertical monitors can offer a great solution, depending on your need.
If you are a software engineer, it can come in handy to view more code on your screen.
In all actuality, most web pages are meant to be read or viewed in a portrait or “newspaper” fashion.
the columns of the pages are condensed to flow in vertical mode and make reading easier and more seamless without the need to scroll as often.
If you simply want to give it a shot, I highly recommend doing so as it can be a great option that you can’t fully appreciate until you try it.
Pros of Vertical Monitor
The vertical monitor has several pros:
- The screen being vertical provides more space in the vertical direction which can help in reading more content with lesser scrolling efforts.
- For many applications, the horizontal screen is not fully used and there remains a lot of space to the left and right of the screen. In that case, the vertical monitor utilizes the screen better.
- It would increase productivity if you are a coder or you browse through a long chunk of text. You can concentrate better without scrolling much.
Cons of Vertical Monitor
There are several cons of vertical Monitor:
- The monitor supports vertical rotation or there may be an additional expense to set up using mounts to rotate the monitor.
- Vertical Monitors can be initially weird. However, you would be used to once using it regularly.
- Vertical Monitors are not for everyone. If you are someone who casually browses the internet or does video editing, you may not need a vertical monitor at all.
- Vertical monitors may not be good as the primary monitor. However, you may consider it as a secondary display with a horizontal monitor as a primary.
Monitors mounts that would help to set up Vertical Monitor

- Improved Stability for Ultrawide Monitors: The...
- Taller & Longer Arms: Our dual monitor mount is...
- Full Motion Adjustments: This heavy-duty dual...
Last update on 2026-07-11 / Images from Amazon Product Advertising API
- UNIVERSAL SINGLE MONITOR ARM:This heavy-duty...
- FLEXIBLE ADJUSTMENT & ERGONOMIC DESIGN:Tilt...
- USB INTEGRATION & DESKTOP MANAGEMENT:The...
Last update on 2026-07-11 / Images from Amazon Product Advertising API
FAQs on Vertical Monitor Setup
Q: Can you use a curved monitor vertically?
Curved monitors look great even in portrait mode.
Q: Can all monitors go vertical?
Although more modern monitors feature the vertical or portrait mode functionality, not all currently offer the option with convenience.
Conclusion
Let’s conclude the post on how to setup a vertical Monitor!
Vertical monitor setups are great for several use cases for coding, content creation, and more. However, it may not be the right setup for any general usage.
So, in that case, you may need to analyze the real need for the vertical setup.
You can also move back to the older setup anytime reverting the applied settings mentioned above and rotating the monitor.
If you do not already have a vertical monitor, then you can check this guide to find the best vertical monitor for you.
I hope you liked reading this post.

I’m Anirban Saha, Founder & Editor of TechBullish. With a B.Tech in Electronics and Communication Engineering, and 6+ years of experience as a software developer, I have expertise in electronics, software development, gadgets, and computer peripherals. I love sharing my knowledge through informational articles, how-to guides, and troubleshooting tips for Peripherals, Smart TVs, Streaming Solutions, and more here. Check Anirban’s Crunchbase Profile here.