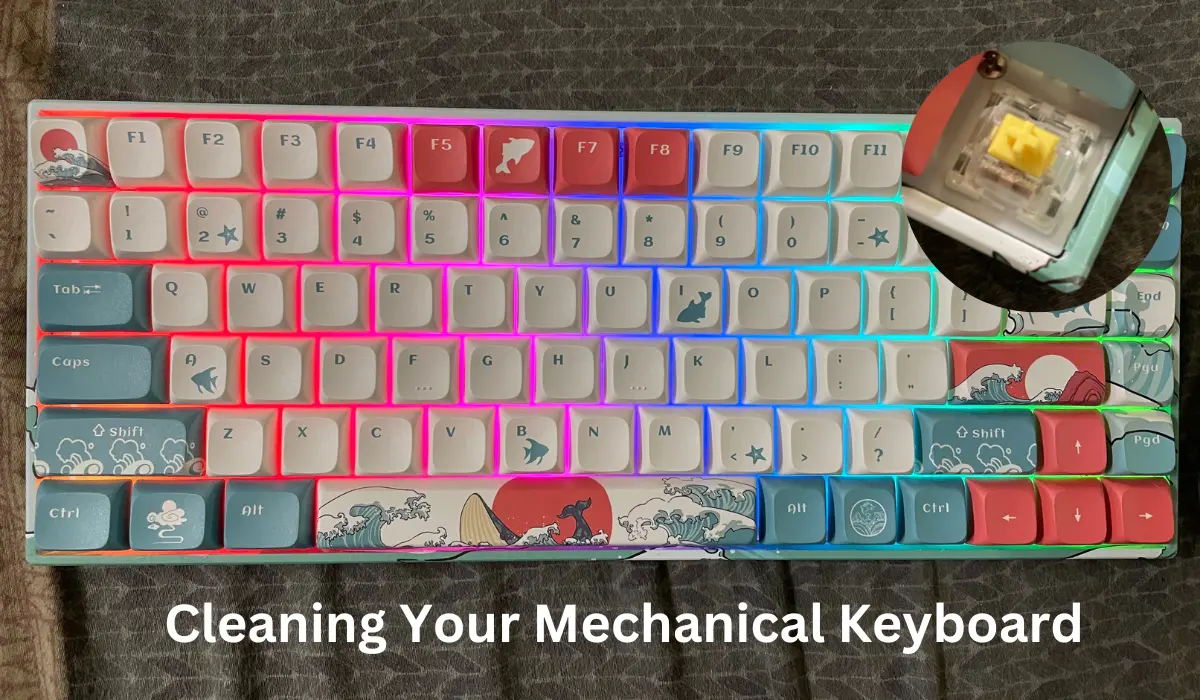
In this post, I’ll demonstrate how you can easily clean a mechanical keyboard so it continues to function flawlessly.
Get ready to learn every regular and deep cleaning step to make your keyboard look as good as new!
How to Clean a Mechanical Keyboard?
To clean a mechanical keyboard, first, remove the keycaps and clean them with soap and water. Then, use a soft-bristled brush to remove dust and dirt from the switches. Afterward, wipe the keyboard with a microfiber cloth dampened with isopropyl alcohol to disinfect it. Finally, air-dry the keyboard, re-attach the keycaps, and enjoy typing on a clean keyboard.
Cleaning a mechanical keyboard requires special attention to detail to ensure that all parts are thoroughly cleaned without damaging any of the sensitive components.
Regular Cleaning of Your Mechanical Keyboard Steps
You can regularly clean your keyboard with the following steps –
- Unplug your keyboard in the first place.
- You need a vacuum cleaner to remove dust. Try to get a small handheld vacuum without rotating brushes. Moving on to each key on the keyboard gently press the vacuum’s attachment tube down on the keycaps.
- With a slightly damp microfiber cloth wipe the entire keyboard.
- Use another dry cotton cloth to wipe any moisture particles left on the keyboard. Avoid using paper towels for this purpose as this might shed particles and create scratches on your keyboard’s surface.
Deep Cleaning Mechanical Keyboard Steps
Here are the deep-cleaning steps:
- Disconnect your keyboard by unplugging it from your computer. Unplug the detachable cable from your keyboard.
- To be sure of fixing the keycaps back in their correct places after cleaning, take a picture of your keyboard before you start the cleaning process.
- Take a small bowl to keep all the keycaps in one place to prevent their misplacing. With a puller remove all the keycaps and keep them in the bowl.
- Fill the bowl of keycaps with lukewarm water and a small quantity of dish soap. Gently move all with your hands and allow it to settle down for an hour or so. Remove the keycaps from soapy water, rinse them well with clean warm water, and lay them out to dry on a paper towel.
- Use an electronic duster or a can of compressed air to remove dust and other debris from your keyboard while the keycaps are soaking.
- Carefully clean the gaps between keyboard switches using a cotton swab and isopropyl solution in very little quantities. Let your keyboard dry. You can also use an electric duster for the purpose.
- Referring to the picture of your keyboard, carefully put the keycaps back with the correct orientation. Press your keycaps firmly downwards to reset them. You can help yourself with a keycap puller to make it easy for you.
- Plug in your keyboard and test all of the keys. For a better testing experience, you can use the keyboard Tester.com.
Cleaning mechanical keyboard without Removing Keys
Here are the steps to clean your keyboard without removing the keys:
- Turn off your computer and unplug your keyboard from your computer.
- Shake your keyboard upside down and tap it lightly to remove any loose debris.
- Use a can of compressed air to blow out any dust or debris from the keyboard. Hold the can upright and angle the nozzle to blow air between the keys.
- Use a soft-bristled brush (such as a clean paintbrush or toothbrush) to brush any remaining debris or dust from the keyboard. Be careful not to scratch the keys or damage the switches.
- Dampen a lint-free cloth with a small amount of isopropyl alcohol or water. Wring out any excess liquid and wipe down the keyboard, paying special attention to the areas between the keys.
- Allow the keyboard to dry completely before plugging it back in and using it.
Cleaning Your Mechanical Keyboard After Liquid Spill
However, we have solutions to fix your issue in time –
- Unplug your keyboard immediately if you spill any liquid over it. Your USB keyboard can be easily unplugged without powering off your computer.
- To avoid excess seeping of the liquid on your keyboard, flip it upside down. After excess dripping use a cotton cloth to wipe excess liquid accumulated between the keys. Let it dry for 24 hours keeping it upside down.
- If you have spilled any liquid other than water, check on your keyboard for stickiness. If you find it sticky you need to clean it further.
- Take a picture of your keyboard and remove the keycaps that are sticking. Soak them in warm water and set them out to dry.
- Use a damp cotton swab in warm water and clean the keyboard mechanism. Avoid dripping water from the swab.
- Let all the keyboard parts dry for a few days.
- Reset all the keycaps using a puller handle and check out for their right place with the picture.
- Plug the keyboard into your PC and check how it is working.
Precautions while cleaning Mechanical Keyboard
Don’t Put it in the Dishwasher
It is strictly not advisable to clean your keyboard in a dishwasher. However, there are no updates as ever by any manufacturer that recommends this as a method to clean their keyboard.
Such a way of cleaning a keyboard will void any warranty on the keyboard. This process might even destroy or damage your keyboard permanently.
The traditional way of cleaning is the best-sorted way to clean your keyboard.
Avoid using Nail Polish Removers or Any Harsh Chemicals
Any acetone substance can damage plastics. In case you are using any such thing to clean your keyboard, test it on the underside of your keyboard first to make sure of its side effects.
Nail Polish remover is one such substance that has acetone in high density. It is advisable to check out its effect before using it for your purpose.
Although nail polish remover can destroy germs and dirt. Make sure to wipe its traces enough to protect your electronic devices from further damage.
Please Be Careful with Water
While cleaning your keyboard make sure you do not spray water directly on the keyboard. Even though you want a deep clean, use a cotton swab slightly dampened with water.
However, it should not be dripping anyways. To wash your keycaps make sure to use warm water. Be very cautious about drying your keyboard or key caps completely to avoid damage.
Any amount of water that seeps through can cause damage if not dried properly.
What if You Don’t Have a Keycap Puller, How to Open the Keycaps while Cleaning?
If you do not have a keycap puller you can fix your problem with #1 size paper clips. They are of the same width as wire plastic coated twist ties that provide added strength and comfort.
You can bend the ends of paper clips into hooks. With this, you can pull the keycaps upwards. However, you can use needle nose pliers to carefully handle the plastics of the keycaps.
In any case, using your fingers for the purpose might be a slow and painful process.
Removing the keycaps from your keyboard while cleaning is quite simple. For this, all you need to do is slip your tool under the top of the cap and gently lift it up.
Frequently Asked Questions(FAQs)
Q. How often should I clean my mechanical keyboard?
Q. Can I use regular household cleaners to clean my mechanical keyboard?
Q. How do I clean the keycaps of my mechanical keyboard?
Q. Can I put my mechanical keyboard in water to clean it?
Q. How long does it take to clean a mechanical keyboard?
Q. Should I clean my keyboard when it is plugged in or unplugged?

I’m Anirban Saha, Founder & Editor of TechBullish. With a B.Tech in Electronics and Communication Engineering, and 6+ years of experience as a software developer, I have expertise in electronics, software development, gadgets, and computer peripherals. I love sharing my knowledge through informational articles, how-to guides, and troubleshooting tips for Peripherals, Smart TVs, Streaming Solutions, and more here. Check Anirban’s Crunchbase Profile here.