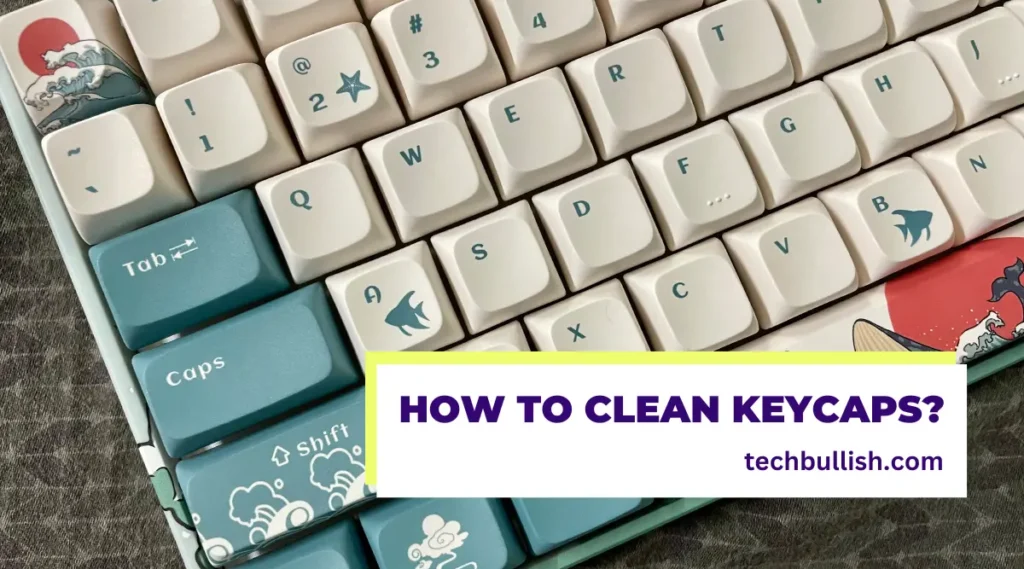
Having maintained mechanical keyboards for over a decade, I’ve learned that clean keycaps aren’t just about aesthetics—they’re essential for typing comfort and keyboard longevity.
In this guide, I’ll share my tried-and-tested methods to clean keycaps of your mechanical keyboard, along with important tips I’ve learned through extensive experience.
Essential Supplies for Keycap Cleaning
Before starting the cleaning process, gather these supplies:
- Keycap puller (wire-pullers are gentler than plastic ones)
- Warm water (not hot)
- Mild dish soap
- Soft microfiber cloth
- Clean towel
- Container or bowl large enough for your keycaps
- Optional: Denture cleaning tablets
Step-by-Step Keycap Cleaning Process
Here are the steps below:
Step #1. Document Your Keycap Layout
Before removing any keycaps, take a clear photo of your keyboard. This step is crucial, especially for custom layouts or keyboards with non-standard bottom rows.
I learned this the hard way after spending an hour figuring out the correct key placement on my first clean.
Step #2. Remove the Keycaps
The keycap removal process is easy when you are using a keycap puller. Gently remove each keycap using a keycap puller by pulling straight up with steady pressure. Pay special attention to larger keys like the spacebar, which may have stabilizers attached.
Having cleaned several keyboards, I can’t stress enough how important it is to be gentle during this step to avoid damaging the switches or keycaps.
Step #3. Soak and Clean Keycaps
Place your keycaps in the container and add warm soapy water (i.e. a mixture of water and a small amount of mild dish soap).
Through trial and error, I’ve found that a 30-minute soak in soapy water is optimal for the keycaps—long enough to loosen dirt but not so long that it risks damage to the keycaps.
For particularly dirty keycaps, you can use denture tablets, which I’ve found to be surprisingly effective at removing stubborn keycap stains without damaging the plastic.
Step #4. Scrub and Rinse
After soaking, gently agitate the keycaps in the solution.
Use your microfiber cloth to carefully clean each cap, paying special attention to the sides and bottom edges where grime tends to accumulate.
Rinse thoroughly with clean water until no soap remains.
Step #5. Drying Process for Keycaps
Lay out your keycaps on a clean towel in a well-ventilated area. While it might be tempting to speed up the process with a hair dryer, I’ve found that air drying produces the best results and prevents any risk of warping.
Allow at least 8 hours for complete drying—overnight is ideal.
Expert Keycap Cleaning Tips and Tricks
Here are the cleaning tips and tricks for keycaps from my personal experience:
- Store stabilized keys (like the spacebar) separately during cleaning to prevent damage to the stabilizer inserts
- Check keycap material before cleaning—PBT plastic is highly resistant to cleaning, while ABS requires more gentle handling
- Never use harsh chemicals or alcohol-based cleaners, as they can damage or discolor your keycaps
- If you notice any shine or texture changes on your keycaps, it’s not dirt—it’s wear from regular use and cannot be cleaned away
When and How Often to Clean Your Keycaps
Based on my experience maintaining multiple mechanical keyboards, I recommend a deep cleaning every 3-4 months for regularly used keyboards.
However, if you notice any of these signs, it’s time for an earlier cleaning:
- Visible keycap stains on frequently used keys
- Sticky or inconsistent key feel
- Reduced tactile feedback
- Visible debris around the edges of keycaps
Now let’s explore more specifics by considering user type:
| User Type | Deep Clean | Basic Clean | Daily Maintenance |
|---|---|---|---|
| Light User (1-2 hrs/day) | Every 6 months | Monthly | Quick wipe |
| Heavy User (4+ hrs/day) | Every 2-3 months | Bi-weekly | Essential |
| Shared Keyboard | Monthly | Weekly | Daily sanitization |
| Gaming Keyboard | Every 2 months | Weekly (WASD focus) | Post-session wipe |
Daily and Preventive Maintenance Strategies
| Time | Task | Duration |
|---|---|---|
| Morning | • Dust sweep with soft brush • Damp microfiber wipe • Dry cloth follow-up | 30 seconds |
| Mid-Day | • Quick wipe of frequently used keys • Check for debris | 15 seconds |
| End of Day | • Final brush sweep • Visual inspection • Cover keyboard (if needed) | 30 seconds |
Preventive Keycap Maintenance Things to Know
The best way to keep your keycaps clean is to prevent dirt buildup in the first place. I’ve found these habits particularly effective:
- Wash your hands before using your keyboard
- Keep drinks and food away from your workspace
- Use a keyboard cover when not in use
- Regular light cleaning with a microfiber cloth
Next, read this guide on cleaning your mechanical keyboard in the best and easiest ways possible.
Final Words
Clean keycaps make a remarkable difference in both the appearance and performance of your mechanical keyboard. While the process might seem daunting at first, I’ve found that regular maintenance becomes second nature and significantly extends the life of your keyboard.
Remember that different keycap materials and profiles might require slight adjustments to this process. Always test any new cleaning method on a less visible keycap first, and when in doubt, err on the side of gentler cleaning methods.
This guide is based on years of hands-on experience maintaining various mechanical keyboards. I’ve personally cleaned hundreds of keycaps and tested multiple cleaning methods to determine the most effective and safe approaches.

I’m Anirban Saha, Founder & Editor of TechBullish. With a B.Tech in Electronics and Communication Engineering, and 6+ years of experience as a software developer, I have expertise in electronics, software development, gadgets, and computer peripherals. I love sharing my knowledge through informational articles, how-to guides, and troubleshooting tips for Peripherals, Smart TVs, Streaming Solutions, and more here. Check Anirban’s Crunchbase Profile here.