
A sticky key almost always comes down to one of three things: trapped crumbs, dried liquid residue, or a worn part under the keycap. To fix sticky keyboard keys safely, turn off and unplug the keyboard, blow out debris with compressed air, wipe the sticky area with a lint-free cloth lightly dampened with isopropyl alcohol, and remove the keycap only if your keyboard is built for it. Most keys start working again after that routine.
The risk is doing too much. Prying at a laptop key can snap the tiny plastic clips that hold it on. Pouring cleaner into the keyboard can turn a small problem into liquid damage, which many warranties do not cover.
Start with the gentlest fix and move up one step at a time. That way you can solve most problems in about 15 minutes and still know when a key needs a repair shop.
Is the Key Stuck, or Is Something Else Wrong?
Before you clean anything, figure out whether the key is physically sticky or the computer is misreading it. A fresh spill needs fast action, while a key that feels normal but acts strange points to settings.
What Should You Do Immediately After a Spill?
Speed counts most in the first few minutes after a spill. Follow these steps in order:
- Shut the device down and unplug the power adapter or USB cable right away. Remove batteries from wireless keyboards.
- Tip the keyboard upside down so liquid drains out instead of soaking deeper.
- Blot the surface with a soft, lint-free cloth. Do not rub, since that spreads sugar around.
- Leave it to dry for at least 24 to 48 hours before powering it on.
Water dries clean. Soda, coffee with sugar, and juice leave a sticky film that makes keys gummy even after they dry.
For laptops, be more careful. Liquid inside a laptop can reach the motherboard. Apple, for example, states that liquid damage is not covered by its one-year warranty or standard AppleCare, and its laptops include Liquid Contact Indicators that show whether liquid got inside. If a sugary drink went into a laptop keyboard, professional service is often the safer route.
How Can You Tell a Physical Problem from a Software Problem?
Press the key slowly and pay attention to how it feels. A physical problem shows up as:
- A key that is hard to press down
- A key that stays down or comes back up slowly
- A crunchy, gritty, or tacky feel
- One key that feels different from its neighbors
If the key feels normal but acts wrong, suspect software. Signs include unexpected capital letters, symbols in place of numbers, or modifier keys like Shift that seem to “stay on.” Those often trace back to accessibility settings. If your keys produce the wrong characters, our guide to a keyboard typing symbols instead of numbers covers that separate issue.
A quick test helps too. Plug in a different keyboard. If the problem disappears, the original keyboard is at fault. If it stays, look at the computer’s settings.
Clean a Sticky Key Without Removing It
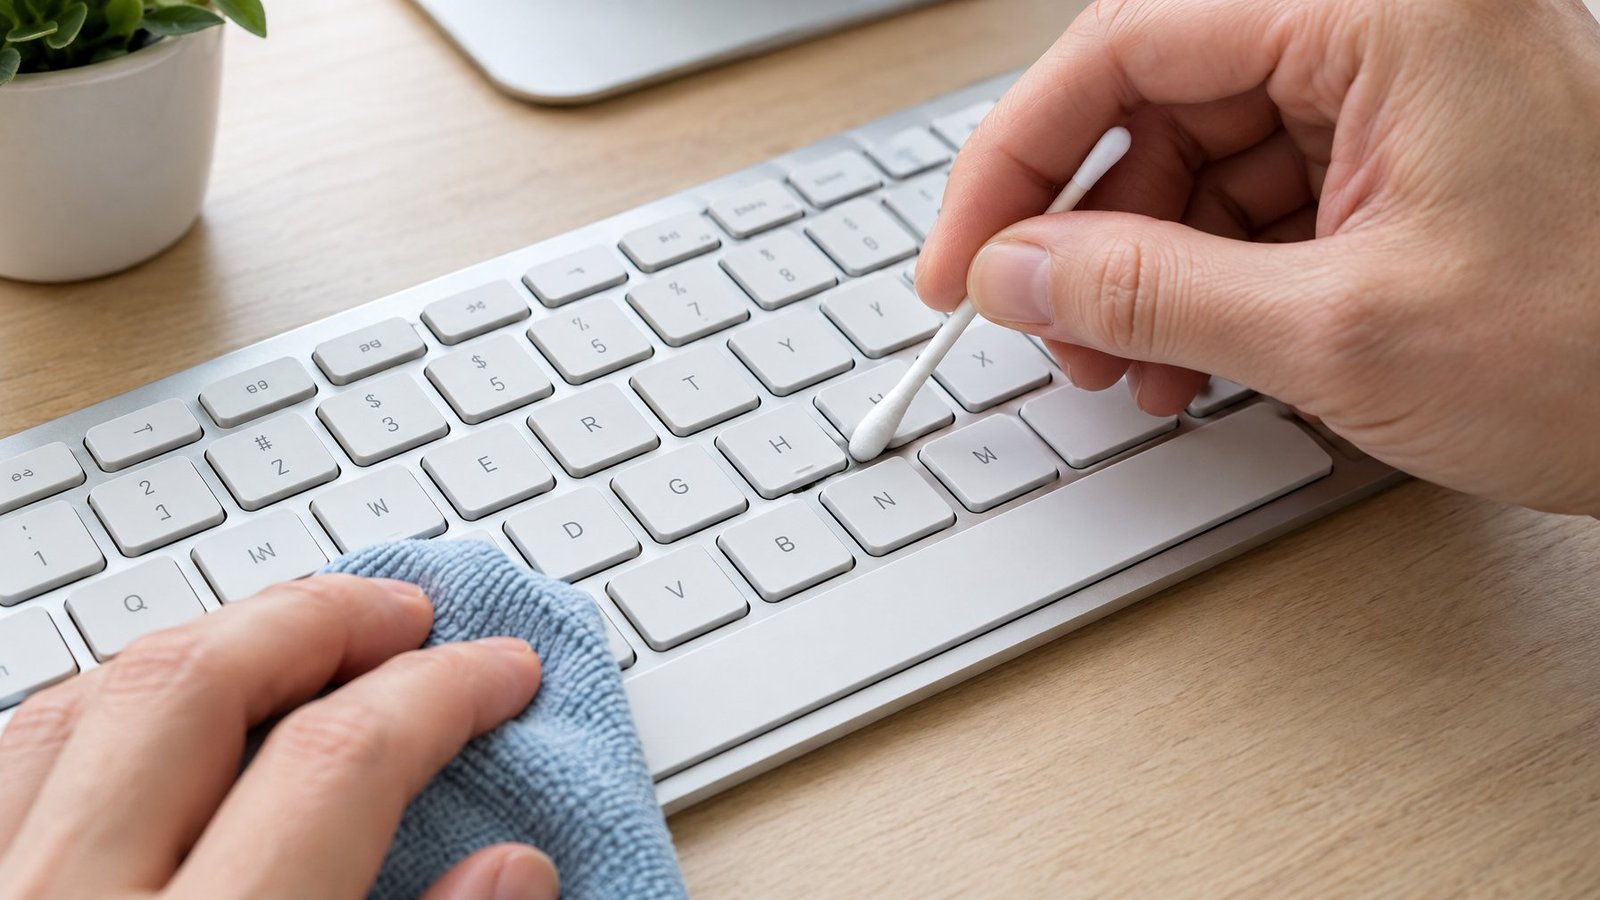
Compressed air plus a light alcohol wipe fixes most sticky keys, and you never have to pop anything off. This is the safest first step for laptops and low-profile keyboards.
Power Down and Clear Loose Debris
Shut down the computer and unplug everything. For a separate keyboard, disconnect the cable or remove the batteries.
Then clear out crumbs and dust:
- Use the straw on the air can. Keep the tip about half an inch from the keys.
- Hold the can upright. Tipping it upside down can spray cold liquid propellant.
- Tilt the keyboard. Apple suggests holding a MacBook at about a 75-degree angle, spraying left to right, then rotating it onto each side and spraying again.
- Spray in short bursts around all four edges of the sticky key.
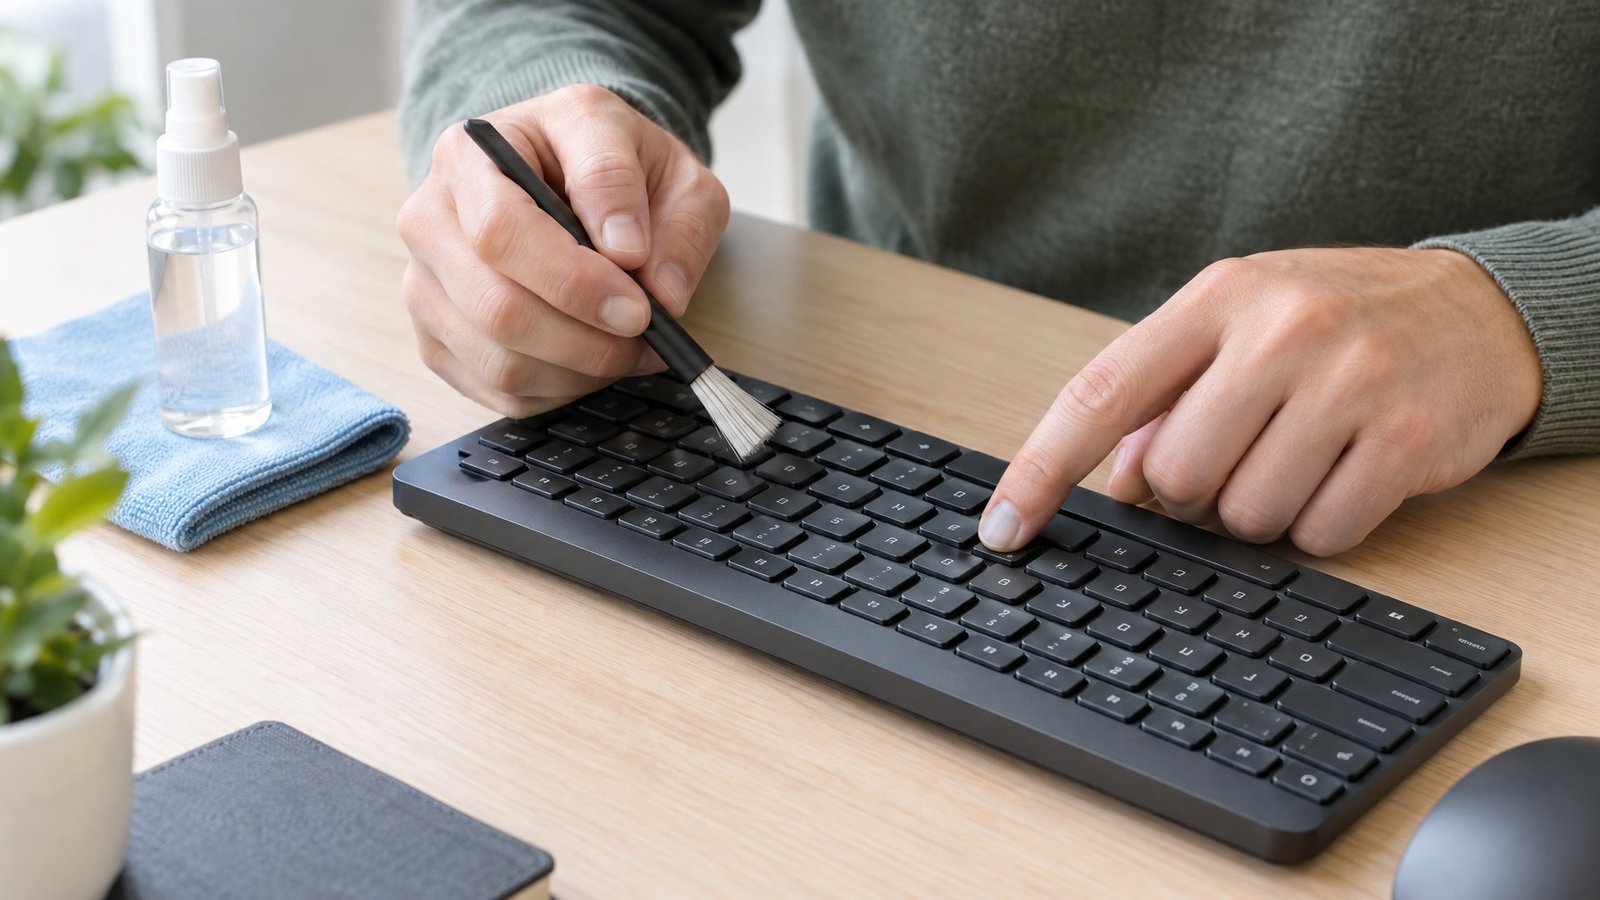
For a desktop keyboard, flip it over and give it a few gentle taps to shake out loose crumbs. A soft brush helps loosen hair and dust between keys.
Wipe Away Residue and Let the Keyboard Dry
Dried drinks leave a film that air cannot remove. For that, you need isopropyl alcohol and a microfiber cloth.
- Dampen the cloth or a cotton swab with isopropyl alcohol. It should be damp, not dripping.
- Wipe the key top and run the swab around its edges.
- Press the key several times while cleaning to work the alcohol into the gap.
- Let the keyboard air-dry for 10 to 15 minutes before powering it on.
Apple approves 70 percent isopropyl alcohol wipes for its keyboards. Some repair guides use 90 percent, which evaporates faster. Either works. Never spray any cleaner straight onto the keyboard, and skip bleach or hydrogen peroxide.
Clean Beneath Removable Keycaps
When surface cleaning fails, the gunk sits under the keycap. Mechanical keyboards are built for easy keycap removal, while laptop keys use fragile clips that need a much lighter touch.
Remove Keycaps Safely on Mechanical and Laptop Keyboards
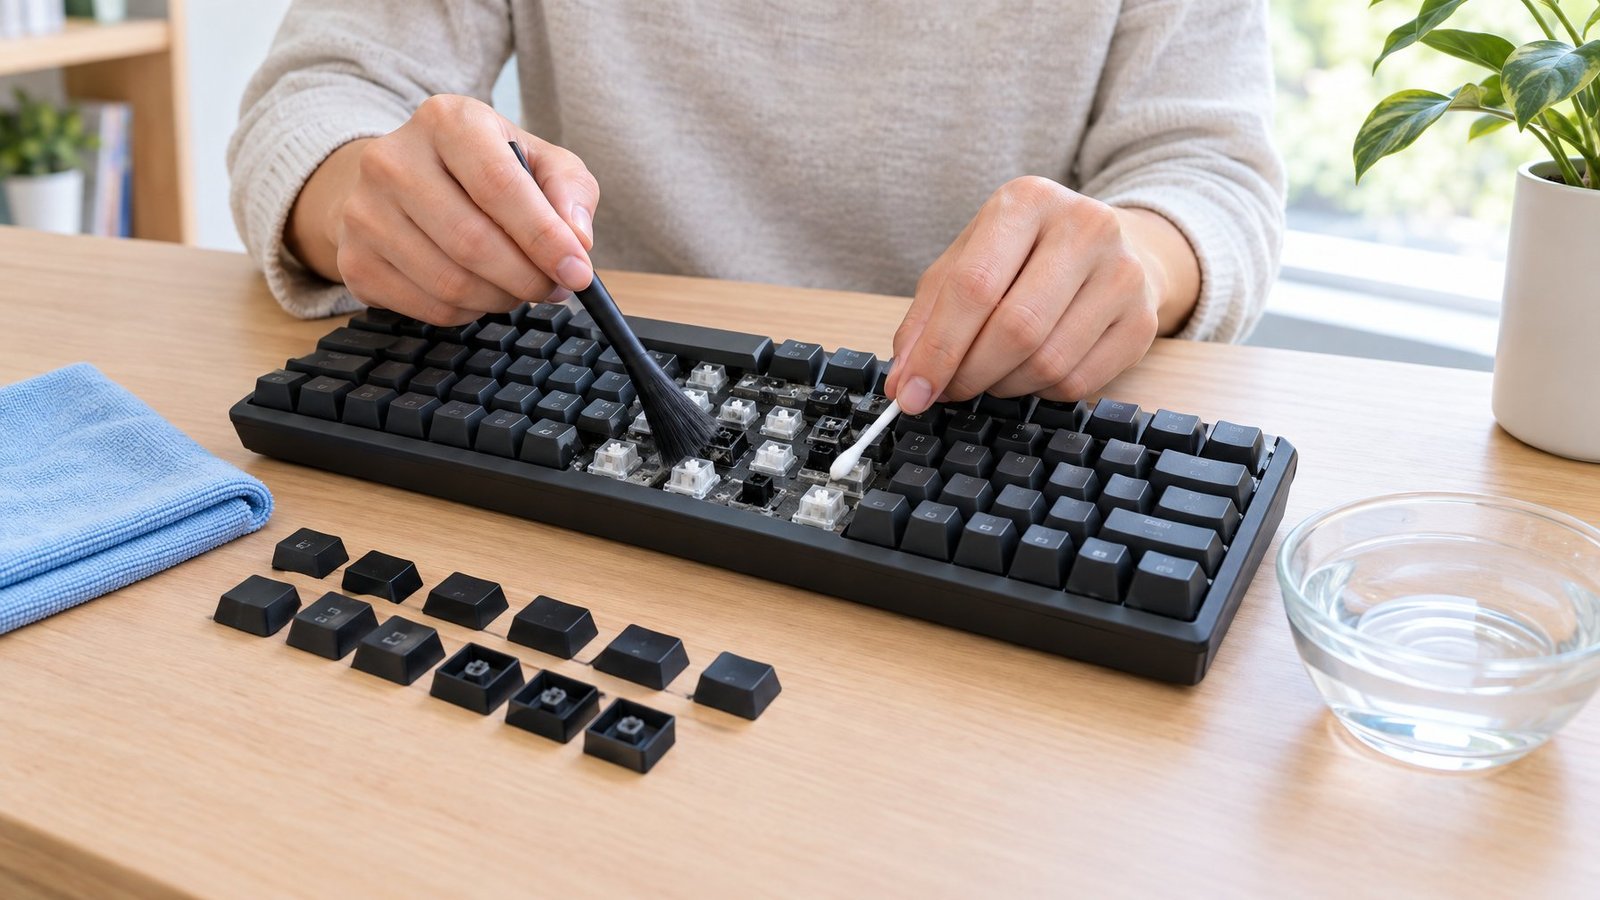
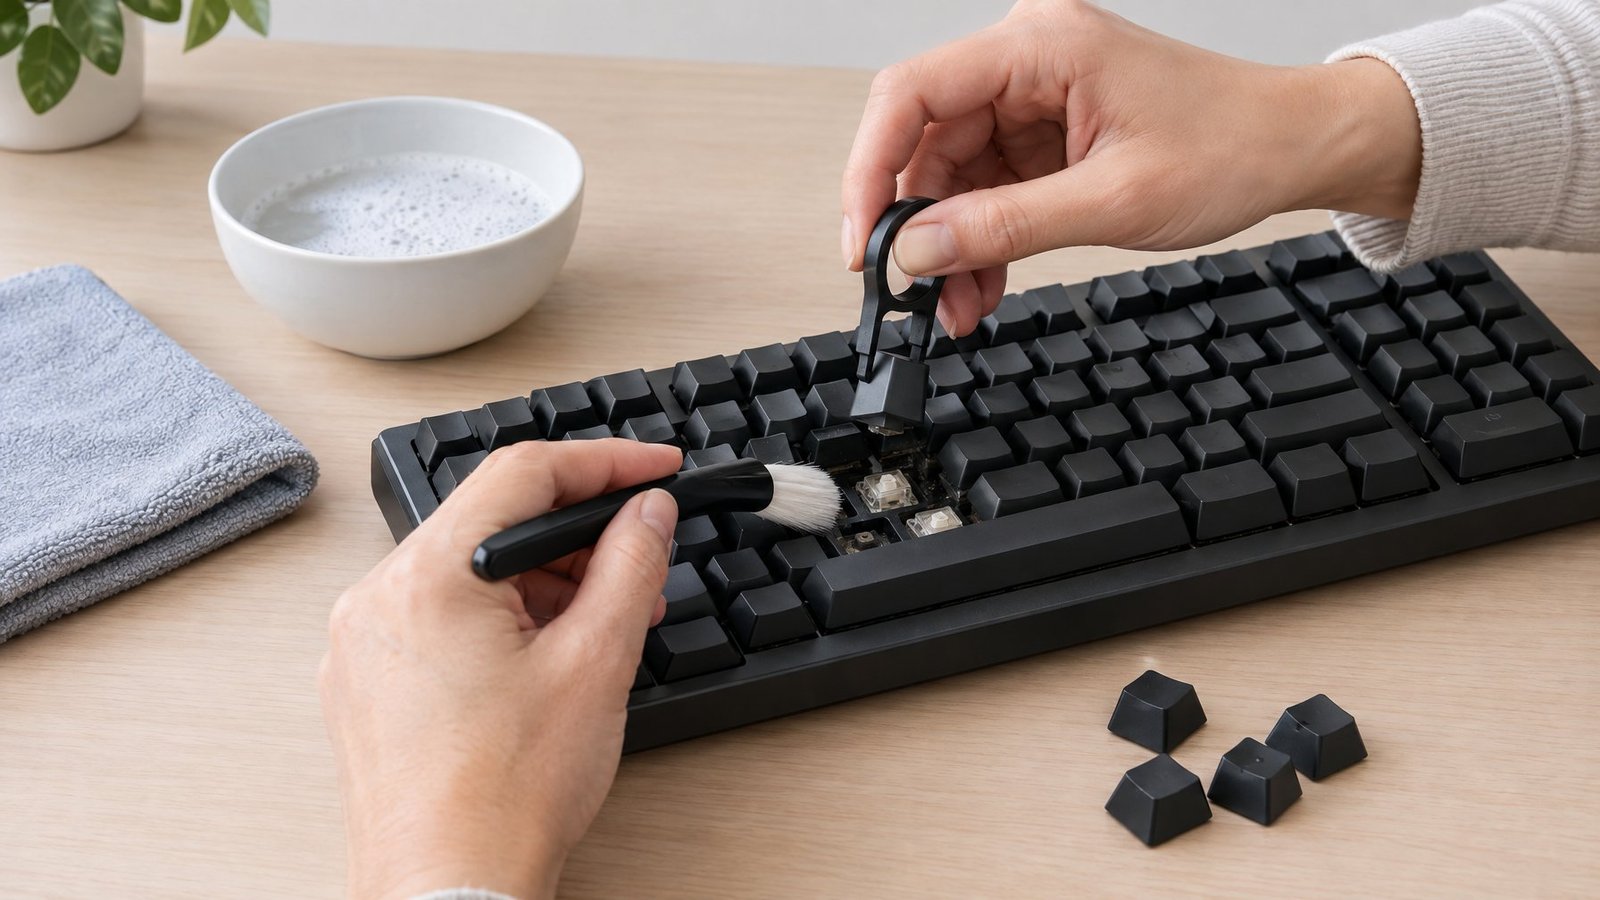
On a mechanical keyboard, use a wire keycap puller. Slide the wires under opposite sides of the cap and pull straight up. Wiggling side to side can bend the switch stem. Our step-by-step guide on how to remove keys from a mechanical keyboard shows the grip in detail.
Take a photo of the layout first. Long keys like the spacebar, Shift, and Enter sit on keyboard stabilizers, which are small metal bars. Lift those caps slowly so the wire stays in place.
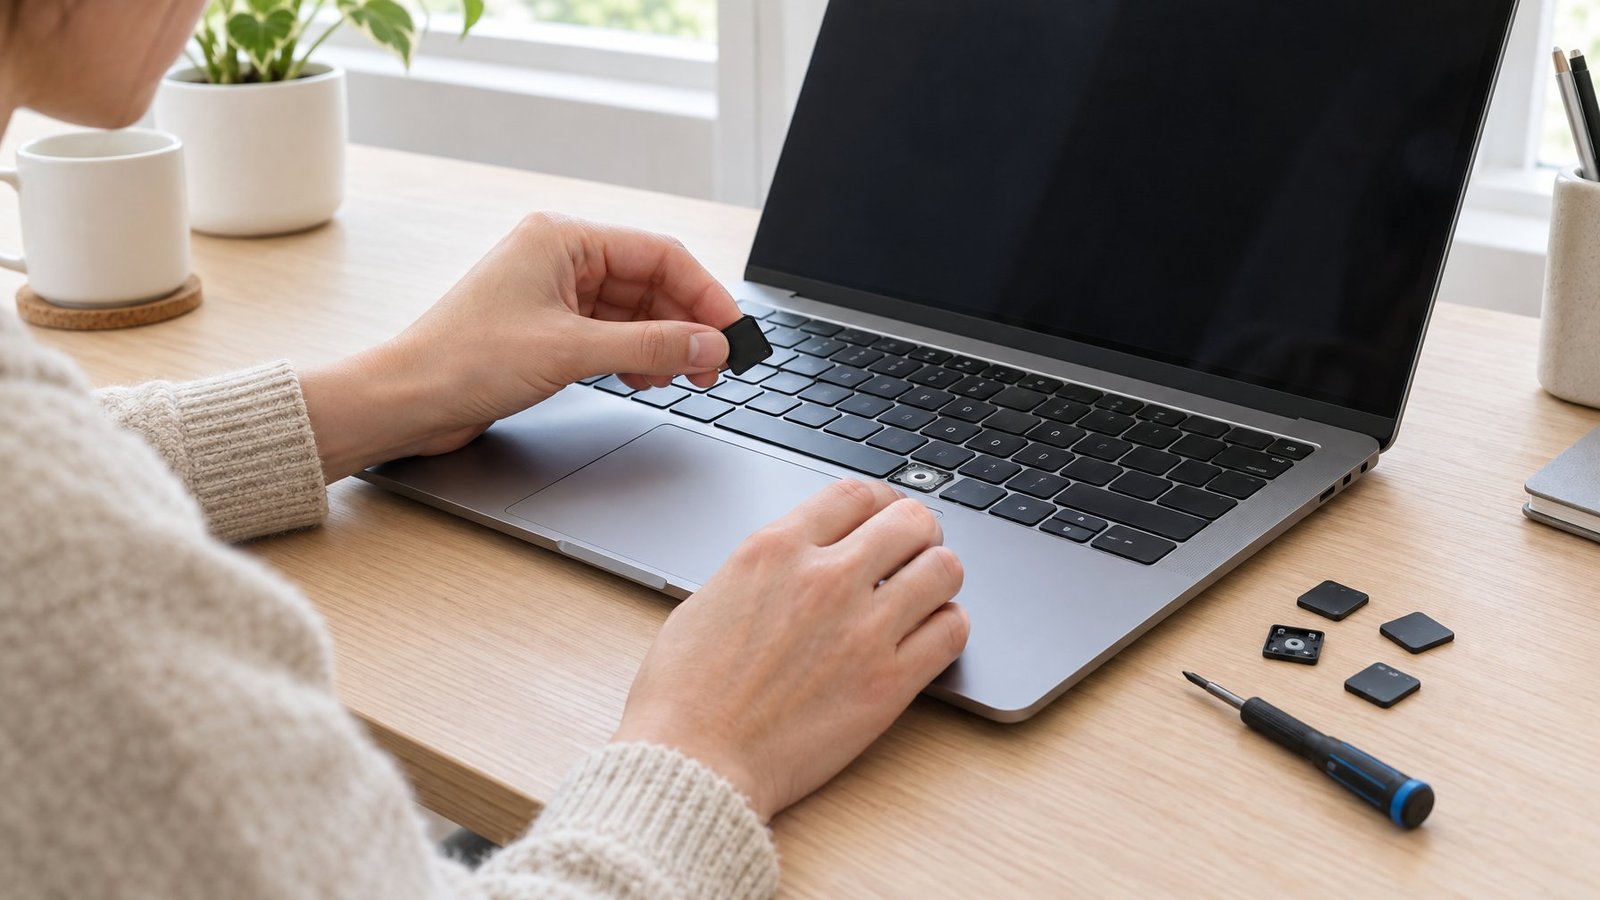
On a laptop, go slow:
- Check your laptop maker’s support pages first. Some models, including many recent MacBooks, are not designed for owners to remove keys.
- If removal is allowed, slide a plastic pry tool or fingernail under one edge and lift gently until it clicks free.
- Never use a metal screwdriver. It scratches and can snap the butterfly or scissor clip under the key.
Clean and Reattach the Keycap
With the cap off, you will see the switch or the small rubber dome underneath.
- Blow out the area with compressed air.
- Wipe around the switch with a swab lightly dampened with isopropyl alcohol.
- Wash the keycap in warm, soapy water if it feels greasy. Our guide on how to clean keycaps covers soaking a full set.
- Dry the cap completely before putting it back.
To reattach, line the cap up over the stem and press straight down until it clicks. On laptops, hook the clips first, then press the key center. Test it a dozen times. If the switch itself still feels sticky, our walkthrough on how to clean mechanical keyboard switches goes one step deeper.
Why Do Membrane Keyboards Need a Different Approach?
Membrane keyboards use a thin rubber sheet with printed circuit lines under the keys. There are no individual switches to clean.
Keycaps on many membrane boards pull straight up, but the rubber domes underneath tear easily. Full cleaning means unscrewing the case and lifting out the membrane layer. Repair guides warn against using liquids or chemicals on the membrane itself; wipe it dry instead. For a cheap membrane keyboard with a big spill, replacing it often costs less than the time spent taking it apart.
What If Cleaning Does Not Solve the Problem?
A key that still misbehaves after a good cleaning points to settings, drivers, or a worn part. Rule out the free software fixes first, then inspect the hardware.
Check Windows Sticky Keys, Filter Keys, and Keyboard Drivers
The Windows Sticky Keys feature shares a name with the physical problem but does something different. It lets you press shortcuts like Ctrl+S one key at a time, which makes Shift or Ctrl seem stuck. Filter Keys tells Windows to ignore short or repeated presses, which can make a key feel unresponsive.
To check both in Windows 11:
- Press Windows + U to open Accessibility settings.
- Select Keyboard.
- Turn off Sticky keys and Filter keys.
- Open the Sticky keys options and turn off the keyboard shortcut so pressing Shift five times does not turn it back on.
On a Mac, go to System Settings > Accessibility > Keyboard and switch off Sticky Keys.
Next, check drivers. Right-click Start, open Device Manager, expand Keyboards, right-click your keyboard, and choose Update driver. If the problem began after an update, try Roll Back Driver on the Driver tab. Uninstalling the device and restarting also makes Windows reinstall a fresh driver. Brand-specific tips live in our Lenovo keyboard not working fix and Chromebook keyboard not working guides.
Test for a Damaged Switch or Key Mechanism
Look closely at the problem key with the cap removed, if your keyboard allows it. Warning signs include:
- A cracked keycap or broken clip
- A switch stem that wobbles or leans
- A rubber dome that is torn or flattened
- A key that registers twice or not at all, even when clean
On many mechanical keyboards, you can swap a single switch or keycap. Hot-swap boards let you pull the switch out by hand. On laptops, a broken clip or scissor mechanism usually needs a matching replacement part for that exact model.
When Is Repair or Replacement the Better Choice?
Use this quick guide to decide:
| Situation | Best move |
|---|---|
| One broken keycap on a mechanical board | Replace the keycap |
| One bad switch on a hot-swap board | Swap the switch |
| Laptop key with broken clip | Replacement key or repair shop |
| Sugary spill inside a laptop | Professional service |
| Several dead keys on a cheap membrane board | Replace the keyboard |
| Laptop still under warranty | Contact the maker before opening anything |
Opening a laptop yourself can void coverage. If several keys fail at once on a laptop, the whole keyboard assembly often needs replacing, which is a job for a technician.
Keep Your Keys Working After the Fix
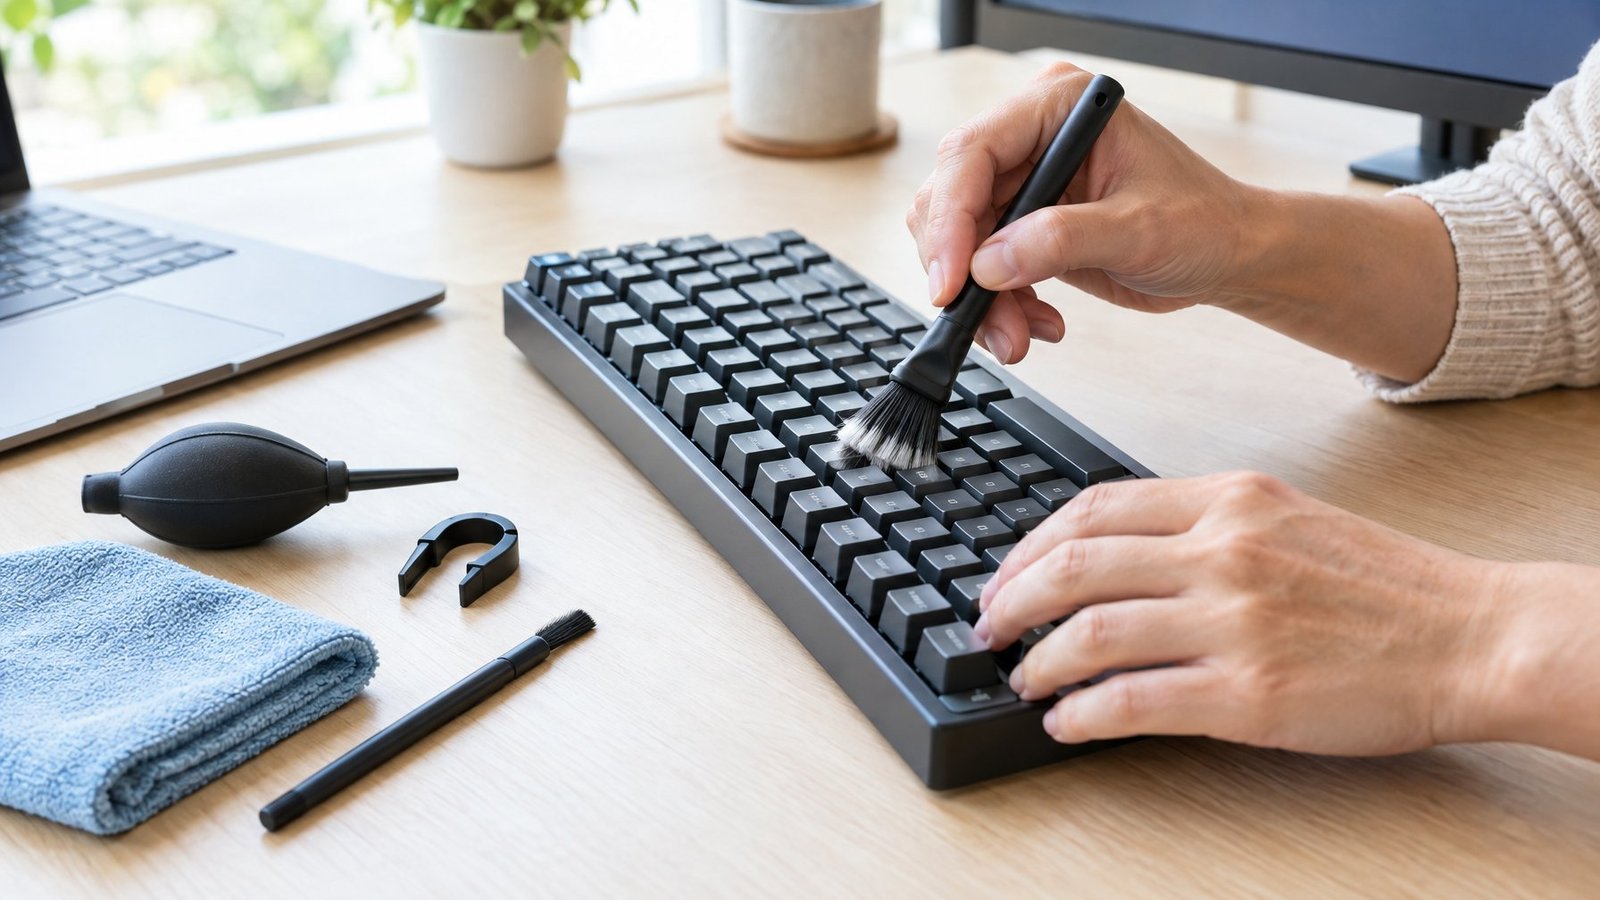
The easiest way to prevent sticky keys is to keep food and drinks away from the keyboard. Crumbs and drips cause most of the problems covered above.
A few habits make a big difference:
- Clean weekly. Tip the keyboard over, tap it, and give it a quick blast of air.
- Wipe monthly. Use a microfiber cloth lightly dampened with isopropyl alcohol on the key tops.
- Wash your hands before long typing sessions. Skin oil builds up and makes keys feel tacky.
- Use a spill-proof cup with a lid at your desk.
- Try a keyboard cover. A thin silicone cover blocks dust and small spills. Some typists dislike the soft feel, and covers on laptops must be removed before closing the lid if they are thick.
Mechanical keyboard owners should plan a deeper clean every few months. Our guide on how to clean a mechanical keyboard lays out a full routine with keycaps off.
Wrapping Up
Most sticky keys come back to life with power off, compressed air, and a light isopropyl alcohol wipe. If that fails, lift the keycap only on keyboards built for it, and use a plastic tool on laptops.
When a clean key still acts up, turn off Sticky Keys and Filter Keys and refresh the driver. A cracked clip, torn membrane, or sugary laptop spill is the point to move on to a part swap or professional service.
Frequently Asked Questions
How do you clean a sticky laptop key without removing it?
Shut down the laptop, spray compressed air around the key’s edges, then run a cotton swab lightly dampened with isopropyl alcohol around the gap. Press the key several times while the alcohol works in. Let it dry for 10 to 15 minutes before turning the laptop on.
Can you fix a gummy keyboard after a drink spill?
Yes, if you act fast and the liquid stayed near the surface. Unplug it, drain it upside down, let it dry fully, then clean the residue with isopropyl alcohol. A sugary spill inside a laptop needs professional service because liquid can reach the motherboard.
Is it safe to remove a sticky laptop keycap?
It is safe on some laptops and risky on others. Check the maker’s support pages first, and use a plastic pry tool with gentle, even pressure. Metal tools and forceful prying often snap the small clips underneath.
Why does a key still stick after cleaning?
Leftover residue under the cap, a worn switch, or a broken clip are the usual causes. If the key feels normal but acts odd, check the Sticky Keys and Filter Keys settings. A driver update or reinstall fixes software-side glitches.
When should you replace a keyboard with sticky keys?
Replace it when several keys fail, the membrane is torn, or repair costs more than a new keyboard. For laptops still under warranty, contact the maker first. A single bad keycap or switch on a mechanical board is almost always worth replacing on its own.

I’m Anirban Saha, Founder & Editor of TechBullish. With a B.Tech in Electronics and Communication Engineering, and 8+ years of experience as a software developer, I have expertise in electronics, software development, gadgets, and computer peripherals. I love sharing my knowledge through informational articles, how-to guides, and troubleshooting tips for Peripherals, Smart TVs, Streaming Solutions, and more here. Check Anirban’s LinkedIn Profile here.