
Mouse sensitivity problems usually come from one of three places: the operating system’s pointer speed, the mouse’s own DPI setting, or a game’s sensitivity and acceleration options. When cursor movement feels too fast, too slow, or inconsistent, the fix is almost always a slider or a toggle you can reach in under a minute.
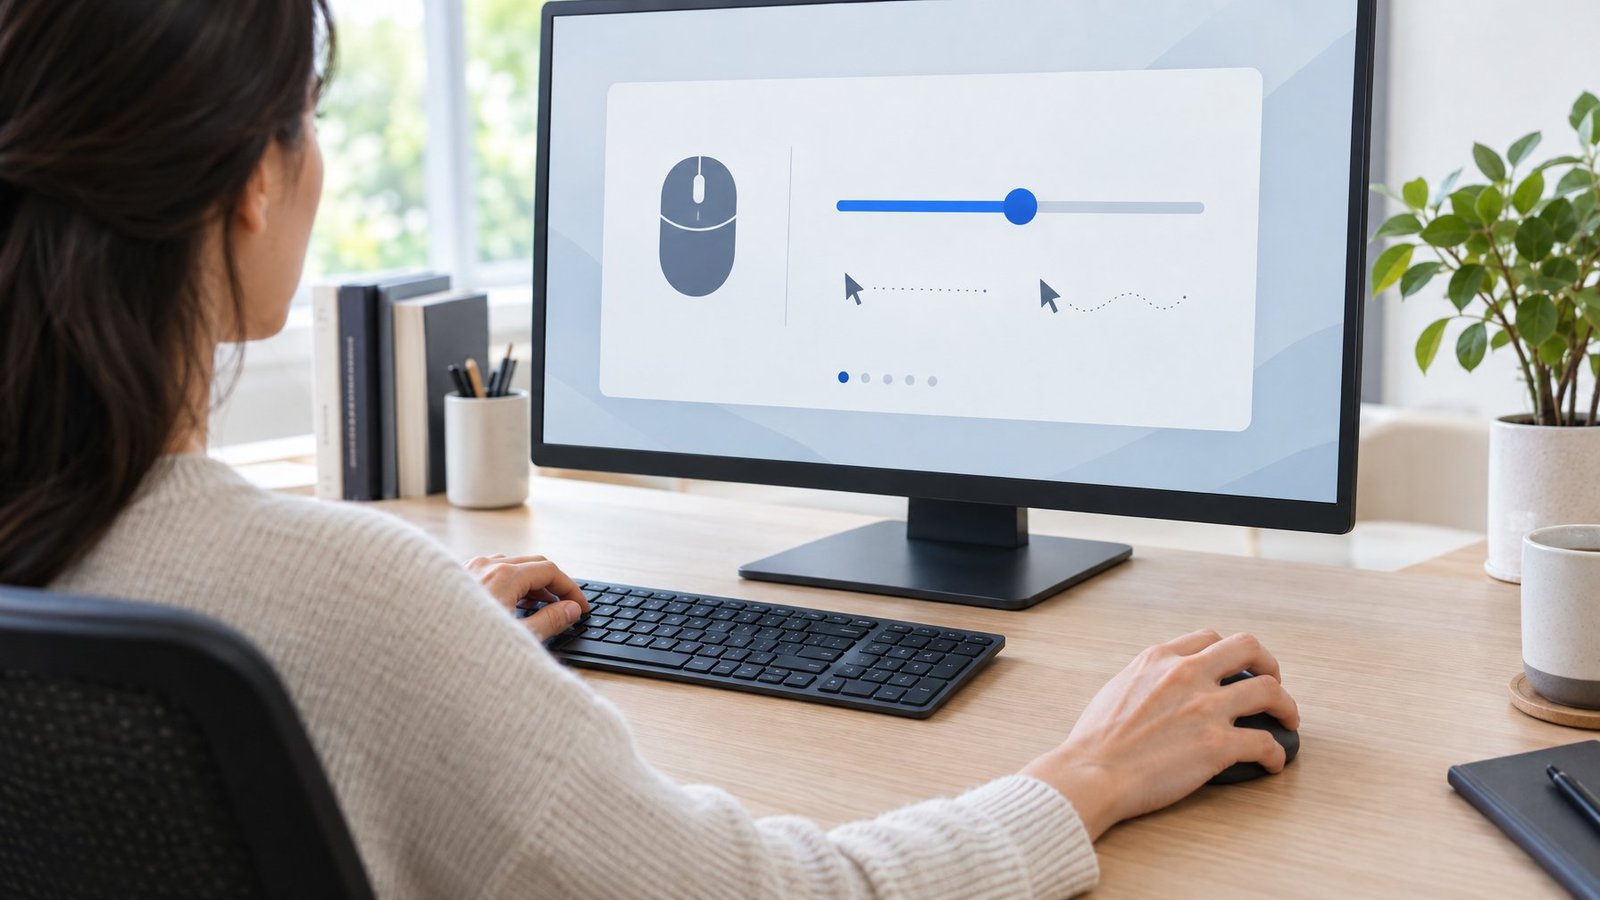
To fix mouse sensitivity, adjust the pointer speed slider in Windows (Settings > Bluetooth & devices > Mouse) or the tracking speed slider on a Mac (System Settings > Mouse > Point & Click), then check your mouse’s DPI setting and any in-game sensitivity options. Most people find the right feel by changing just one of these layers.
The trick is knowing which layer is causing the problem. A mouse that feels fine on the desktop but wild in a shooter needs a different fix than a cursor that suddenly slowed down after a Windows update. Once you can tell those cases apart, you can stop guessing and set a speed that stays put.
How Do You Adjust Pointer Speed in Windows?
Windows puts its main mouse pointer speed slider in the Settings app, with extra controls in the older Mouse Properties window. You can change the base speed there and decide whether Windows should add acceleration on top of it.
Change Mouse Pointer Speed in Windows 11 or 10
The fastest way to change mouse sensitivity in Windows 11 goes through Windows Settings:
- Select Start > Settings > Bluetooth & devices > Mouse.
- Drag the slider next to Mouse pointer speed left to slow the cursor or right to speed it up.
- Move the mouse as you drag so you can feel each change right away.
On Windows 10, the path is Start > Settings > Devices > Mouse, and the slider is labeled Cursor speed. Windows 10 support ended on October 14, 2025, so these menus won’t get new changes, but the slider still works.
A practical tip: make small moves. One or two notches can feel like a big jump, especially on a high-resolution monitor.
Use Mouse Properties and Pointer Options
Some people prefer the classic Control Panel window because it shows the speed slider alongside other pointer settings. To open it:
- Go to Settings > Bluetooth & devices > Mouse.
- Under Related settings, select Additional mouse settings.
- In the Mouse Properties window, open the Pointer Options tab.
- Adjust the Select a pointer speed slider under Motion, then select OK.
This tab also holds visibility options like pointer trails and “Show location of pointer when I press the CTRL key.” Laptop makers sometimes add their own tabs here too, which matters for touchpads (more on that below).
Turn Enhance Pointer Precision On or Off
Enhance pointer precision is Windows’ built-in mouse acceleration. With it on, the cursor moves farther when you move the mouse quickly and moves more precisely when you move slowly. Microsoft recommends it for accuracy at slow speeds.
The downside is that the same hand movement doesn’t always travel the same distance. If sensitivity seems to change from app to app or moment to moment, turning off enhanced pointer precision is the first thing we’d try. You can find the toggle in Settings > Bluetooth & devices > Mouse on Windows 11, or as a checkbox under Motion on the Pointer Options tab.
| Setting | Best for |
|---|---|
| Enhance pointer precision On | Office work, small screens, low-DPI mice |
| Enhance pointer precision Off | Gaming, design work, consistent muscle memory |
For a deeper look at how acceleration works, see our guide on what is mouse acceleration.
How Do You Adjust Tracking Speed on a Mac?
macOS calls sensitivity “tracking speed,” and it sits in the Mouse and Trackpad panes of System Settings. Accessibility settings add double-click and scroll speed, and a switch that stops the built-in trackpad from fighting your mouse.
Change Mouse Tracking Speed
To set tracking speed for a mouse or trackpad:
- Choose Apple menu > System Settings.
- Click Mouse or Trackpad in the sidebar (you may need to scroll down).
- Click Point & Click, then drag the Tracking speed slider.
Move the pointer while you drag so you can see the effect live. Mice and trackpads have separate sliders, so fixing one won’t change the other.
By default, macOS uses pointer acceleration: fast movements travel farther, slow ones stay precise. If you want every movement to map evenly, open Mouse settings, click Advanced, and turn Pointer acceleration off. Gamers and designers moving from Windows often prefer this.
Check Pointer Control and Trackpad Settings
Go to System Settings > Accessibility > Pointer Control for related options:
- Double-click speed: how fast you must click for a double-click to register.
- Mouse Options / Trackpad Options: scroll speed and scrolling inertia.
- Ignore built-in trackpad when mouse or wireless trackpad is present: stops a MacBook touchpad from nudging the cursor while you use a mouse.
Apple notes that driver software for non-Apple mice can keep that last option from working as expected. If you use a Logitech or Razer mouse on a Mac and the trackpad still interferes, check the mouse maker’s app settings.
What If DPI or a Game Is Causing the Problem?
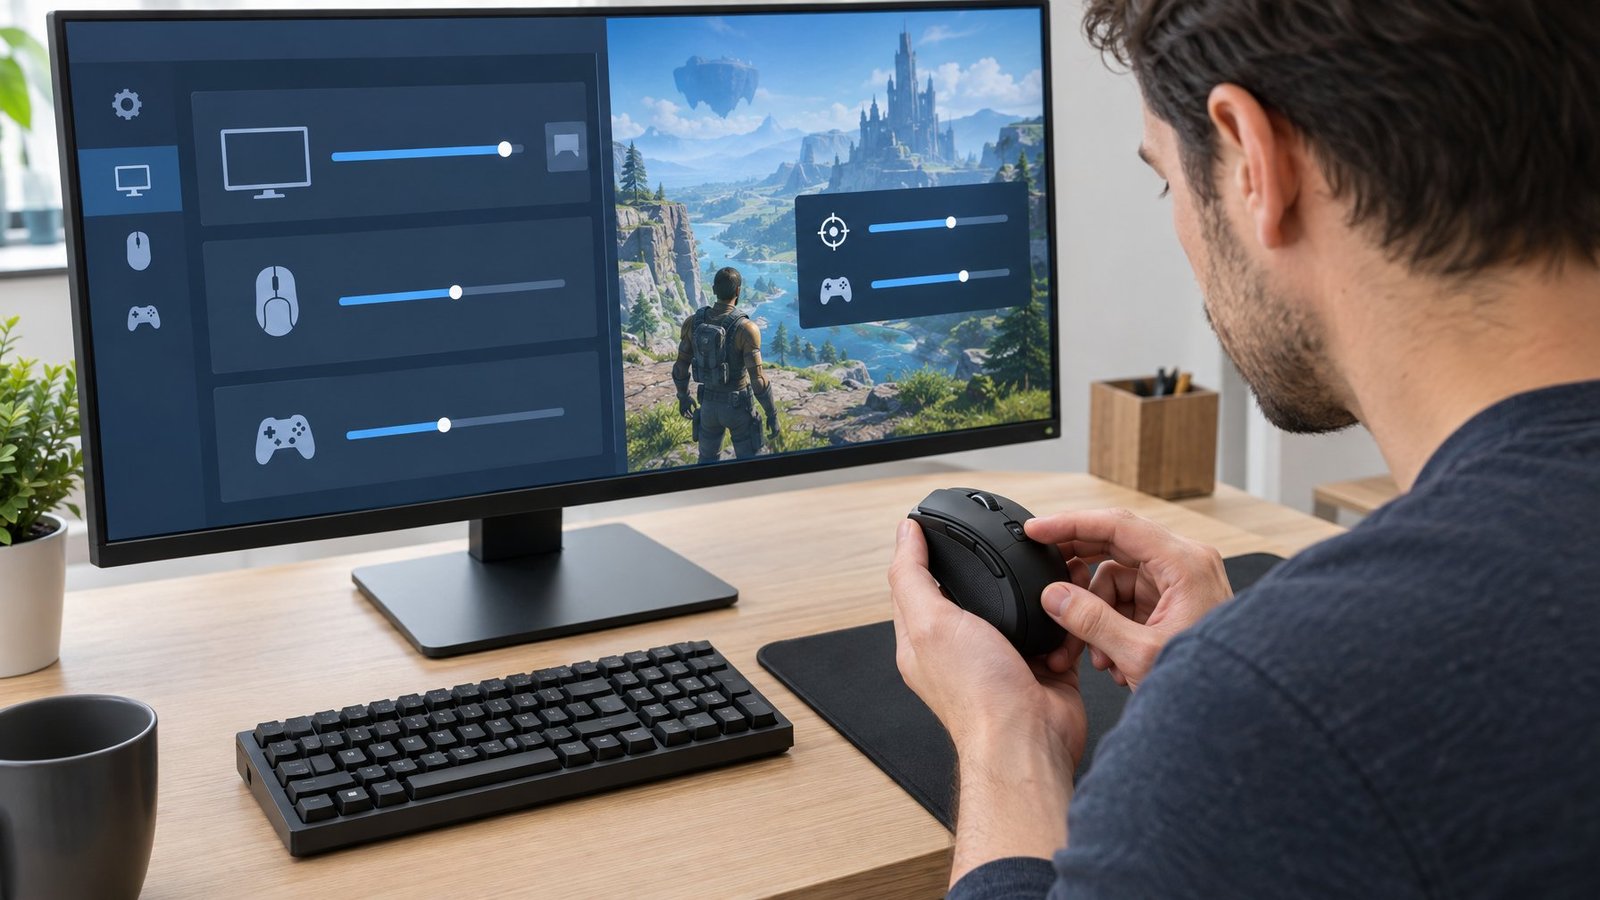
Gaming mice have their own sensitivity layer, DPI, that works before Windows or macOS ever sees the movement, and games add a third layer on top. If your cursor jumps speed after a button press, or only feels wrong in one game, look here first.
DPI (dots per inch, also called CPI) sets how far the cursor moves per inch of hand movement. Many gaming mice have a button just behind the scroll wheel that cycles DPI levels, and it’s easy to bump by accident. If sensitivity suddenly doubled or halved, press that button a few times and see if the old feel returns. Our explainer on the CPI button on mouse shows where it usually sits.
For exact control, use the maker’s software:
- Logitech G HUB: click your mouse on the Home page and open the Sensitivity tab to set DPI levels.
- Logi Options+: select your mouse, then Point and Scroll > Pointer speed.
- Razer Synapse: select your mouse, open Performance, and use Sensitivity Stages or the sensitivity slider. You can even set separate X and Y values.
If the software can’t see your mouse, our guides on Logitech G HUB not detecting mouse and Razer Synapse not detecting mouse cover the fixes. To learn what the numbers mean, read what is DPI on a mouse.
Adjust In-Game Sensitivity Without Changing Desktop Control
Keep your desktop speed where you like it and tune game sensitivity inside each game. Most games have a sensitivity slider under Controls or Mouse settings, and some have a separate slider for aiming down sights.
A method that works well in our experience:
- Set a DPI you’re happy with on the desktop (many players land between 400 and 1600).
- Leave Windows pointer speed alone once it feels right.
- Change only the in-game sensitivity until a full swipe across your mousepad turns your character the amount you want.
Changing one layer at a time keeps you from chasing the problem around three different menus.
Check Raw Input and Acceleration Settings in Games
Many PC games offer a raw input option. Raw input lets a game read data straight from the mouse, skipping Windows pointer speed and Enhance pointer precision. With it on, your in-game feel depends only on DPI and the game’s own slider.
If a game has no raw input option, Windows acceleration may still apply in-game, which makes aim feel inconsistent. In that case, turn off Enhance pointer precision in Windows. Also look for an in-game “mouse acceleration” or “mouse smoothing” toggle and switch it off for predictable aim.
Why Does Sensitivity Still Feel Wrong?
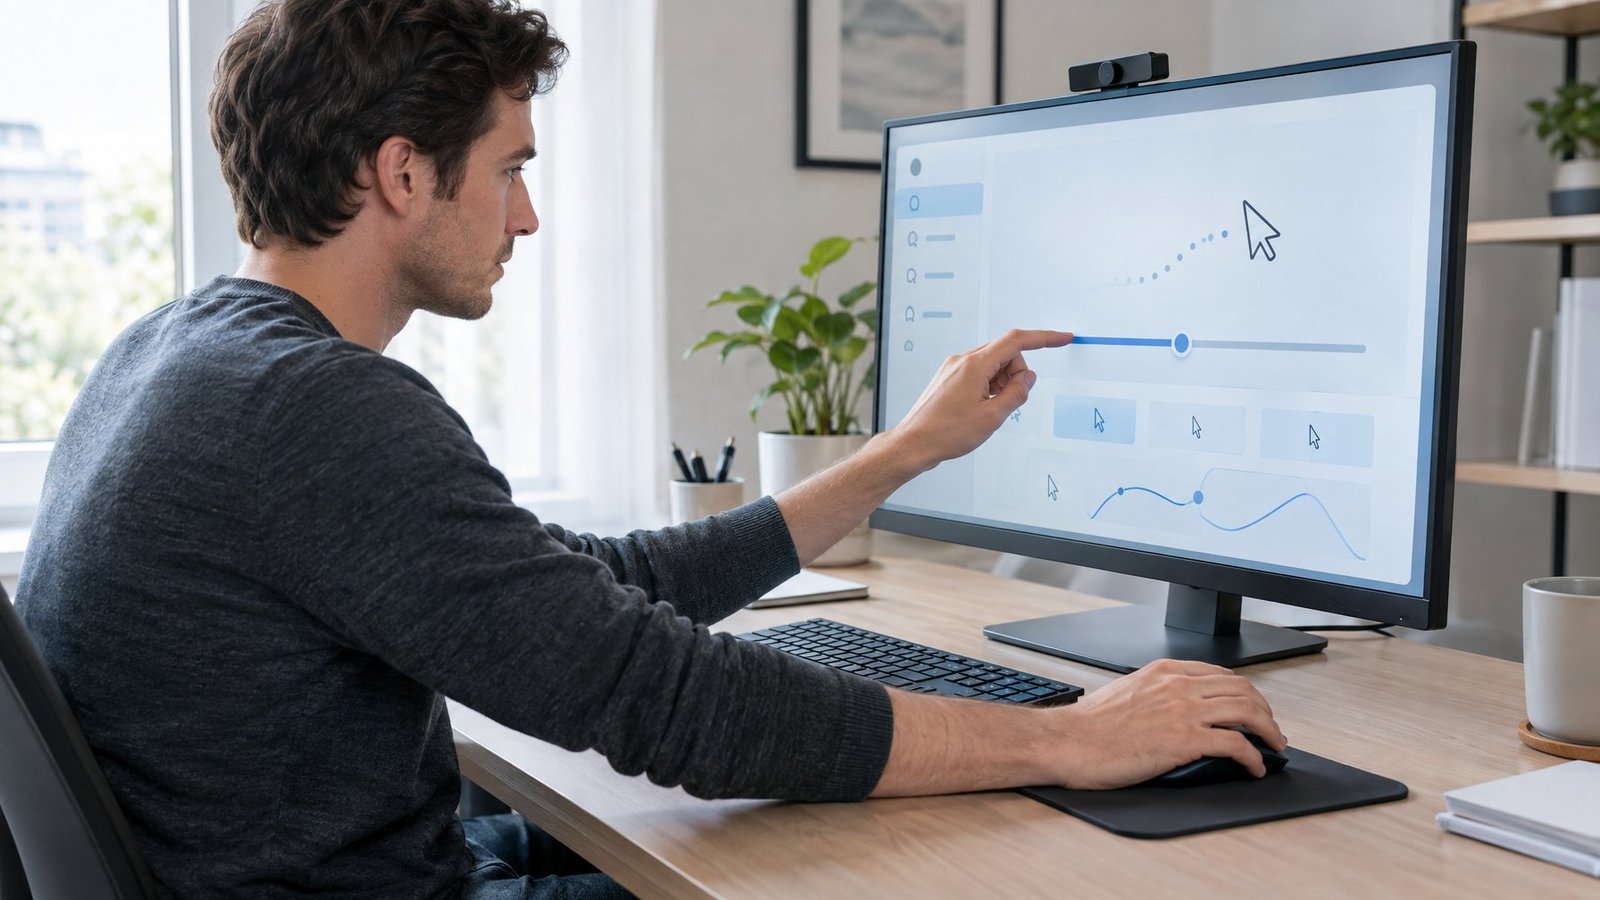
When the sliders look right but the cursor still stutters, lags, or drifts, the cause is usually hardware, a software conflict, or a setting that only looks like sensitivity. Work through the checks below before you blame the mouse.
Rule Out Battery, Connection, Sensor, and Surface Problems
A low mouse battery is one of the most common causes of skipping, laggy cursor movement. Charge the mouse or swap in fresh batteries first.
For wireless mice, Logitech suggests keeping the USB receiver within about 20 cm (8 inches) of the mouse and at least 2 meters from Wi-Fi routers and other 2.4 GHz devices. A front-panel USB port or a short extension cable helps a lot on desktop towers.
For a Bluetooth mouse that drops or lags, Microsoft recommends turning off Battery or Energy Saver mode and unchecking Allow the computer to turn off this device to save power in Device Manager’s Power Management tab. Our Bluetooth mouse not working fix and wireless mouse not working guides go deeper.
Then check the sensor. Turn the mouse over and clean dust or hair off the lens. Glass, glossy desks, and busy patterns confuse optical sensors, so test on a plain sheet of white paper. If tracking smooths out there, your surface is the problem.
Check for Conflicting Mouse Software or Touchpad Input
Two apps trying to control the same mouse cause strange speed jumps. If you have G HUB, Logi Options+, Synapse, or a laptop maker’s utility installed together, one may override the other’s settings at login. Keep one app in charge of the mouse and close or uninstall the rest.
On laptops, the touchpad can also interfere. A palm resting on it while you use a mouse creates random cursor nudges. Windows lets you turn the touchpad off when a mouse is connected under Settings > Bluetooth & devices > Touchpad. If the touchpad itself acts oddly, Microsoft recommends updating or reinstalling its driver through Windows Update or Device Manager (look under Human Interface Devices or Mice and other pointing devices).
Distinguish Pointer Speed from Click and Visibility Issues
Some problems feel like sensitivity but live in other settings:
- Double-clicks misfire or don’t register: adjust Double-click speed on the Buttons tab of Mouse Properties (Windows) or in Pointer Control (Mac).
- Cursor keeps vanishing: the Hide pointer while typing option on the Pointer Options tab hides it on purpose while you type.
- Cursor is hard to follow: change the Mouse pointer style and size under Settings > Accessibility > Mouse pointer and touch.
- Scrolling feels too fast: change Lines to scroll at a time in Windows Mouse settings.
A larger, high-contrast pointer often makes a fast cursor feel easier to control, especially on big or vertical monitor setups.
Investigate Sudden Changes After Updates or Startup
If sensitivity changes after a Windows update or every time you start the PC, a startup app or driver is likely resetting it. Check Settings > Apps > Startup (or the Startup apps tab in Task Manager) and turn off mouse utilities you don’t need.
To find a hidden conflict, try a clean boot:
- Search for msconfig and open System Configuration.
- On the Services tab, check Hide all Microsoft services, then select Disable all and Apply.
- On the Startup tab, open Task Manager and disable each startup item.
- Restart and test the mouse.
If the problem disappears, turn items back on in halves until it returns. When you’re done, go back to msconfig, choose Normal Startup, and re-enable everything else.
Finding a Pointer Speed That Stays Comfortable
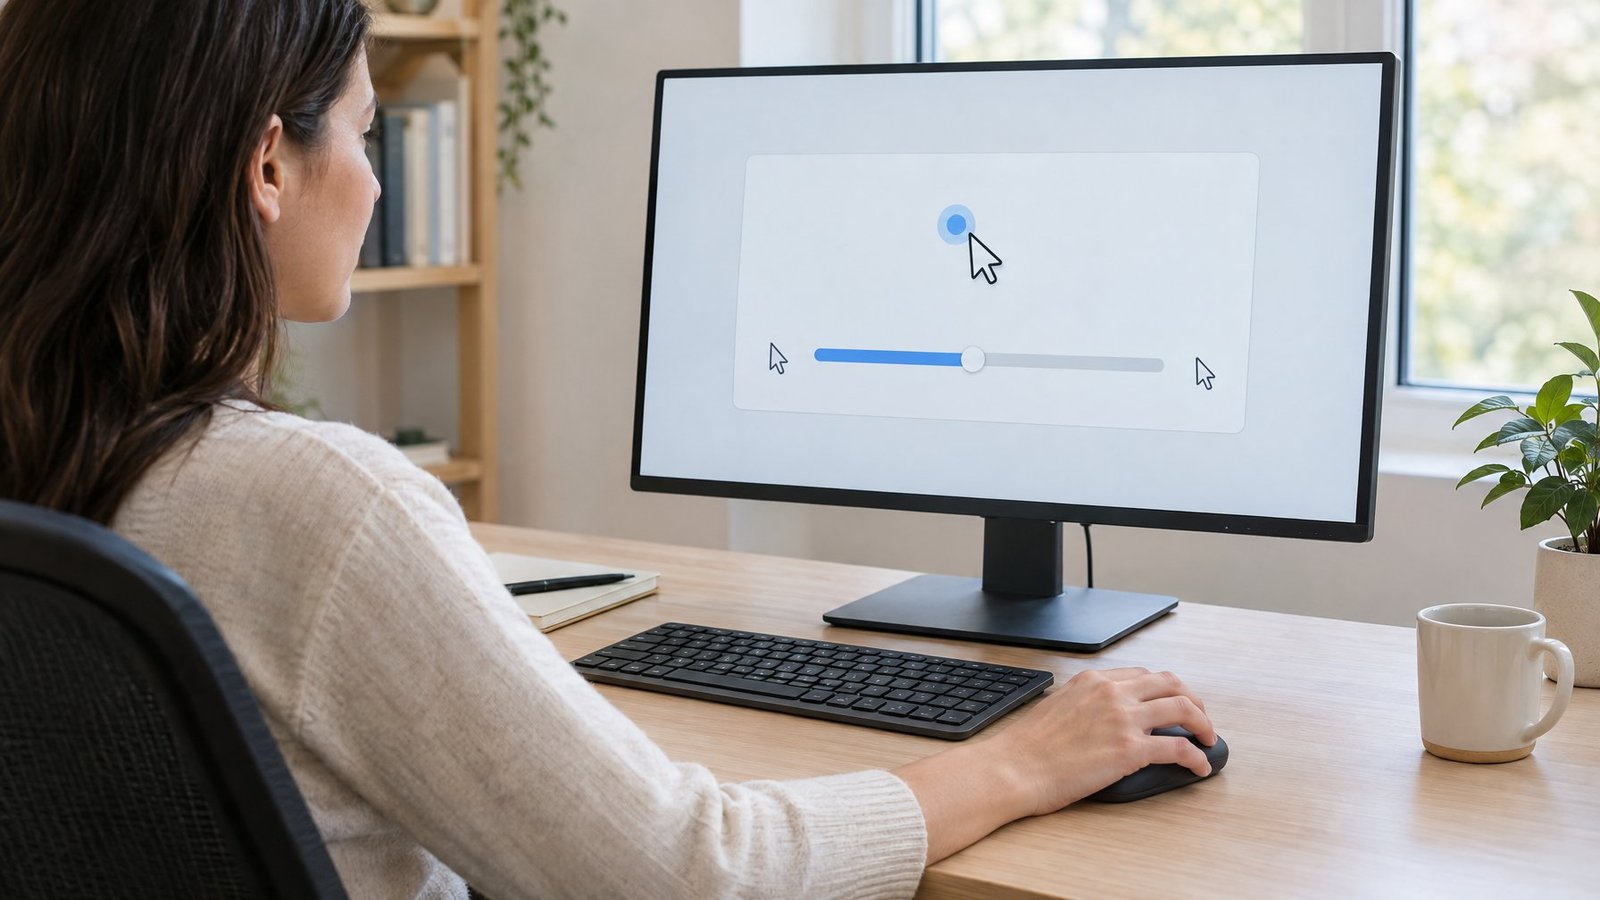
A comfortable setup comes from locking each layer in order: DPI first, then your OS speed, then game sensitivity. Pick a DPI in the mouse software, set Windows pointer speed or macOS tracking speed until you can cross your screen without lifting your hand twice, and then tune each game on its own.
Decide on acceleration once. Leave Enhance pointer precision or Pointer acceleration on for general desktop use, or turn it off if you game or do detailed design work and want the same hand movement to travel the same distance every time.
If things drift later, check the cheap causes before the menus: the DPI button, battery level, a dirty sensor, and a startup app resetting your settings. Your grip affects the feel too. A fingertip grip favors small wrist movements and slightly higher sensitivity, while a palm grip pairs well with lower settings and bigger arm movements.
Frequently Asked Questions
Lower the pointer speed slider in Windows Settings or the tracking speed slider on a Mac. If your mouse has a DPI button, press it to drop to a lower DPI level. Turning off Enhance pointer precision also stops fast flicks from sending the cursor across the screen.
The most common cause is an accidental press of the DPI button on a gaming mouse. Other causes include a low battery, a Windows update resetting settings, or mouse software loading at startup and applying a different profile. Check the DPI button first, then your mouse app’s profile.
Games apply their own sensitivity setting, and many use raw input, which ignores Windows pointer speed and acceleration. That means the desktop and the game use different settings. Adjust the in-game sensitivity slider to match the feel you want without touching desktop settings.
For an external mouse, use the standard Windows mouse pointer speed slider. For the touchpad or TrackPoint on a ThinkPad, open Control Panel > Mouse and use the ThinkPad or UltraNav tab to raise or lower sensitivity. Lenovo also recommends updating the UltraNav driver from its support site if the touchpad responds slowly after typing.
Your mouse DPI may be set very low, which limits how far the cursor can move no matter what Windows says. A weak battery, a distant wireless receiver, or a dirty sensor can also make movement feel sluggish and choppy. Raise the DPI in the mouse’s software and rule out those hardware issues.

I’m Anirban Saha, Founder & Editor of TechBullish. With a B.Tech in Electronics and Communication Engineering, and 6+ years of experience as a software developer, I have expertise in electronics, software development, gadgets, and computer peripherals. I love sharing my knowledge through informational articles, how-to guides, and troubleshooting tips for Peripherals, Smart TVs, Streaming Solutions, and more here. Check Anirban’s Crunchbase Profile here.